
Internet designers can customise web page layouts using nested tables by designing bigger and smaller tables with numerous cell sizes so that every one reveals both textual content, graphics, or each. Extra notably, nested tables enabled columnar layouts on internet pages with out the usage of annoying frames.
This put up will state:
How you can Create/Make a Desk in HTML?
To design a desk in HTML, the “<desk>” tag is utilized. So, attempt the acknowledged directions.
Step 1: Create a div Container
Initially, create a div container by deploying the “<div>” ingredient and add an id attribute with a selected identify in keeping with your selection.
Step 2: Add heading
Subsequent, use the heading tag from “<h1>” to “<h6>” so as to add a heading contained in the div container. For this function, we have now used the “h1” heading tag and embedded textual content contained in the opening and shutting tag of “h1”.
Step 3: Create Desk
To create a desk in HTML, insert a “<desk>” tag and add a category contained in the desk tag with a selected identify. Then, add the below-listed parts between the desk tags:
- “<tr>” is utilized for outlining the rows within the desk.
- “<td>” ingredient is used so as to add the info contained in the desk.
To take action, embed the textual content knowledge in between <td>:
<div id=“main-content”>
<h1> Linuxhint Tutorial Web site</h1>
<desk class=“main-table”>
<tr>
<td>First Group</td>
<td> Second Group </td>
</tr>
<tr>
<td> Third Group </td>
<td> Fourth Group </td>
</tr>
</desk>
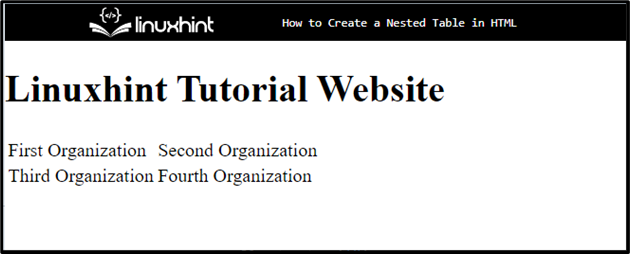
Consequently, a easy desk has been created within the HTML efficiently:
Step 4: Fashion the div Container
To type the div container, first entry it with the assistance of “#main-content” and apply the CSS styling in keeping with your desire:
#main-content{
padding: 20px 30px;
margin: 40px 140px;
border: 3px dotted inexperienced;
}
To take action, we have now utilized the below-listed properties:
- “padding” determines the clean house across the ingredient contained in the outlined boundary.
- “margin” is used for specifying the house exterior the border.
- “border” is utilized for outlining a boundary across the outlined ingredient.
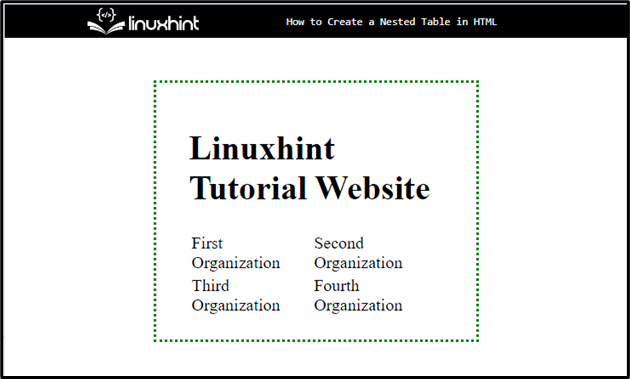
Output
Step 5: Apply Styling on Desk
Entry the desk with the assistance of the desk class and apply styling with the assistance of CSS properties:
.main-table {
border: 4px ridge blue;
padding: 20px 30px;
background-color:rgb(135, 197, 247) ;
}
On this case, we have now utilized the “border”, “padding”, and “background-color” properties. The “background-color” property determines the colour on the bottom of the outlined ingredient.
Step 6: Apply Styling on Desk Rows, and Columns
Entry the “desk”, together with rows “tr” and knowledge “td”:
desk tr td{
border: 3px strong inexperienced;
}
Then, apply the “border” CSS property so as to add the boundary across the desk rows and cells.
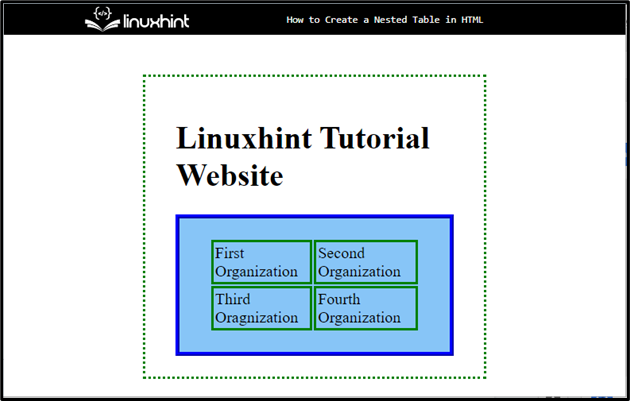
Output
Transfer towards the subsequent part if you wish to make the desk nested.
How you can Create/Make a Nested Desk in HTML?
To make a nested desk in HTML, first, create a desk with the “<desk>” ingredient and outline rows contained in the desk. Then, add the “<td>” ingredient so as to add the info inside the info. Contained in the “<td>” opening and shutting tag, insert “<desk>” to create a nested desk contained in the desk.
For sensible implications, you should attempt the directions acknowledged beneath.
Step 1: Create “div” Container
First, create a container utilizing the “<div>” with a category attribute contained in the div tag.
Step 2: Insert Heading
Subsequent, add a heading by using the “<h1>” tag and embed textual content between the tag.
Step 3: Make Desk
Create a desk with the assistance of the “<desk>” tag and add “<tr>” and “<td>”.so as to add the textual content contained in the desk.
Step 4: Create a Nested Desk
Contained in the “<td>” ingredient, outline one other “<desk>” ingredient to create a nested desk inside the primary desk. After that, add knowledge in keeping with your want:
<div id=“main-content”>
<h1> Linuxhint Tutorial Web site</h1>
<desk class=“main-table”>
<tr>
<td>First Group</td>
<td> Second Group
<desk id=“nested-table” >
<tr>
<td>Worker 1</td>
<td>Worker 2</td>
</tr>
<tr>
<td> Worker 3</td>
<td>Worker 4</td>
</tr>
</desk>
</td>
</tr>
<tr>
<td> Third Group </td>
<td> Fourth Group
<desk id=“nested-table” >
<tr>
<td>Worker 1</td>
<td>Worker 2</td>
</tr>
<tr>
<td> Worker 3</td>
<td>Worker 4</td>
</tr>
</desk>
</td>
</tr>
</desk>
Be aware: Customers can add as many tables as they’ll contained in the <td> ingredient of the primary desk.
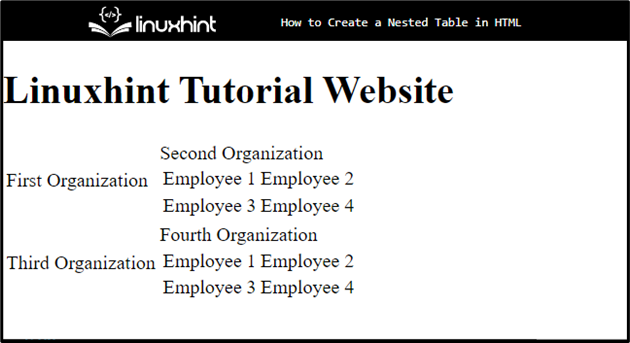
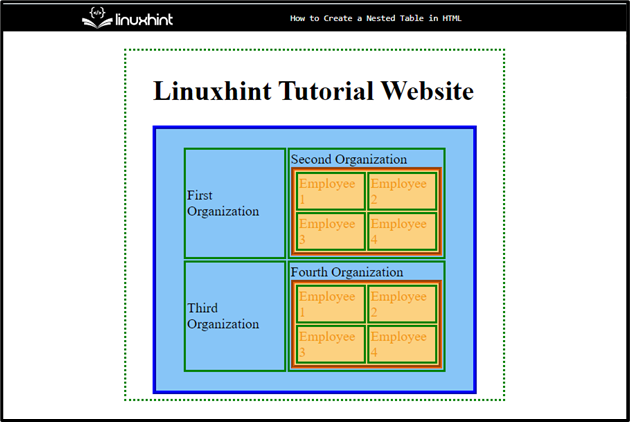
It may be seen within the following output that the nested desk has been created efficiently:
Step 4: Fashion Nested Desk
Entry the nested desk by utilizing the id with the selector. In our case, to entry the desk by using the
“#nested-table” and apply styling with the assistance of CSS properties:
#nested-table{
border: 4px groove rgb(236, 101, 11);
colour:rgb(243, 152, 15);
background-color: rgb(252, 209, 128);
}
We’ve got utilized the “border”, “colour”, and “background-color” properties and set the worth in keeping with the will on the nested desk.
Output
That was all about making a nested desk in HTML.
Conclusion
To make a nested desk in HTML, first, create a desk by using the “<desk>” tag. Then, outline the rows with the assistance of the “<tr>” tag and add knowledge by utilizing “<td>”. After that, contained in the “<td>” tag, create one other desk by making an attempt the identical technique. Customers may also apply CSS properties for styling the desk and nested desk. This put up demonstrated the tactic for creating the nested desk in HTML.