

On this hands-on tutorial, I’ll present you how you can run Home windows 11 for ARM utilizing VMware Fusion Participant 13, an utility that features a free private license choice. The draw back to VMware Fusion Participant, is that it doesn’t embrace 3D help for Home windows 11 on ARM, however that will not be a problem for you in case you’re simply have to run a one-off app or different primary software program.
In case you’re seeking to run video games, typically, Parallels Desktop 18 stays the higher choice as a consequence of its help of DirectX 11. The draw back to utilizing Parallels for operating Home windows 11 on ARM? It’s a paid utility that requires a subscription for the model that most individuals will need to use. You’ll be able to learn and watch our full Parallels Desktop 18 Home windows 11 on ARM tutorial for extra particulars.
Easy methods to obtain the Home windows 11 for ARM ISO utilizing Parallels Desktop for Mac
Earlier than Parallels Desktop 18 was launched with help for Home windows 11 for ARM, acquiring a Home windows 11 ISO concerned quite a few time-consuming steps. You’ll be able to learn my full tutorial on Mobile in case you’d prefer to see simply how concerned this course of was once, however it’s intense. At this time, it’s a lot simpler to realize entry to a Home windows 11 ISO, as a result of Parallels offers one for you and conveniently saves the ISO to your Mac’s ~/Downloads folder. Though this ISO is meant for use with Parallels Desktop 18, it may be used with different digital machines, like VMware fusion, as effectively.
Video: Easy methods to set up Home windows 11 for ARM utilizing VMware Fusion Participant (free)
Subscribe to 9to5mac on YouTube for extra movies
Step 1: Go to the Parallels Desktop for Mac installer web page and click on Obtain Free Trial.
Step 2: Open your Mac’s Downloads folder, and mount the picture by clicking on Set up Parallels Desktop.dmg
Step 3: Double-click Set up Parallels Desktop and click on Open.
Step 4: Uncheck Take part in Buyer Expertise Program (elective) on the EULA pop-up, and click on Settle for. The Parallels Desktop 18 utility will then obtain and Set up. You’ll first be prompted to enter your administrator password to proceed. After getting into your password click on OK.
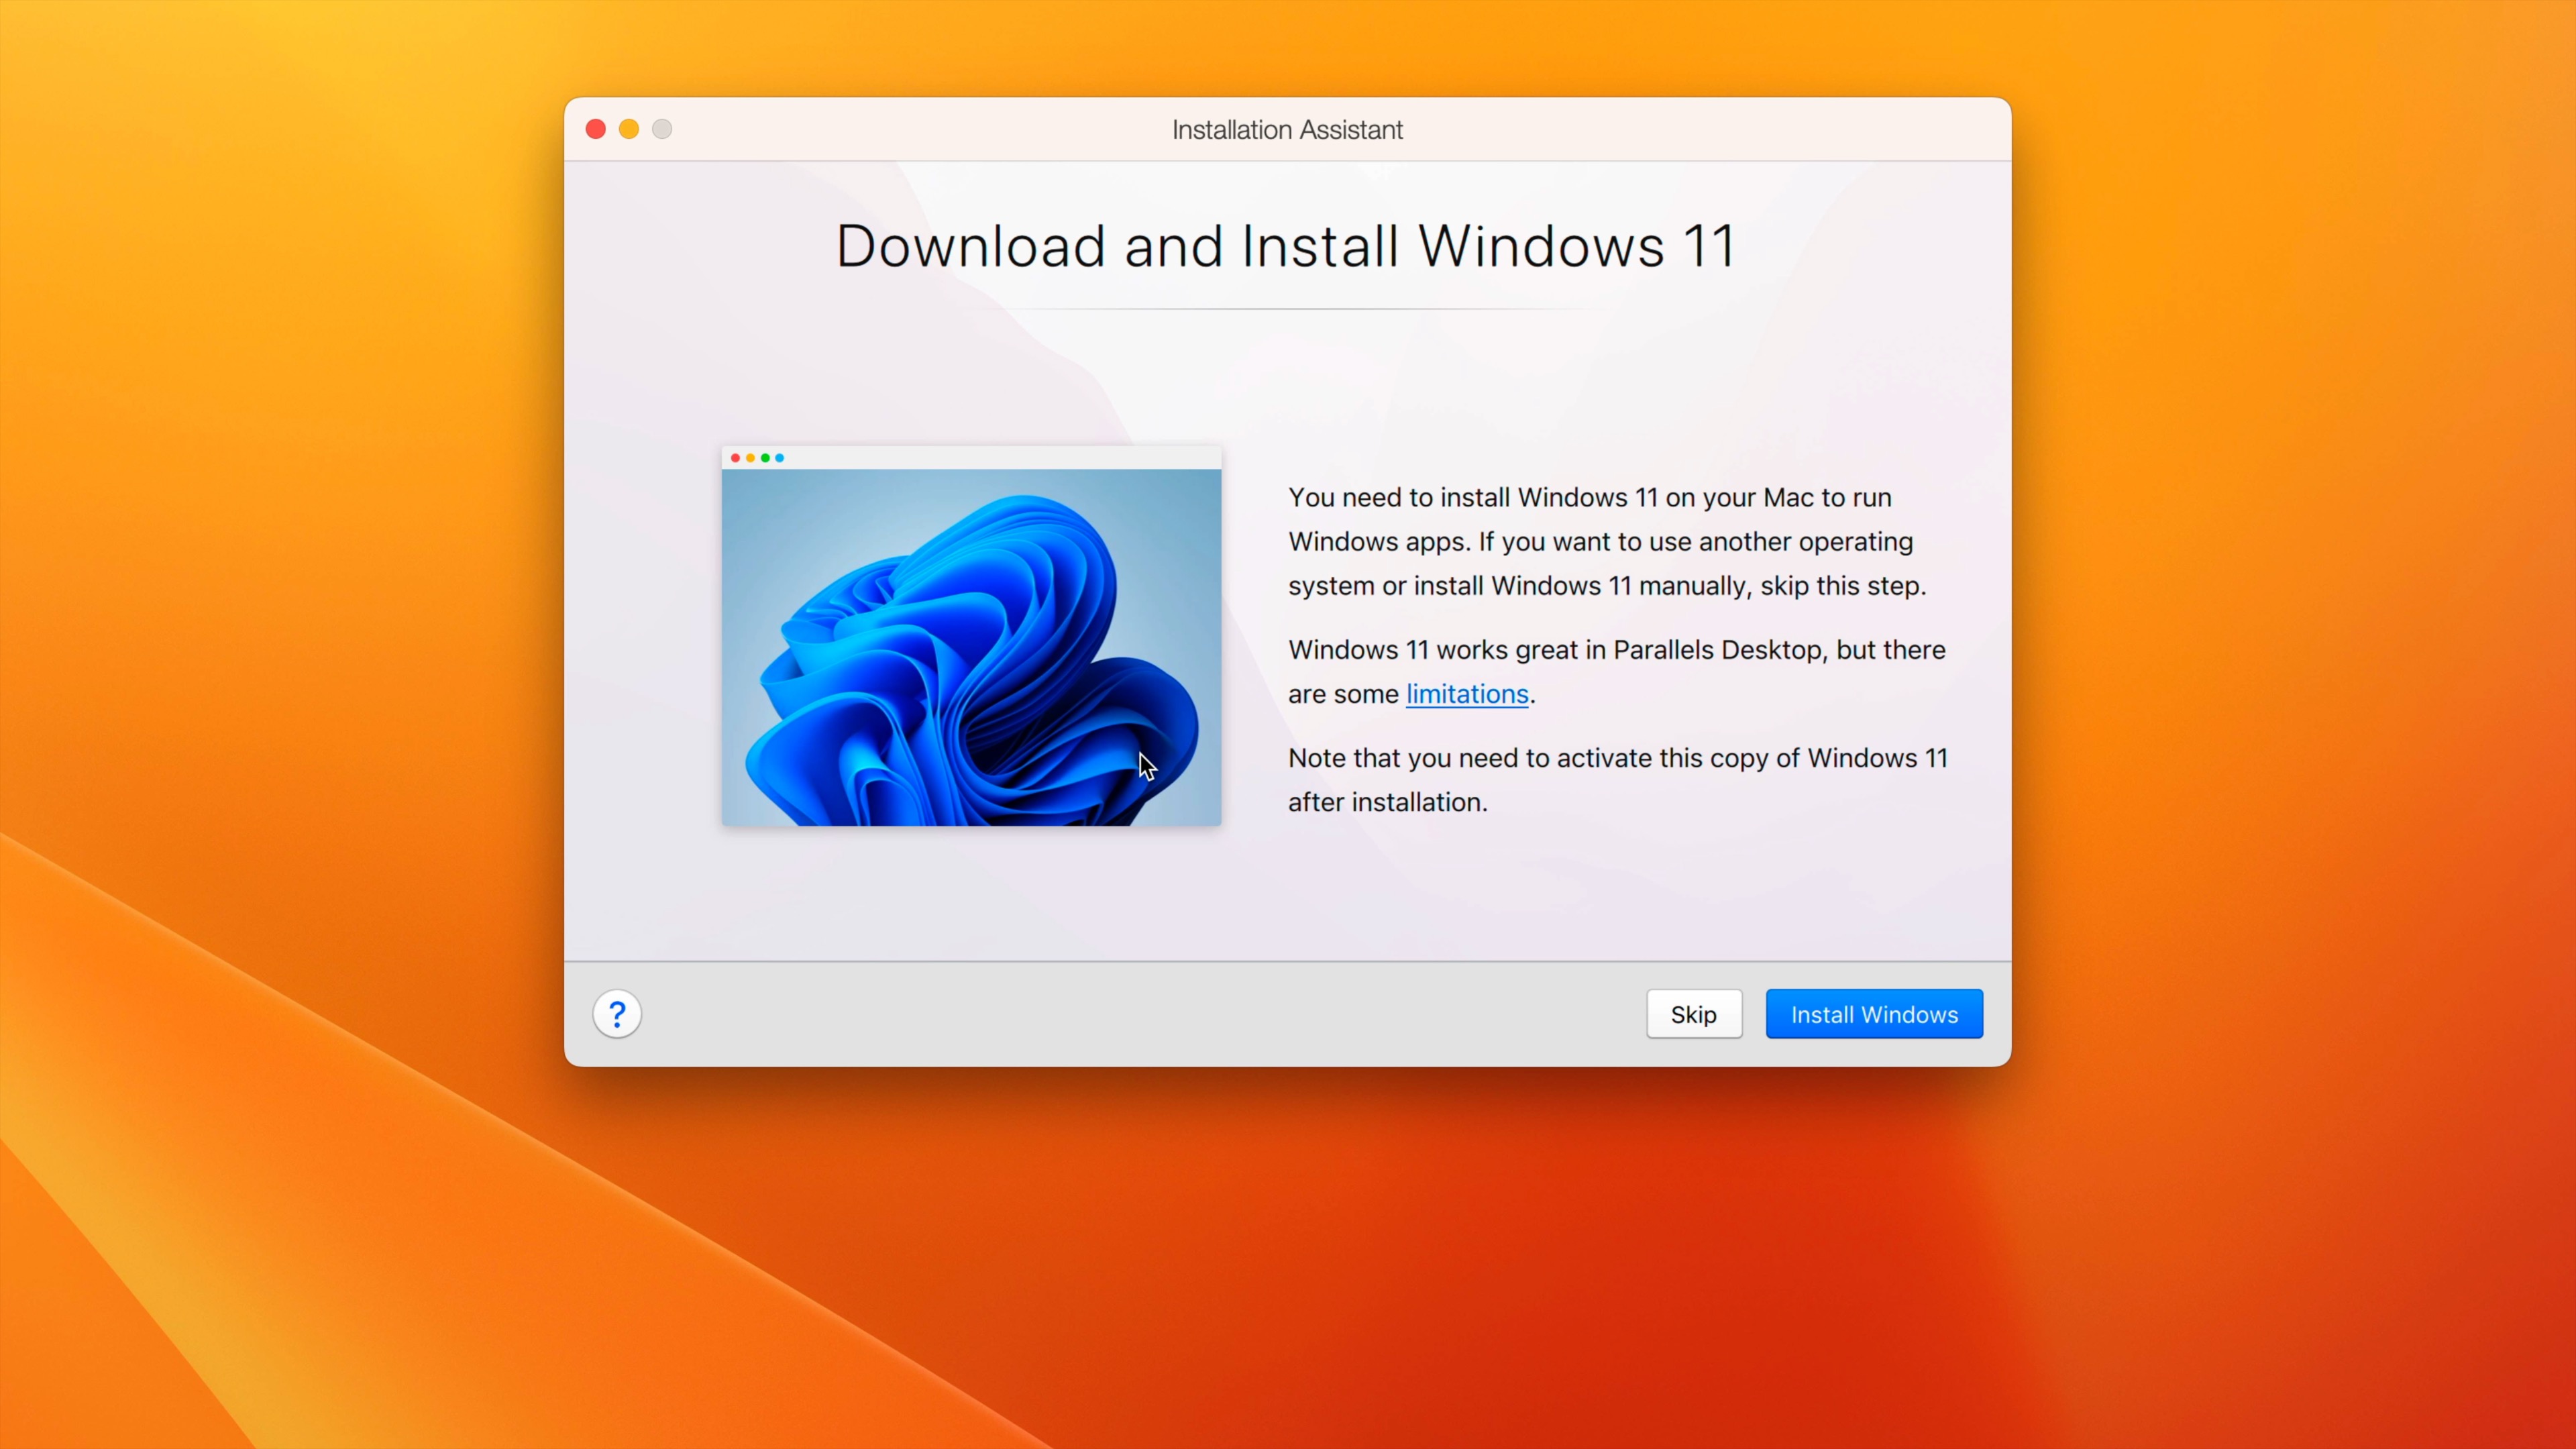
Step 5: After a short initialization course of, Parallels will begin and immediate you to obtain and set up Home windows 11. Click on the blue Set up Home windows button within the backside right-hand nook to start the obtain of the Home windows 11 for ARM64 ISO.
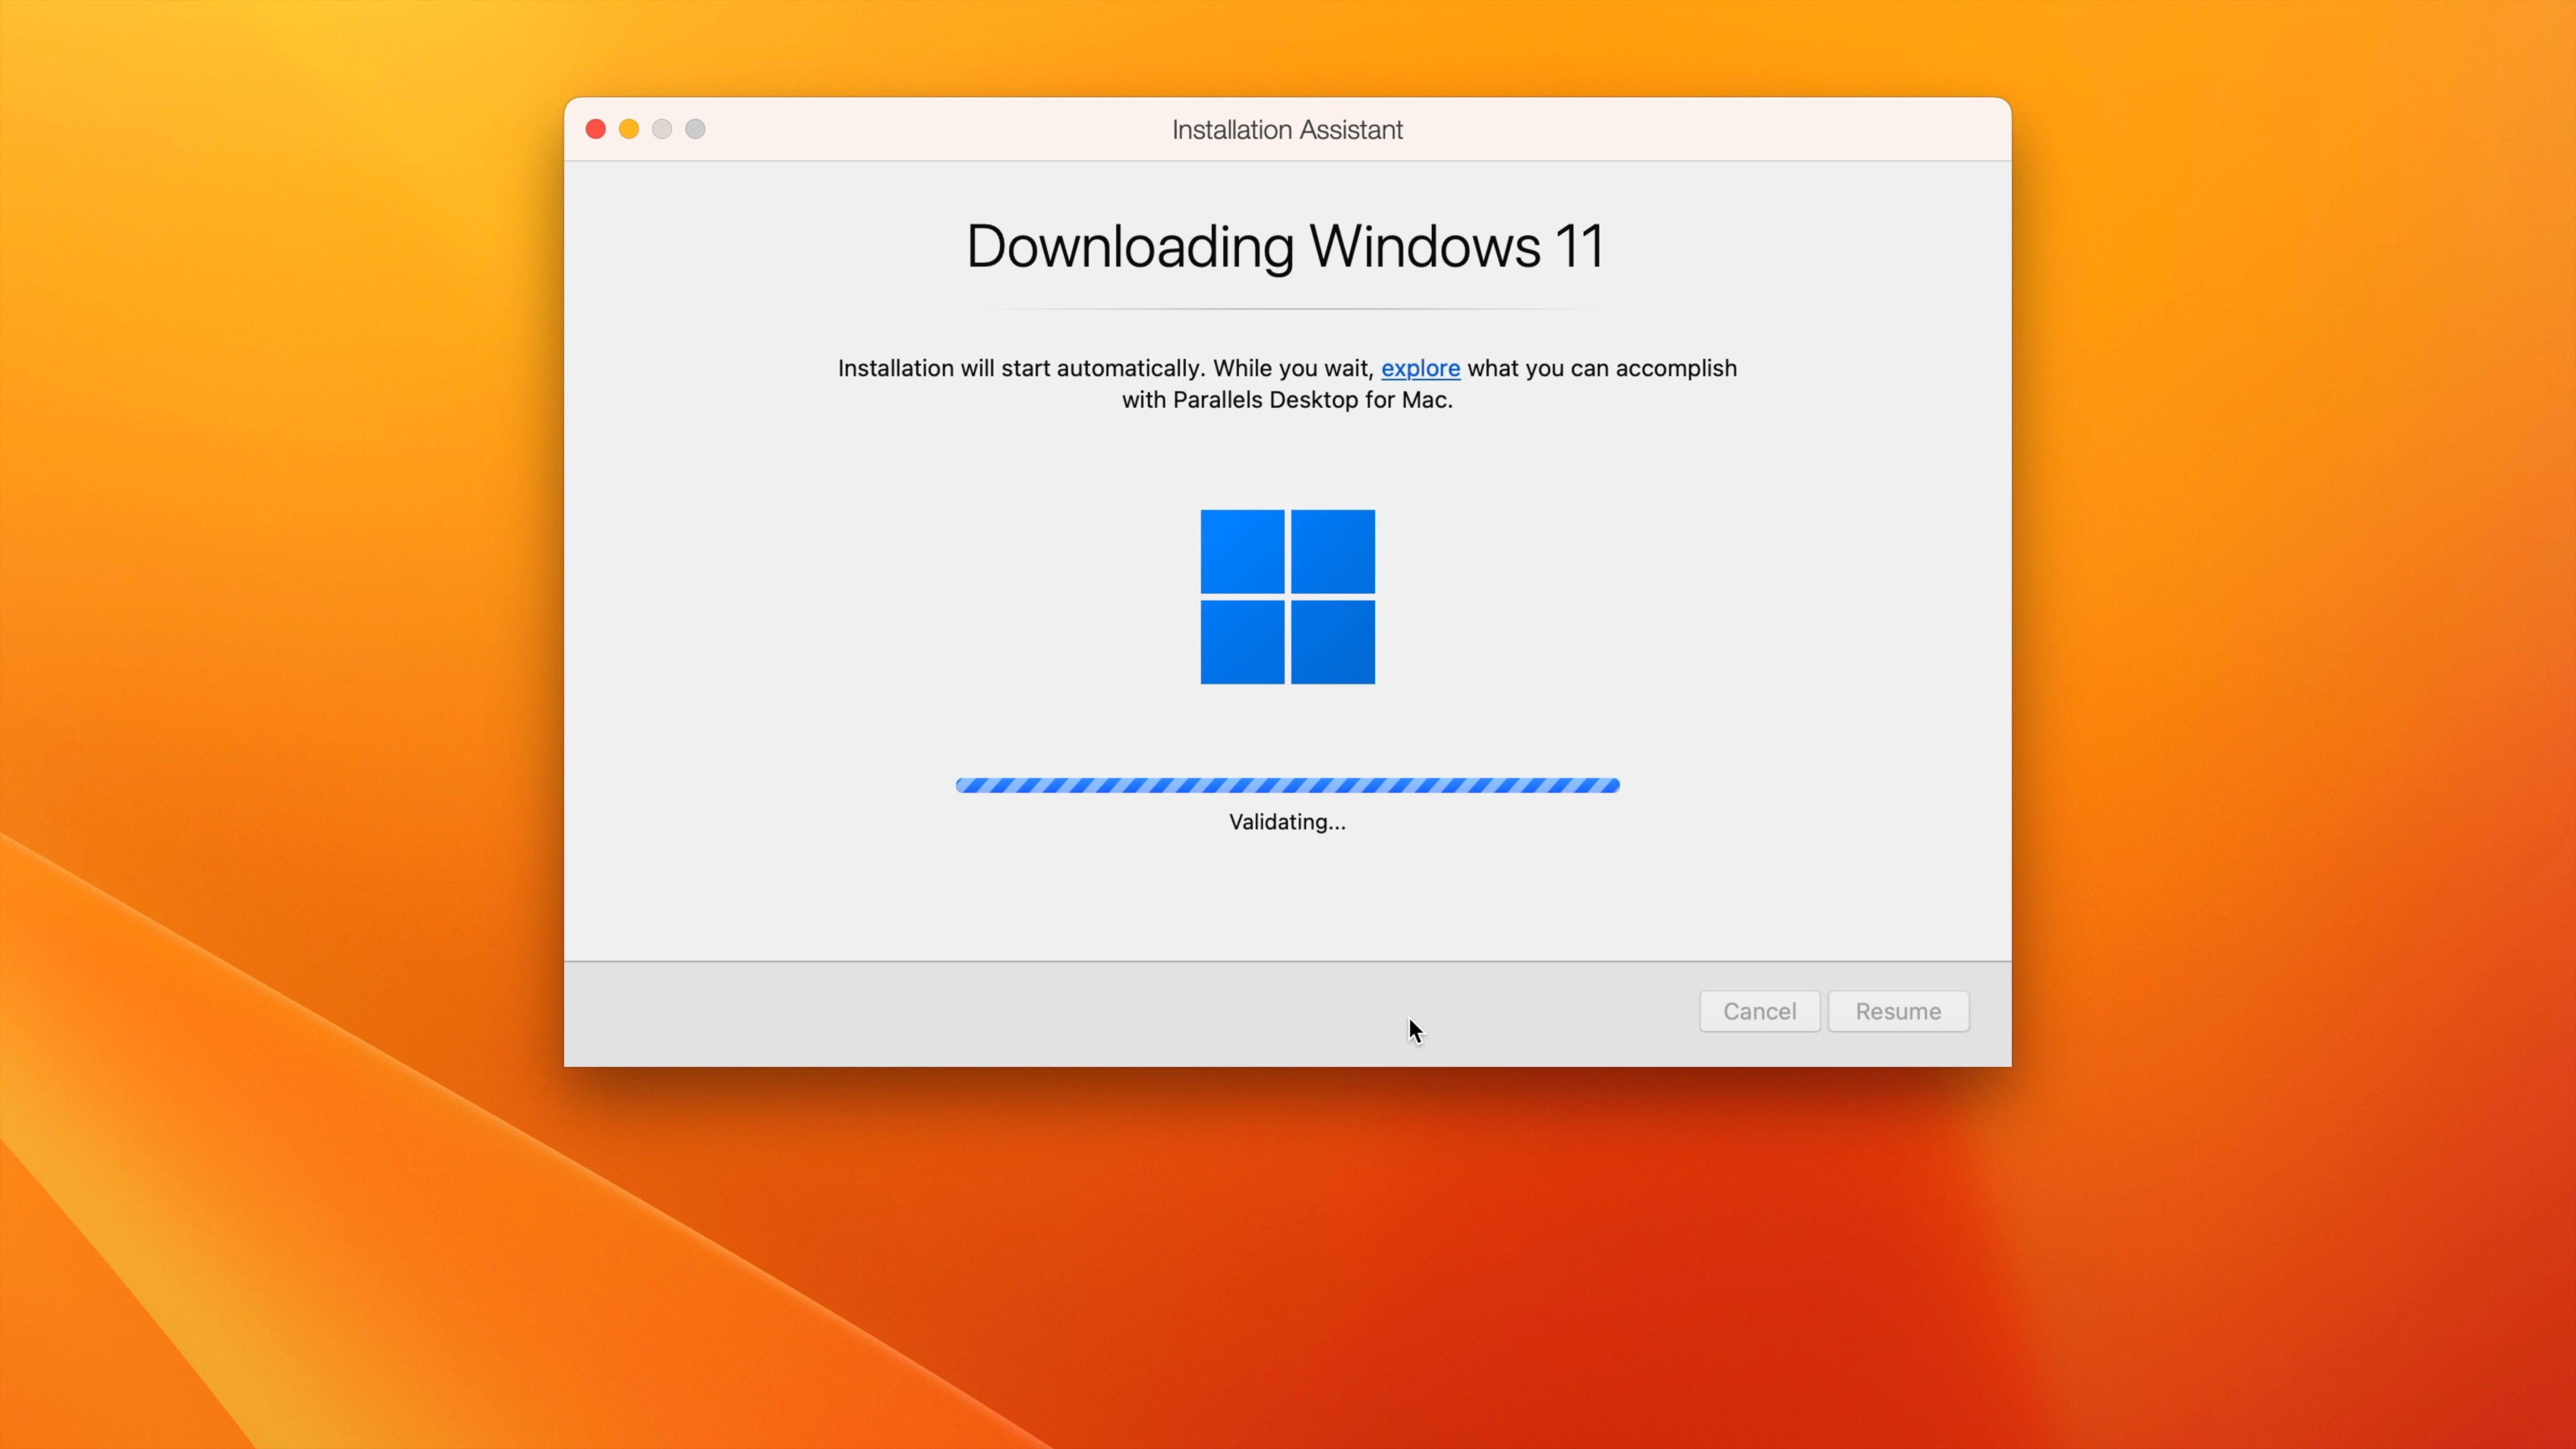
Step 6: As soon as the Home windows 11 for ARM obtain is accomplished, the obtain will validate, and Home windows Setup will begin routinely to try the set up. Since we’re solely utilizing Parallels to facilitate the Window 11 for ARM64 ISO obtain, you’ll need to cease the set up.
Step 7: Affirm that the Home windows 11 for ARM64 ISO is within the ~/Downloads folder in your Mac. Then Click on Home windows 11 within the menu bar and choose Stop Home windows 11 to cease the set up and shut Parallels.
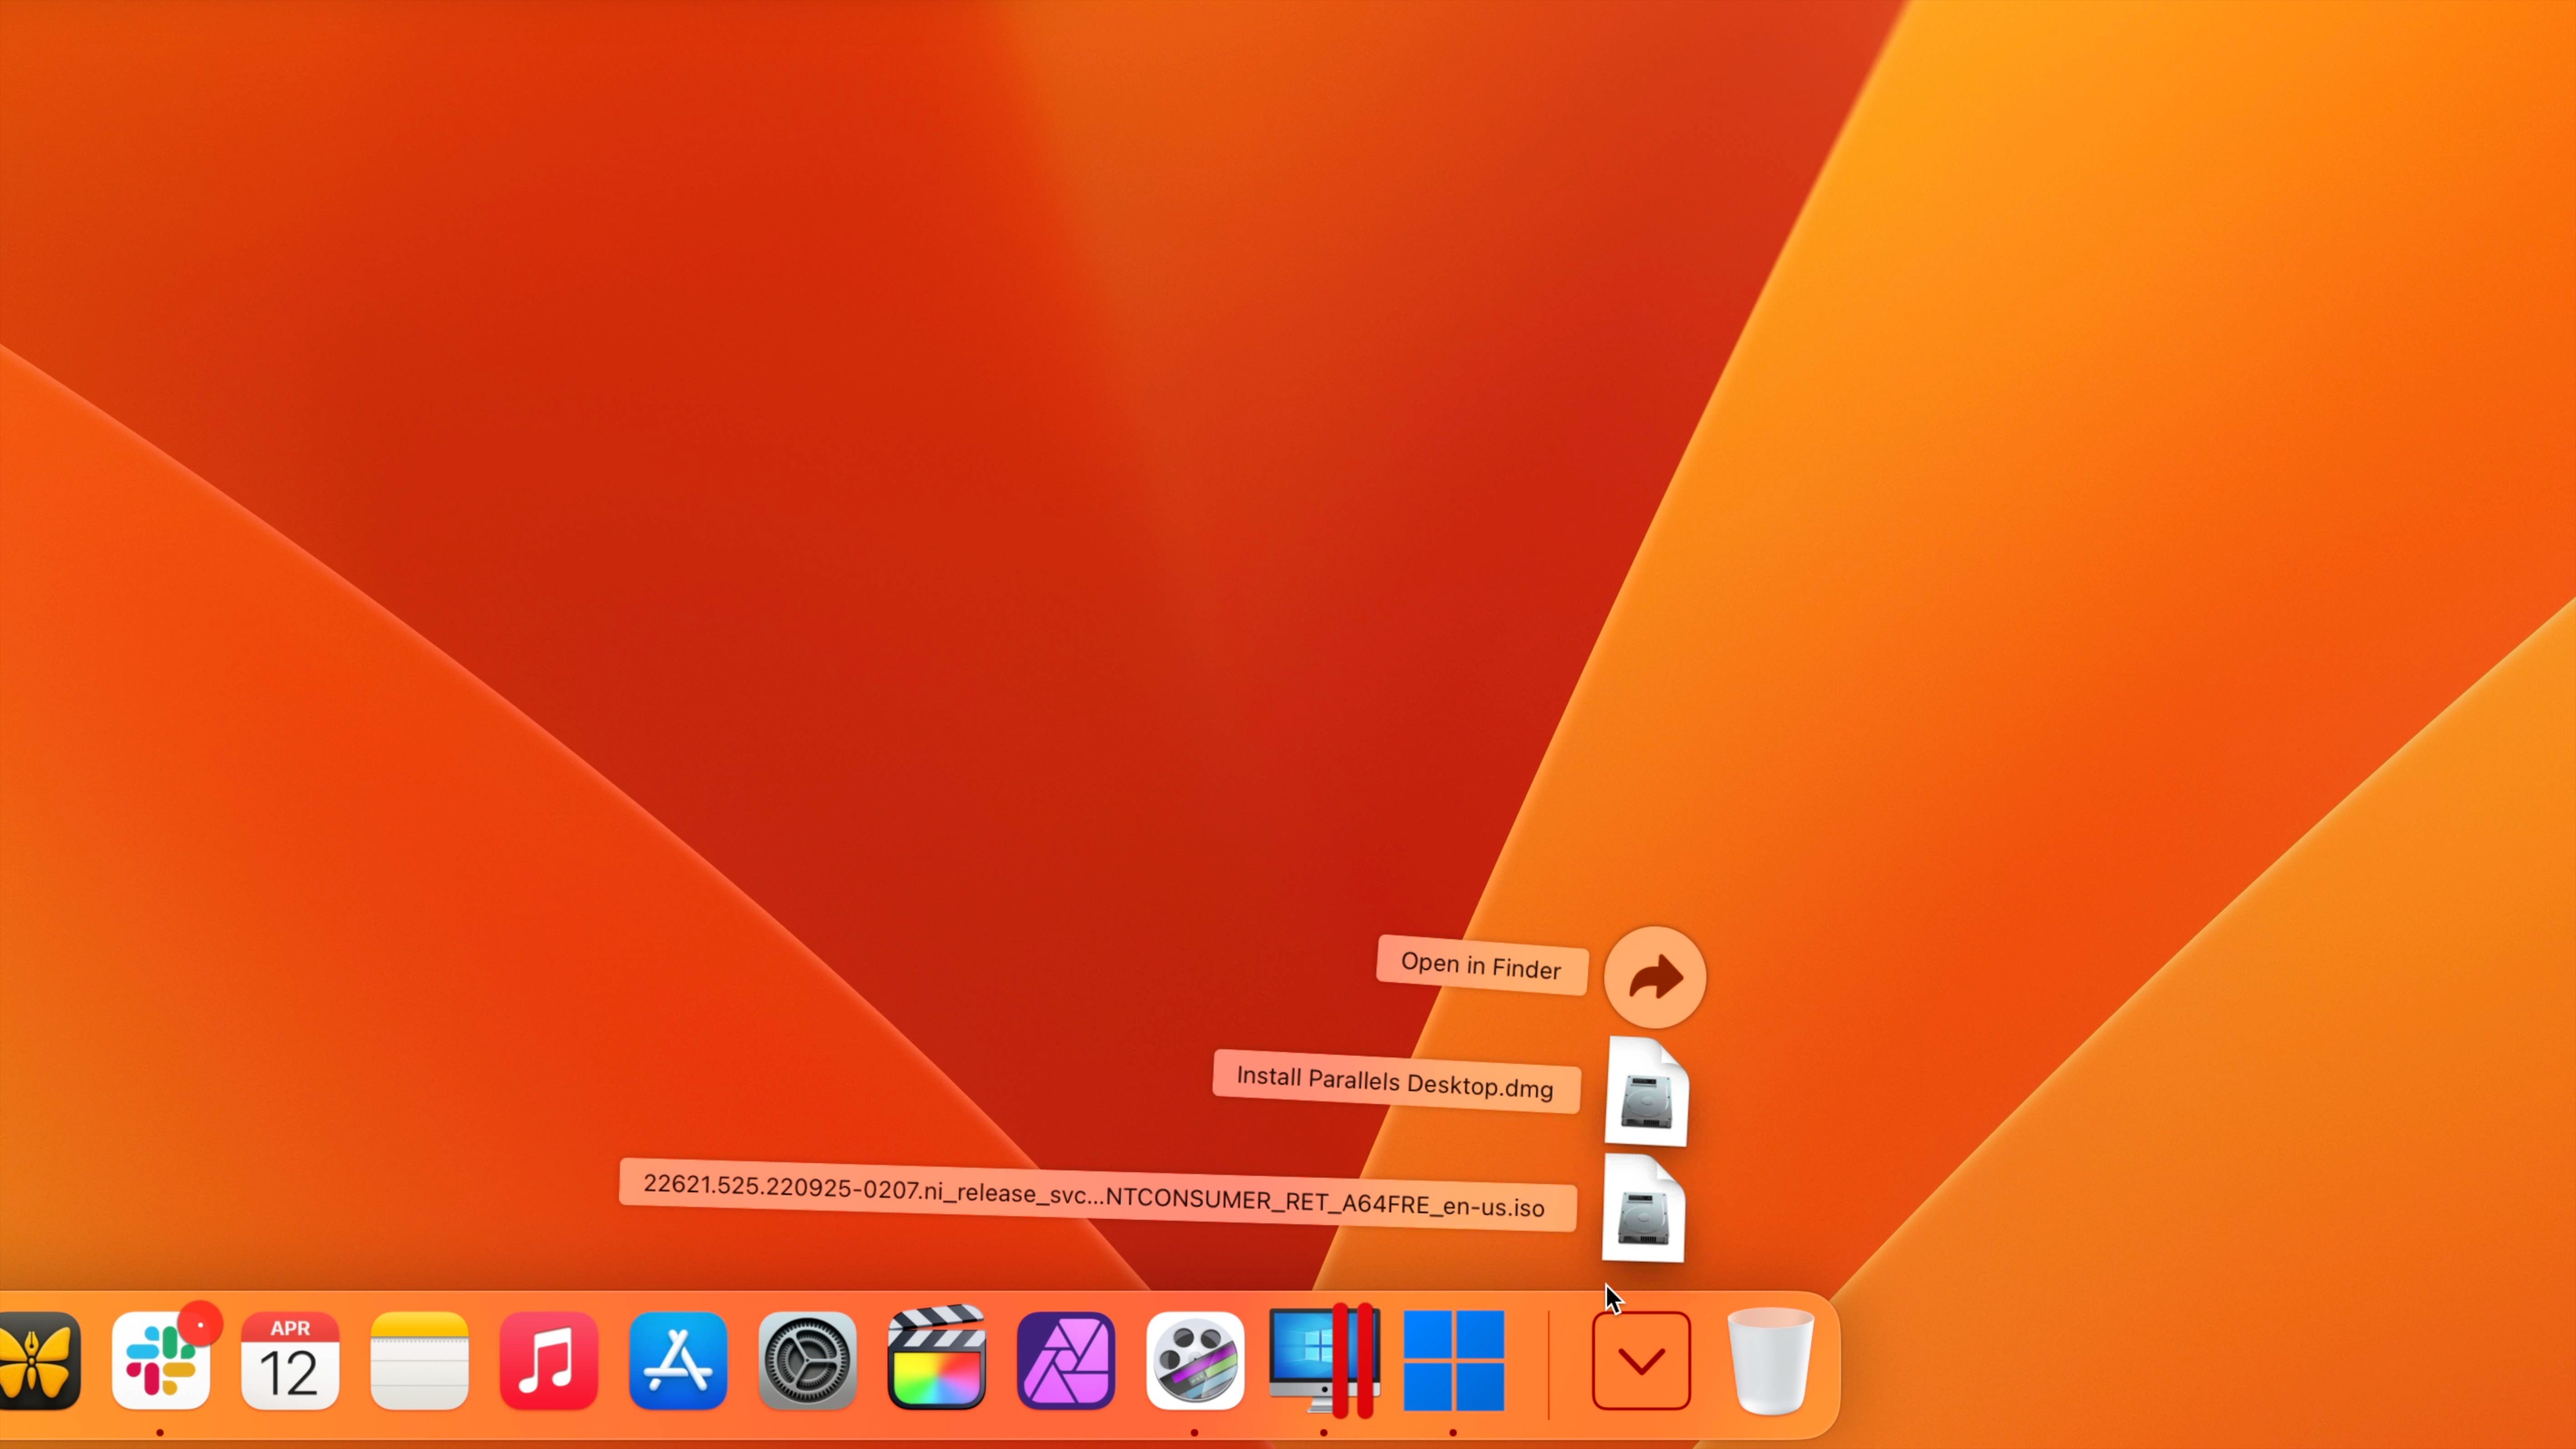
Notice: In my instance, the Home windows 11 for ARM ISO is called:
22621.525.220925-0207.ni_release_svc_refresh_CLIENTCONSUMER_RET_A64FRE_en-us.iso
… however that identify of your ISO could also be totally different relying on if you carry out the obtain.
Non-compulsory: You’ll be able to delete the ~/Parallels folder and its contents after the ISO is downloaded in case you’d like to save lots of area. You may additionally fully uninstall Parallels Desktop for Mac in case you don’t plan on additional utilizing it.
Set up Home windows 11 for ARM utilizing VMware Fusion Participant
Step 1: Go to the VMware Fusion Participant 13 web page. With the intention to Obtain VMware Fusion Participant and make the most of the non-public use license, you’ll have to create and/or login with a VMware account. When you do, then register for a Private Use License.
Step 2: Below the License and Downloads tab, click on the Manually Obtain button below the VMware Fusion Participant binaries part.
Step 3: Double-click the VMware-Fusion.dmg present in ~/Downloads to mount the picture. As soon as mounted, double-click the VMware Fusion icon to start the set up course of.
Step 4: On the are you certain you need to open it immediate, click on Open after which enter the administrator password and click on OK. A short initialization shall be carried out.
Step 5: On the VMware Fusion 13 EULA display, click on Agree within the backside right-hand nook.
Step 6: Paste the non-public license key created in Step 1 within the license key discipline. This key could be discovered below the License Data part of the License and Obtain tab on the VMware Fusion Participant web site. Click on Proceed within the backside right-hand nook after which click on Achieved.
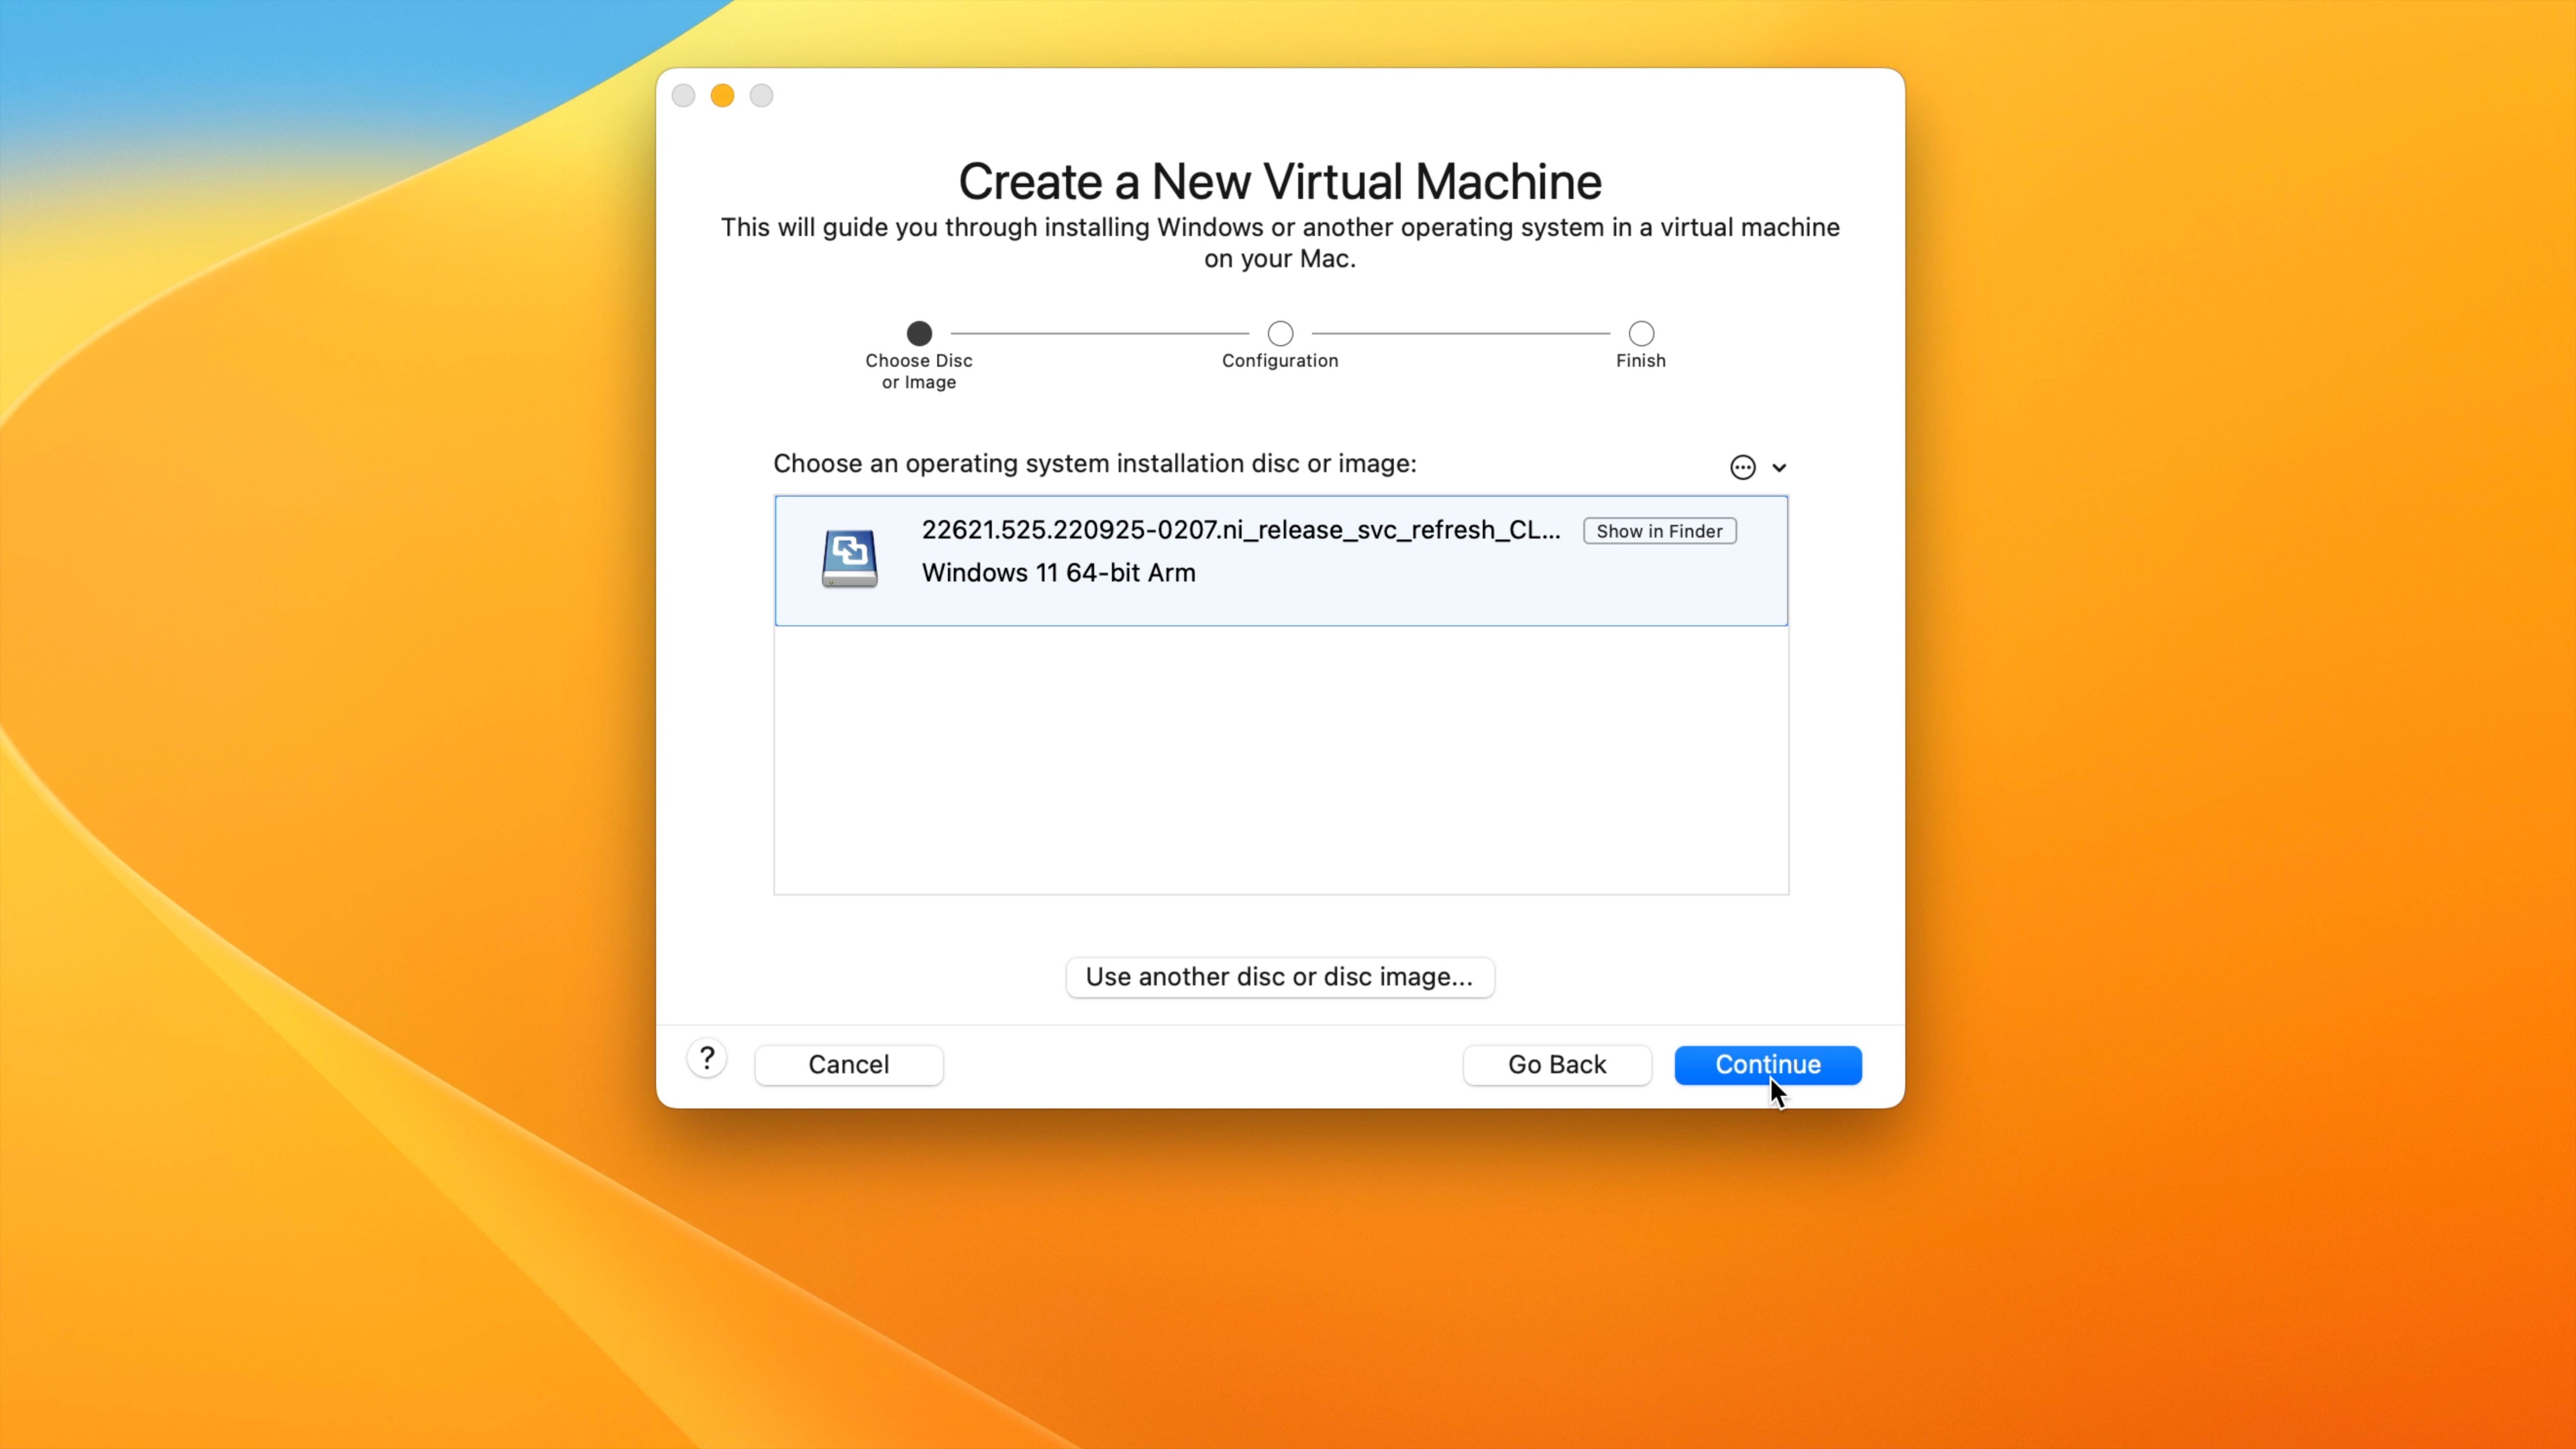
Step 7: The Choose the Set up Methodology display will now be displayed. Drag the Home windows 11 for ARM64 ISO that you simply downloaded within the earlier part to the Set up from disc or picture portion of the display and click on Proceed and Proceed once more.
Step 8: On the Select Firmware Kind display, hold the default UEFI choice and click on Proceed.
Step 9: On the Select Encryption display, click on Auto Generate Password, and click on Proceed.
Step 10: On the End web page, click on Customise Settings, kind a reputation to your Digital Machine, and click on Save. Subsequent, configure the Processors and Reminiscence assets as desired, and shut the Settings web page.
Step 11: On the Digital Machine window, click on the Play button, or click on Digital Machine → Begin Up within the menu bar. Press any key if you see the press any key as well from CD immediate.
Step 12: Home windows will boot into its setup utility. Configure language choices if wanted, and click on Subsequent after which click on Set up now.
Step 13: Home windows 11 will begin setup. On the preliminary Home windows Setup display click on I don’t have a product key (until you truly do have one).
Step 14: Choose between Home windows 11 House, or Home windows 11 Professional. In case you plan on buying a license, Home windows 11 House is the cheaper choice, and a lot of the Professional options tread nearer to the small enterprise/enterprise facet of issues. Click on Subsequent when you’ve made your choice, and click on Subsequent once more after clicking the checkbox to just accept Microsoft’s Software program License Phrases.
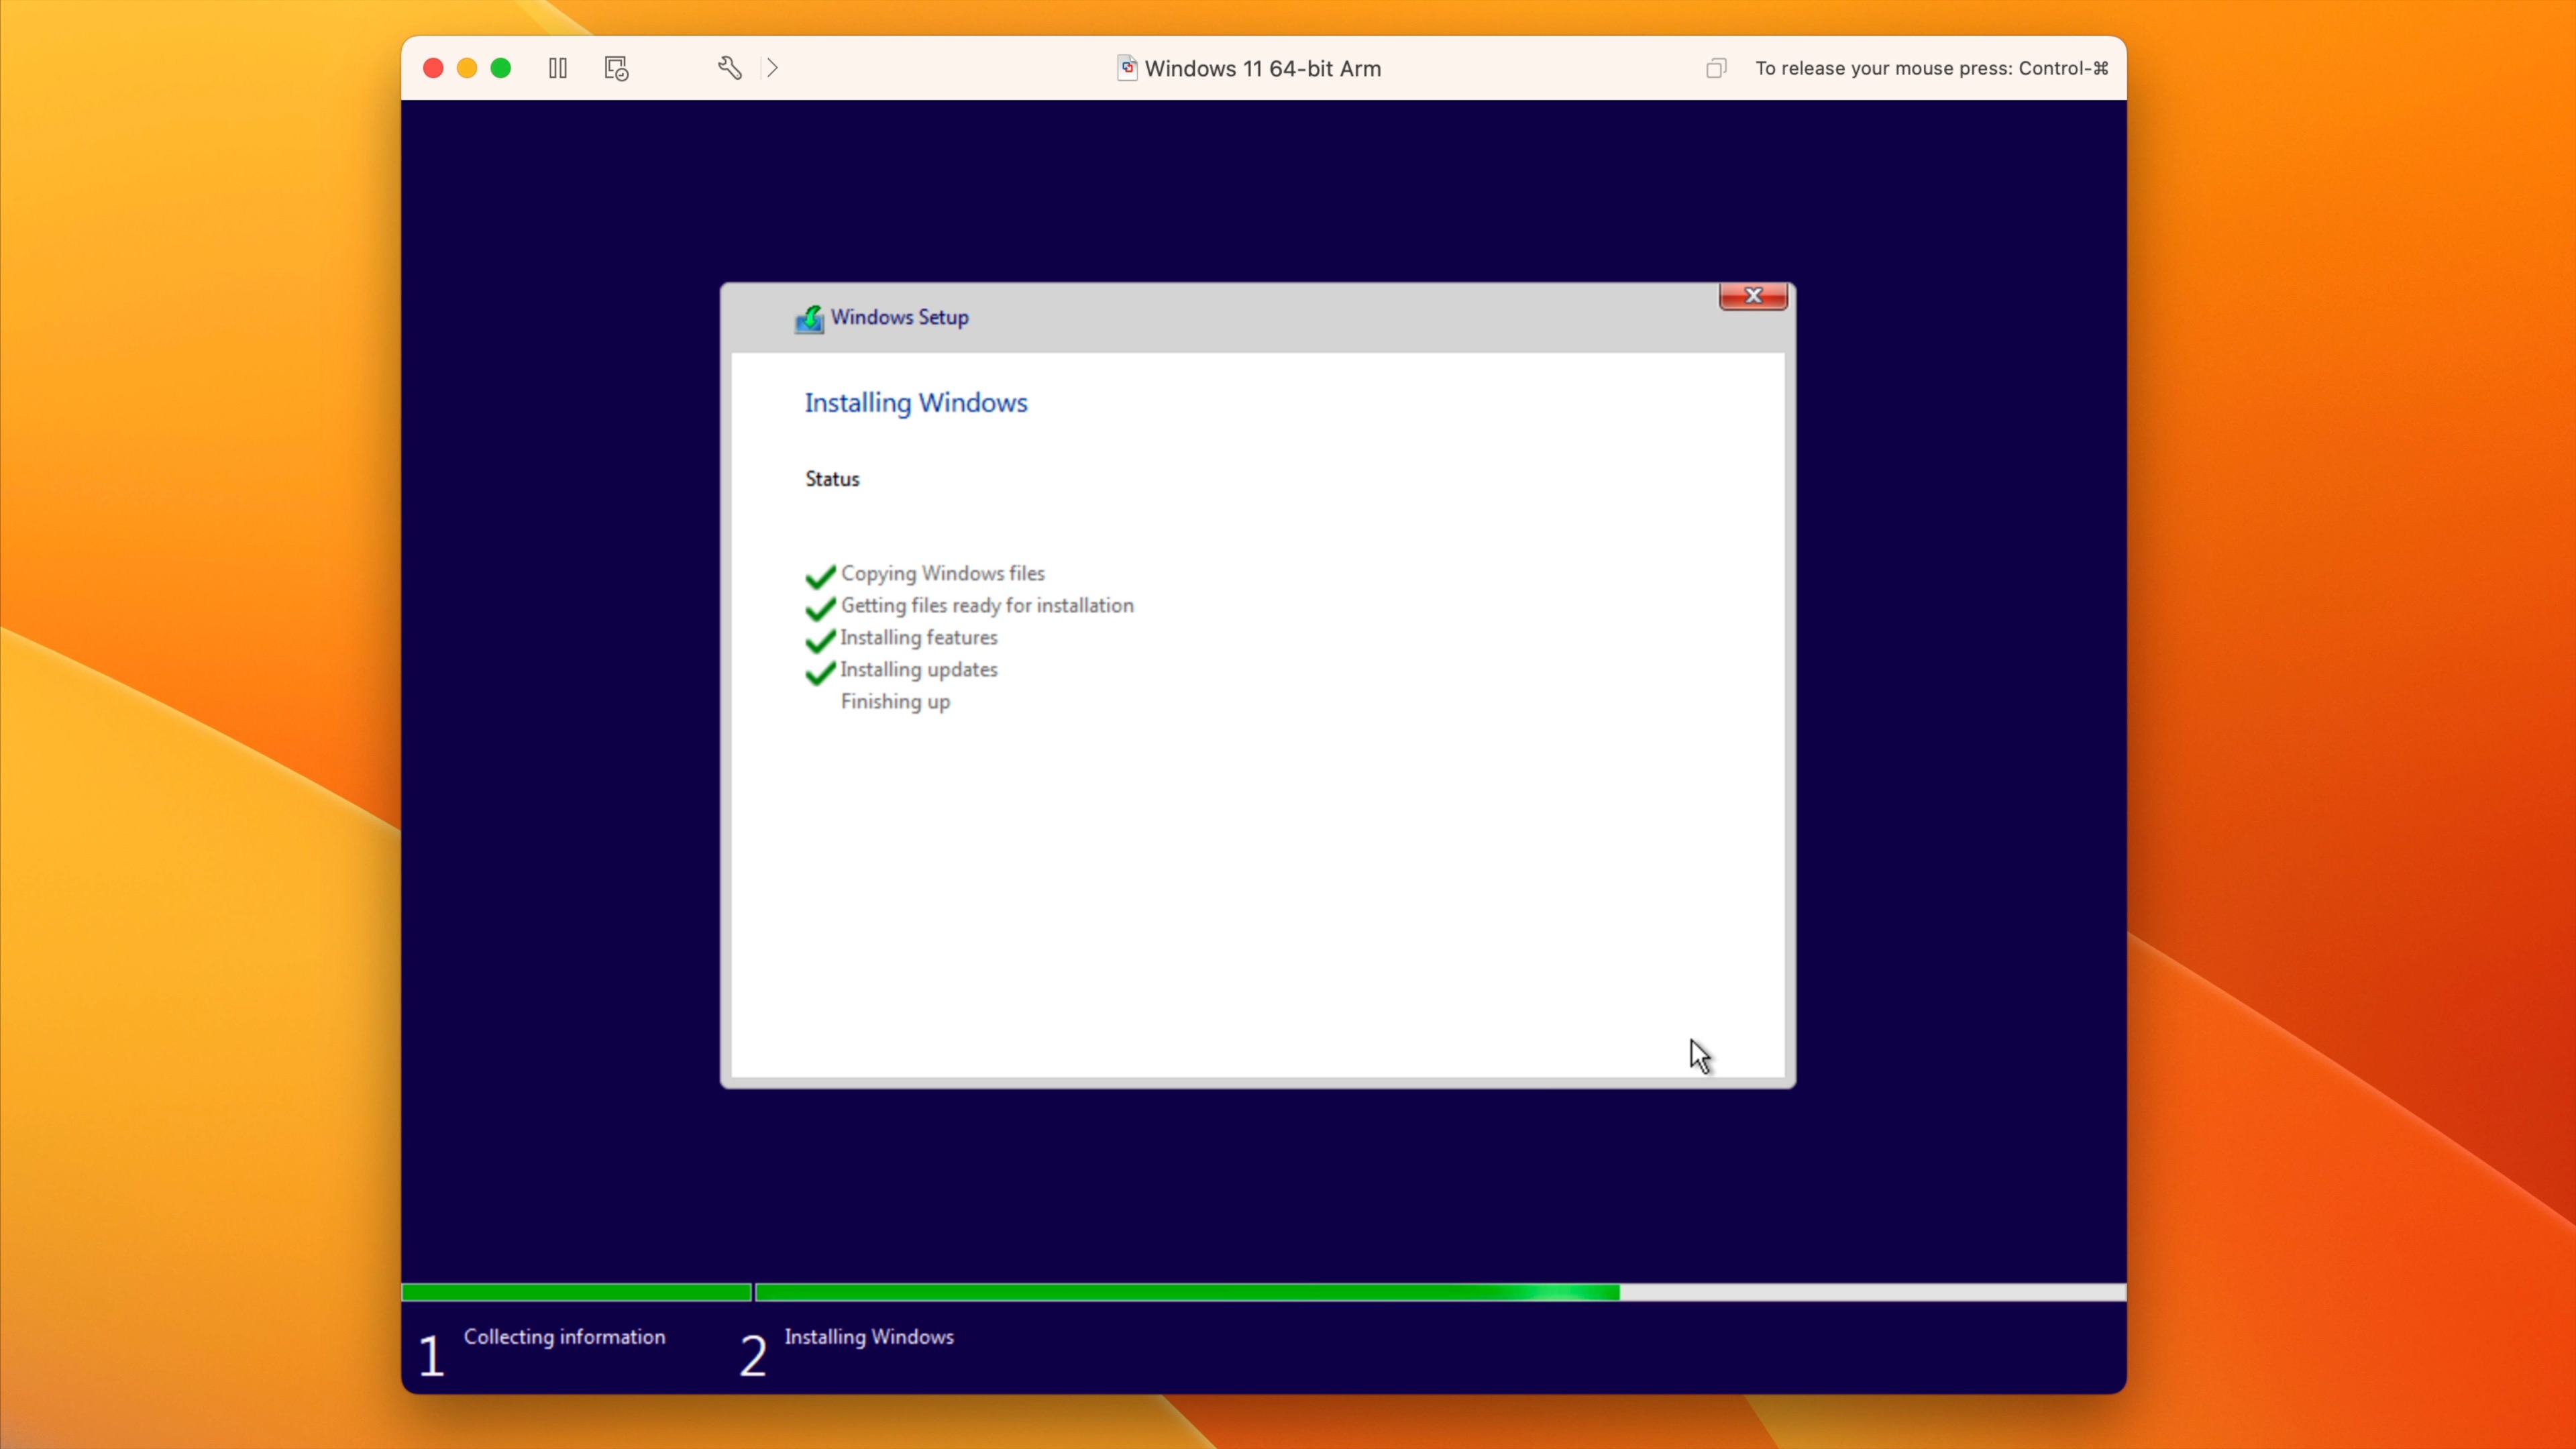
Step 15: Choose Customized Set up Home windows solely (superior) and on the The place do you need to set up Home windows web page, click on Subsequent. Home windows Setup will proceed to repeat recordsdata, and set up Home windows 11. As soon as the set up is accomplished you’ll be prompted to reboot.
Configure Home windows 11, set up community and show drivers
Home windows for ARM doesn’t embrace the wanted VMXNet3 digital community driver, so that you’ll have to bypass community enrollment to get by means of the Home windows setup efficiently. As soon as Home windows is on the House Display screen, we’ll use PowerShell to make it potential to put in VMware instruments, which is able to then set up the wanted community and show drivers.
Step 1: Whereas on the Is that this the correct nation or area? web page, press Shift+F10. In case your keyboard is about up as default, and also you’re utilizing a Magic Keyboard or MacBook, you’ll have to press Fn+Shift+F10 as an alternative. Doing so will open the Home windows Command Immediate.
Step 2: On the command immediate, kind the next and press Return:
OOBEBYPASSNRO
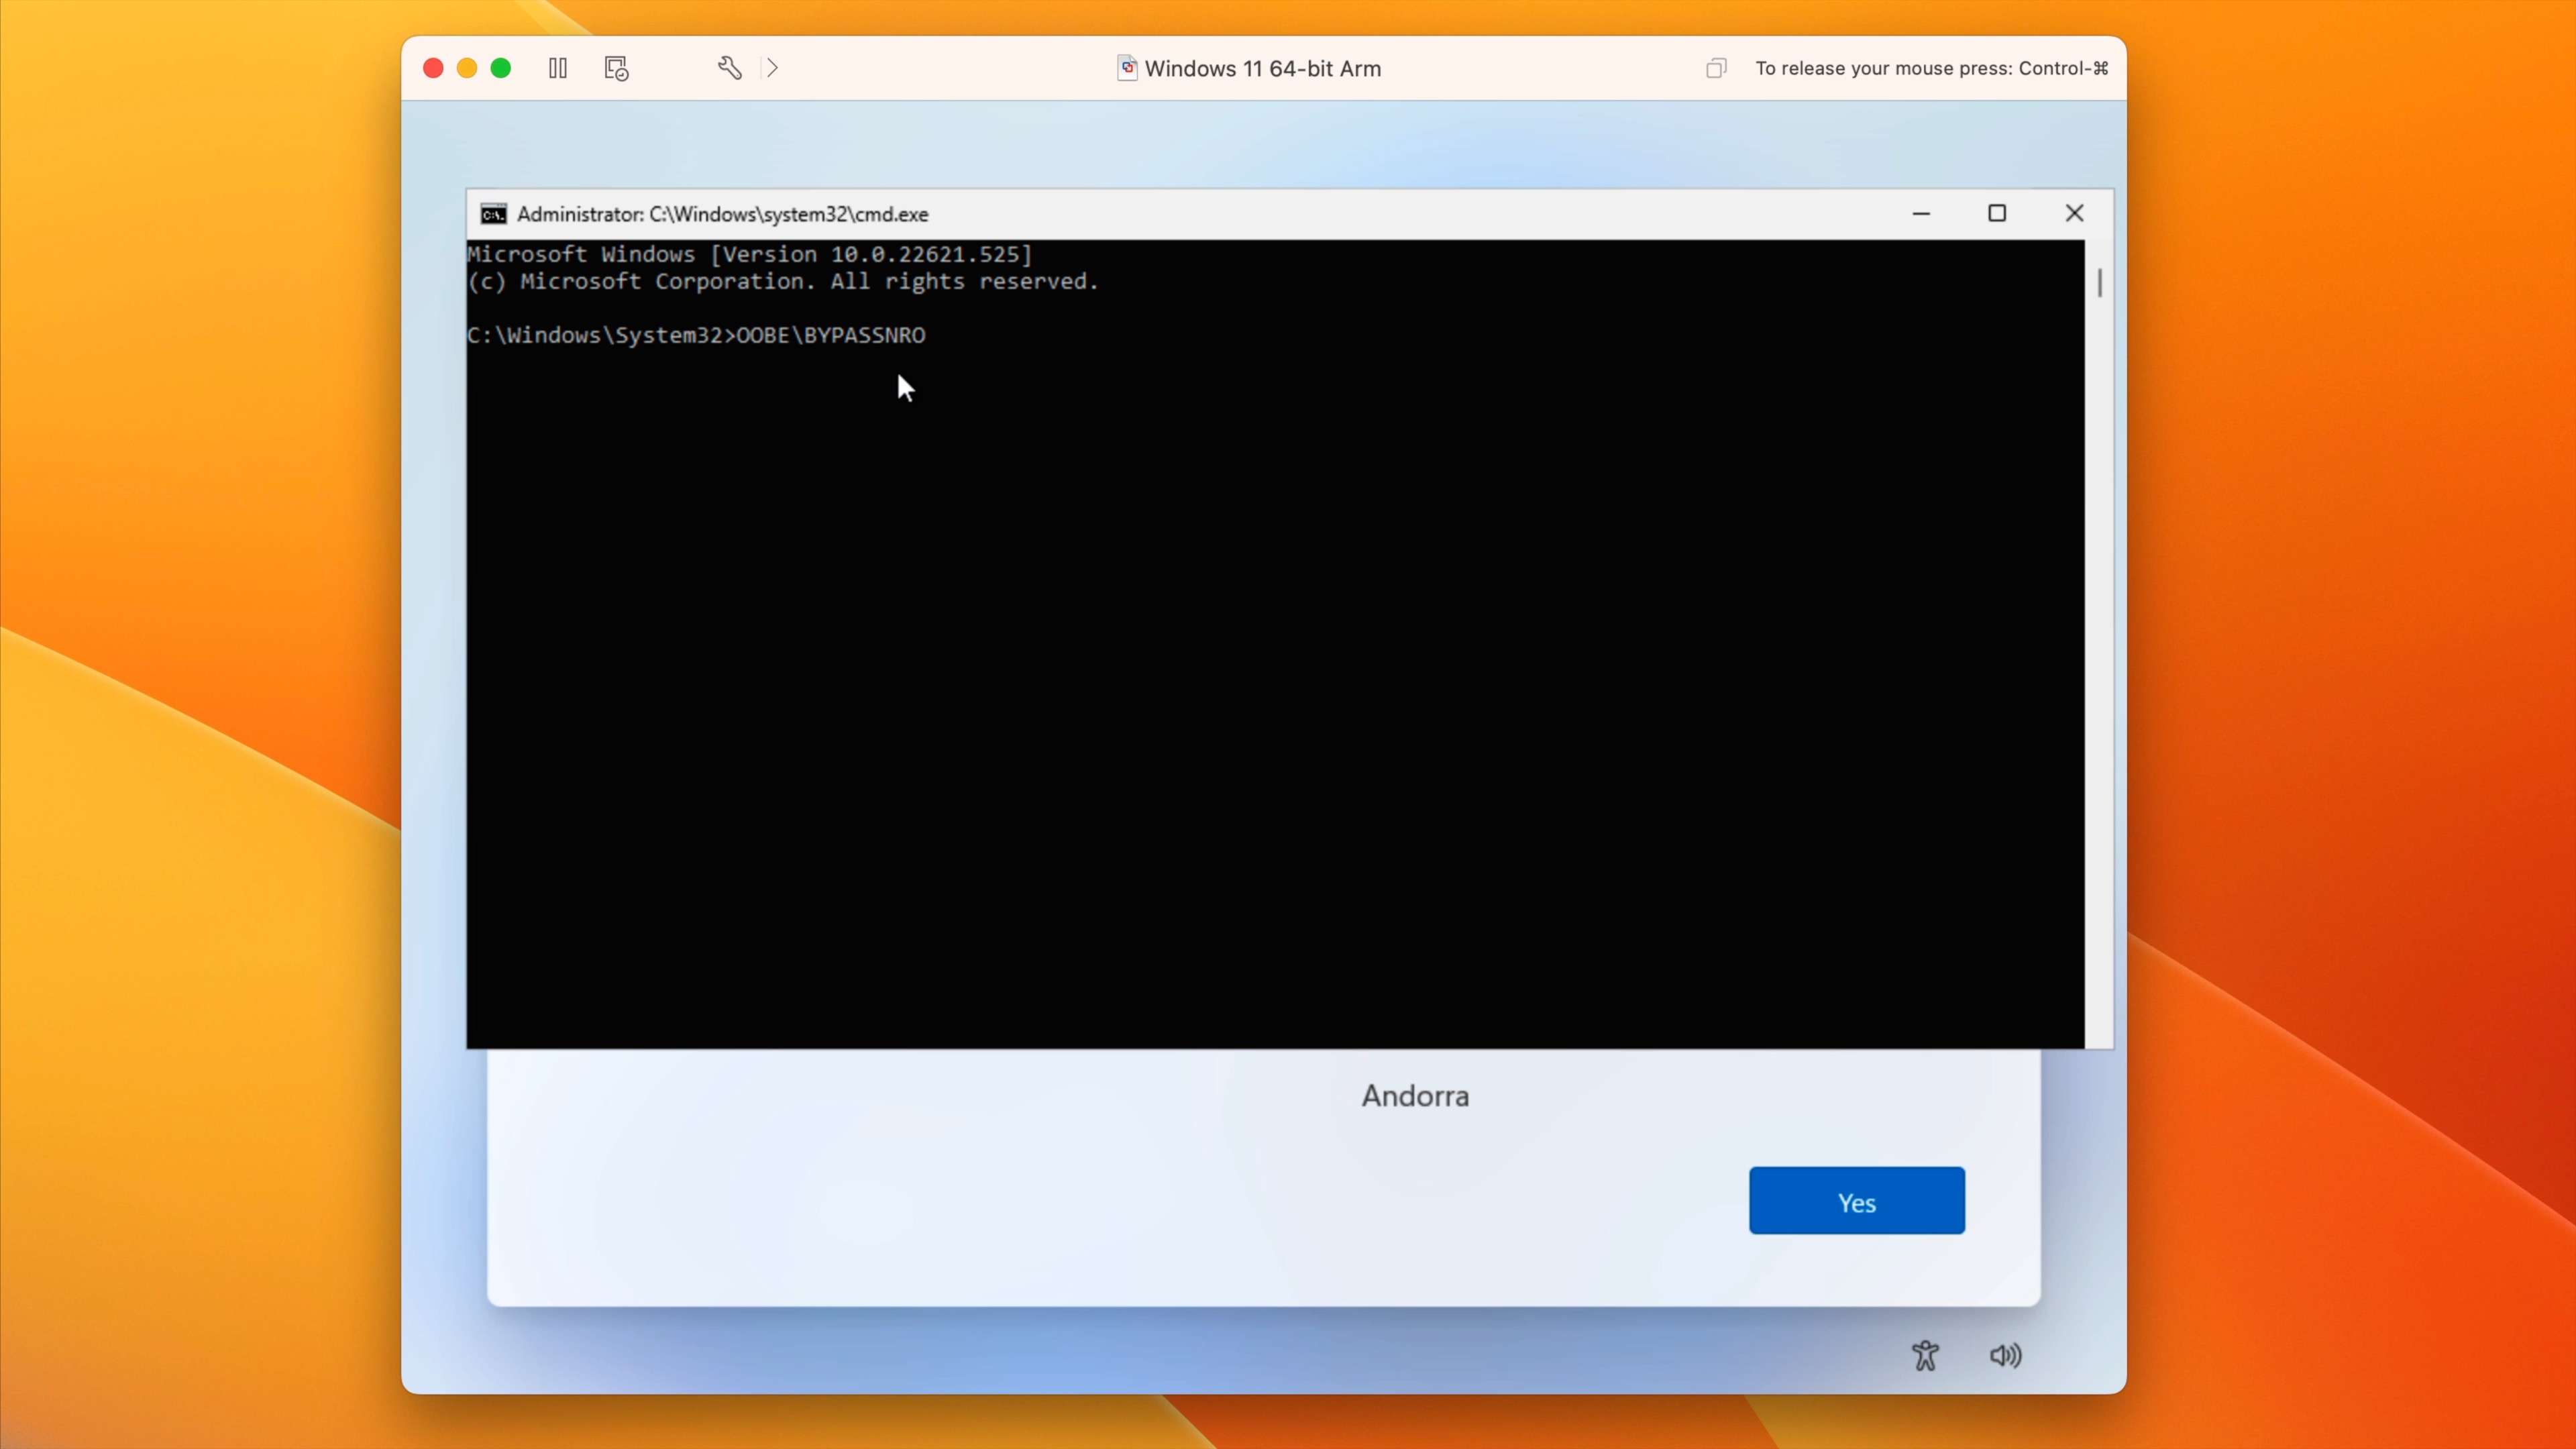
Step 3: Home windows will reboot and restart Home windows Setup. Choose your Nation and keyboard structure and click on Sure. On the second keyboard structure web page click on Skip.
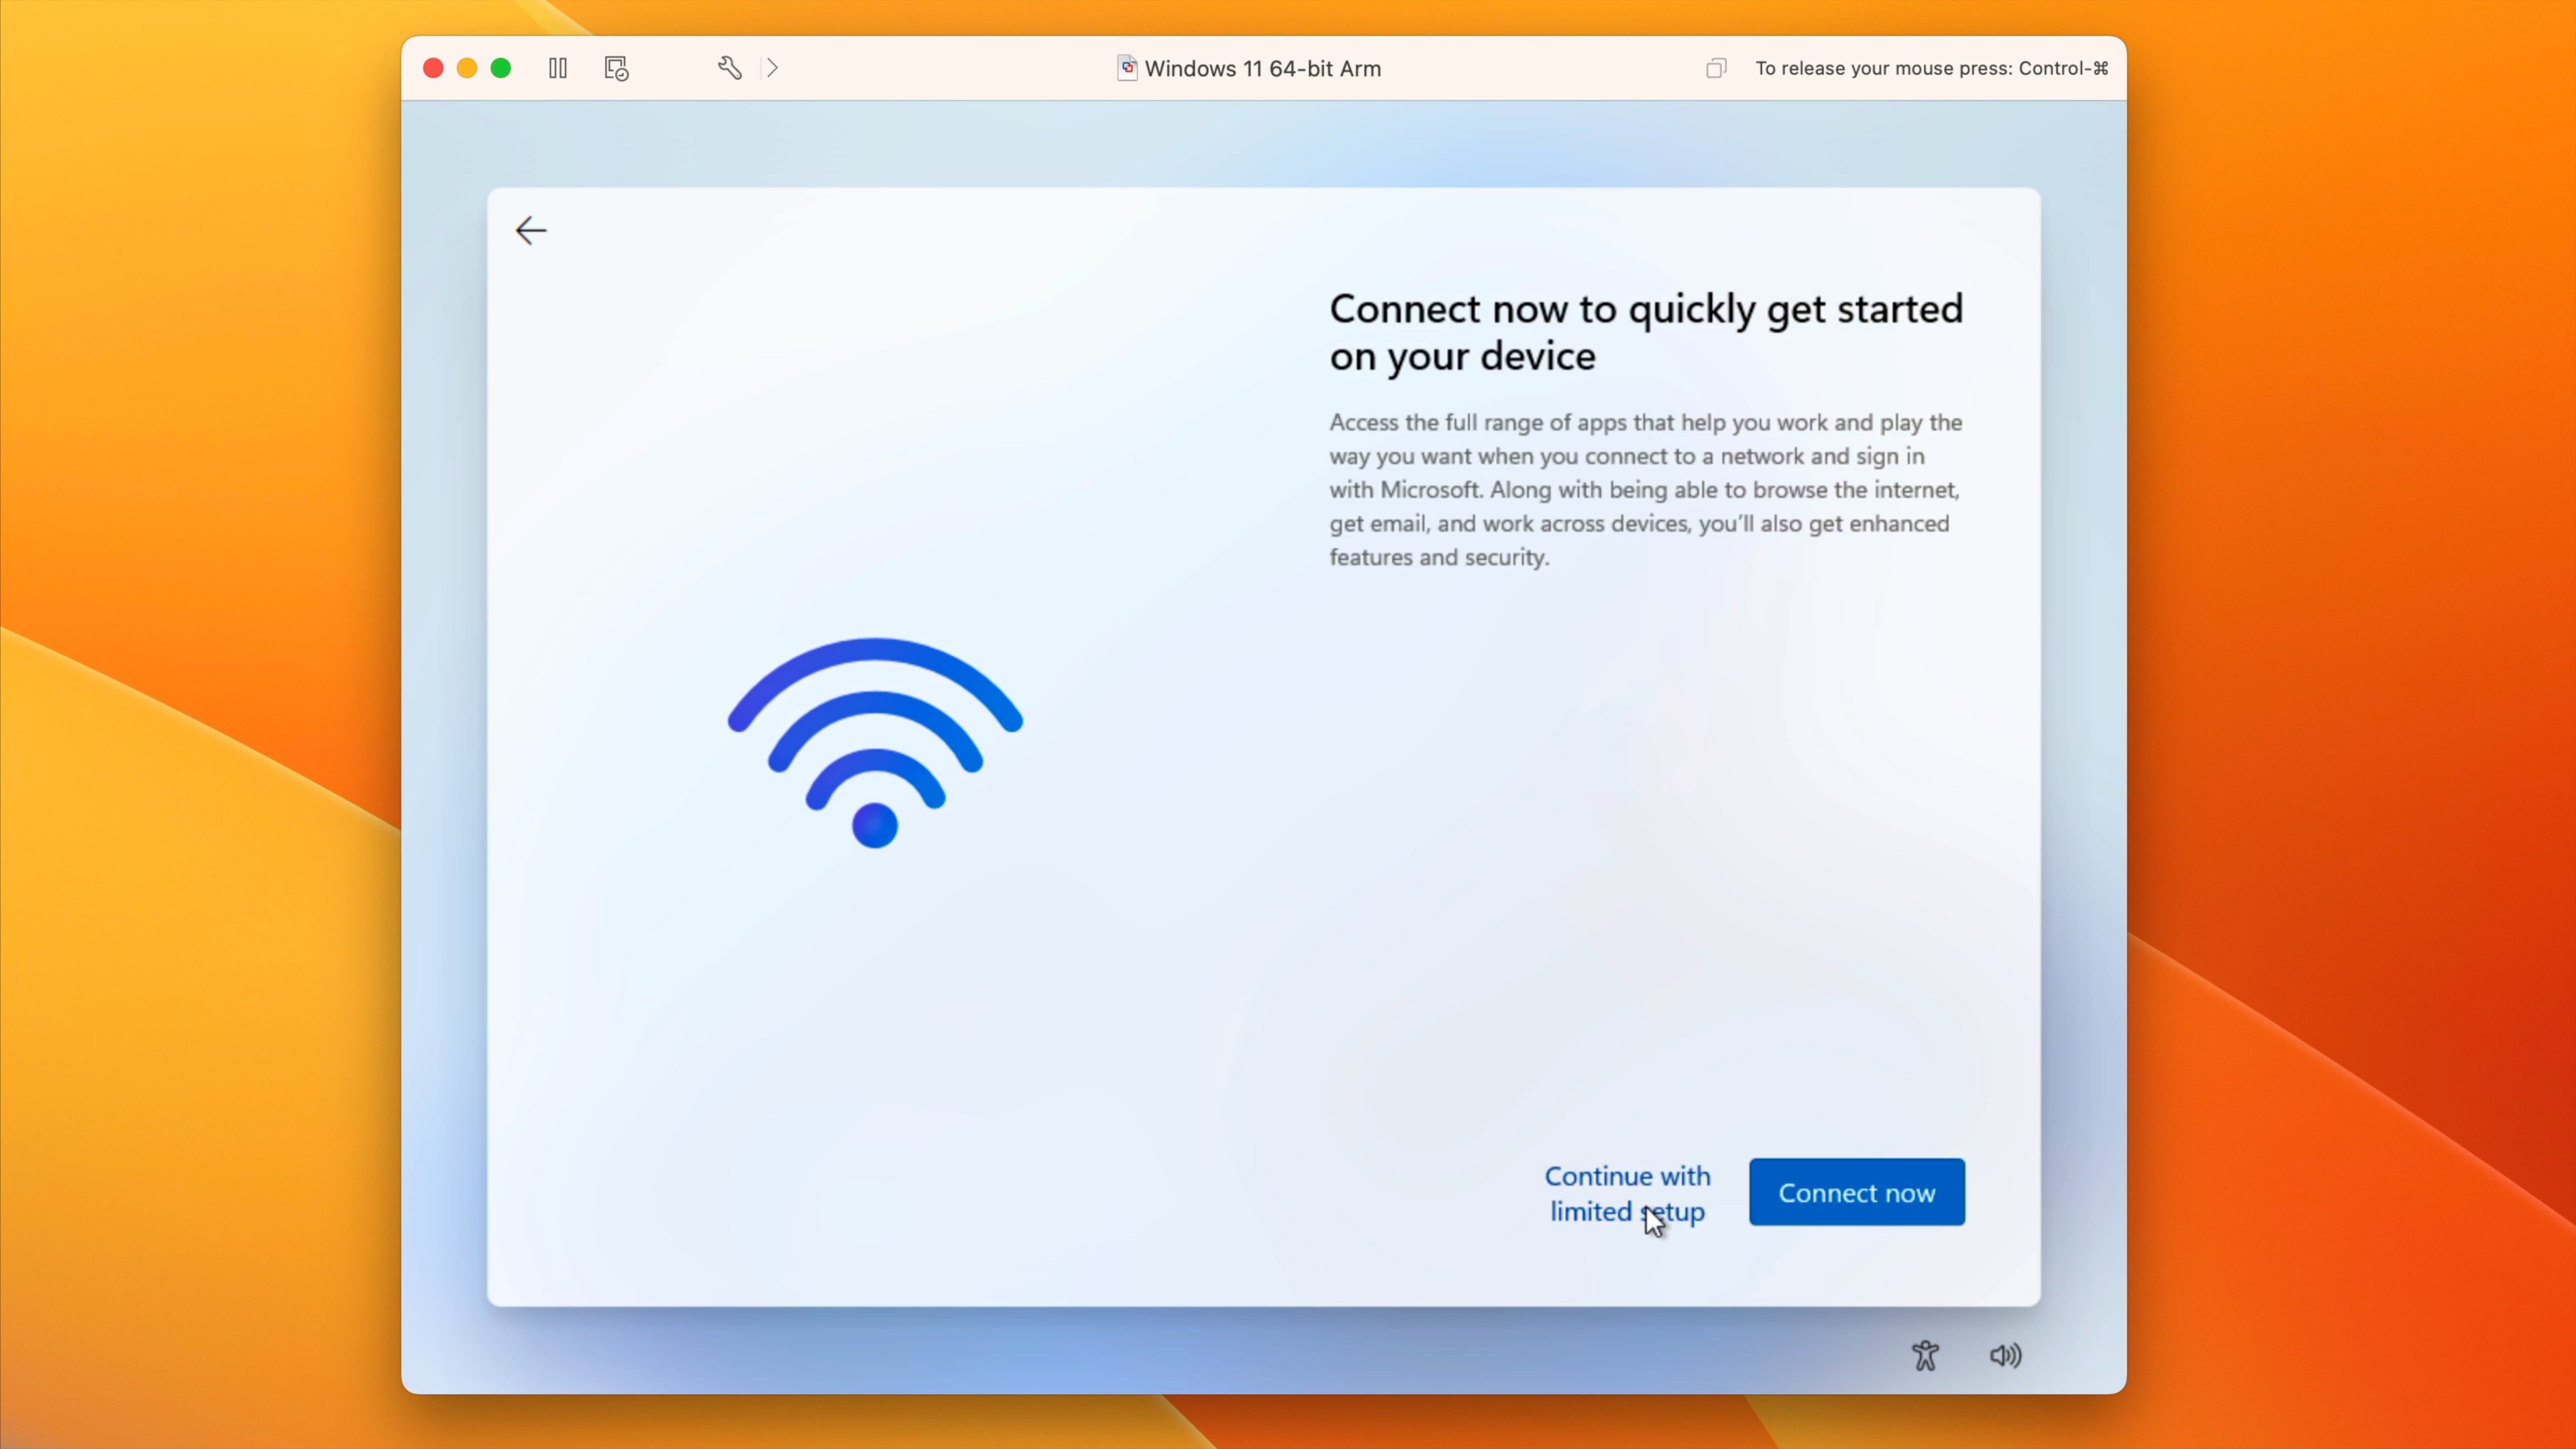
Step 4: On the Let’s join you to a community web page, click on I don’t have web on the backside of the web page and click on Proceed with restricted setup on the following web page.
Step 5: Enter your identify and click on Subsequent. You could assign a password now, or depart the password discipline clean and click on Subsequent.
Step 6: Disable the entire privateness settings and click on Settle for. Home windows will now proceed to get issues prepared within the background. This will likely take some time, simply be affected person, and ultimately you’ll be delivered to the Home windows desktop.
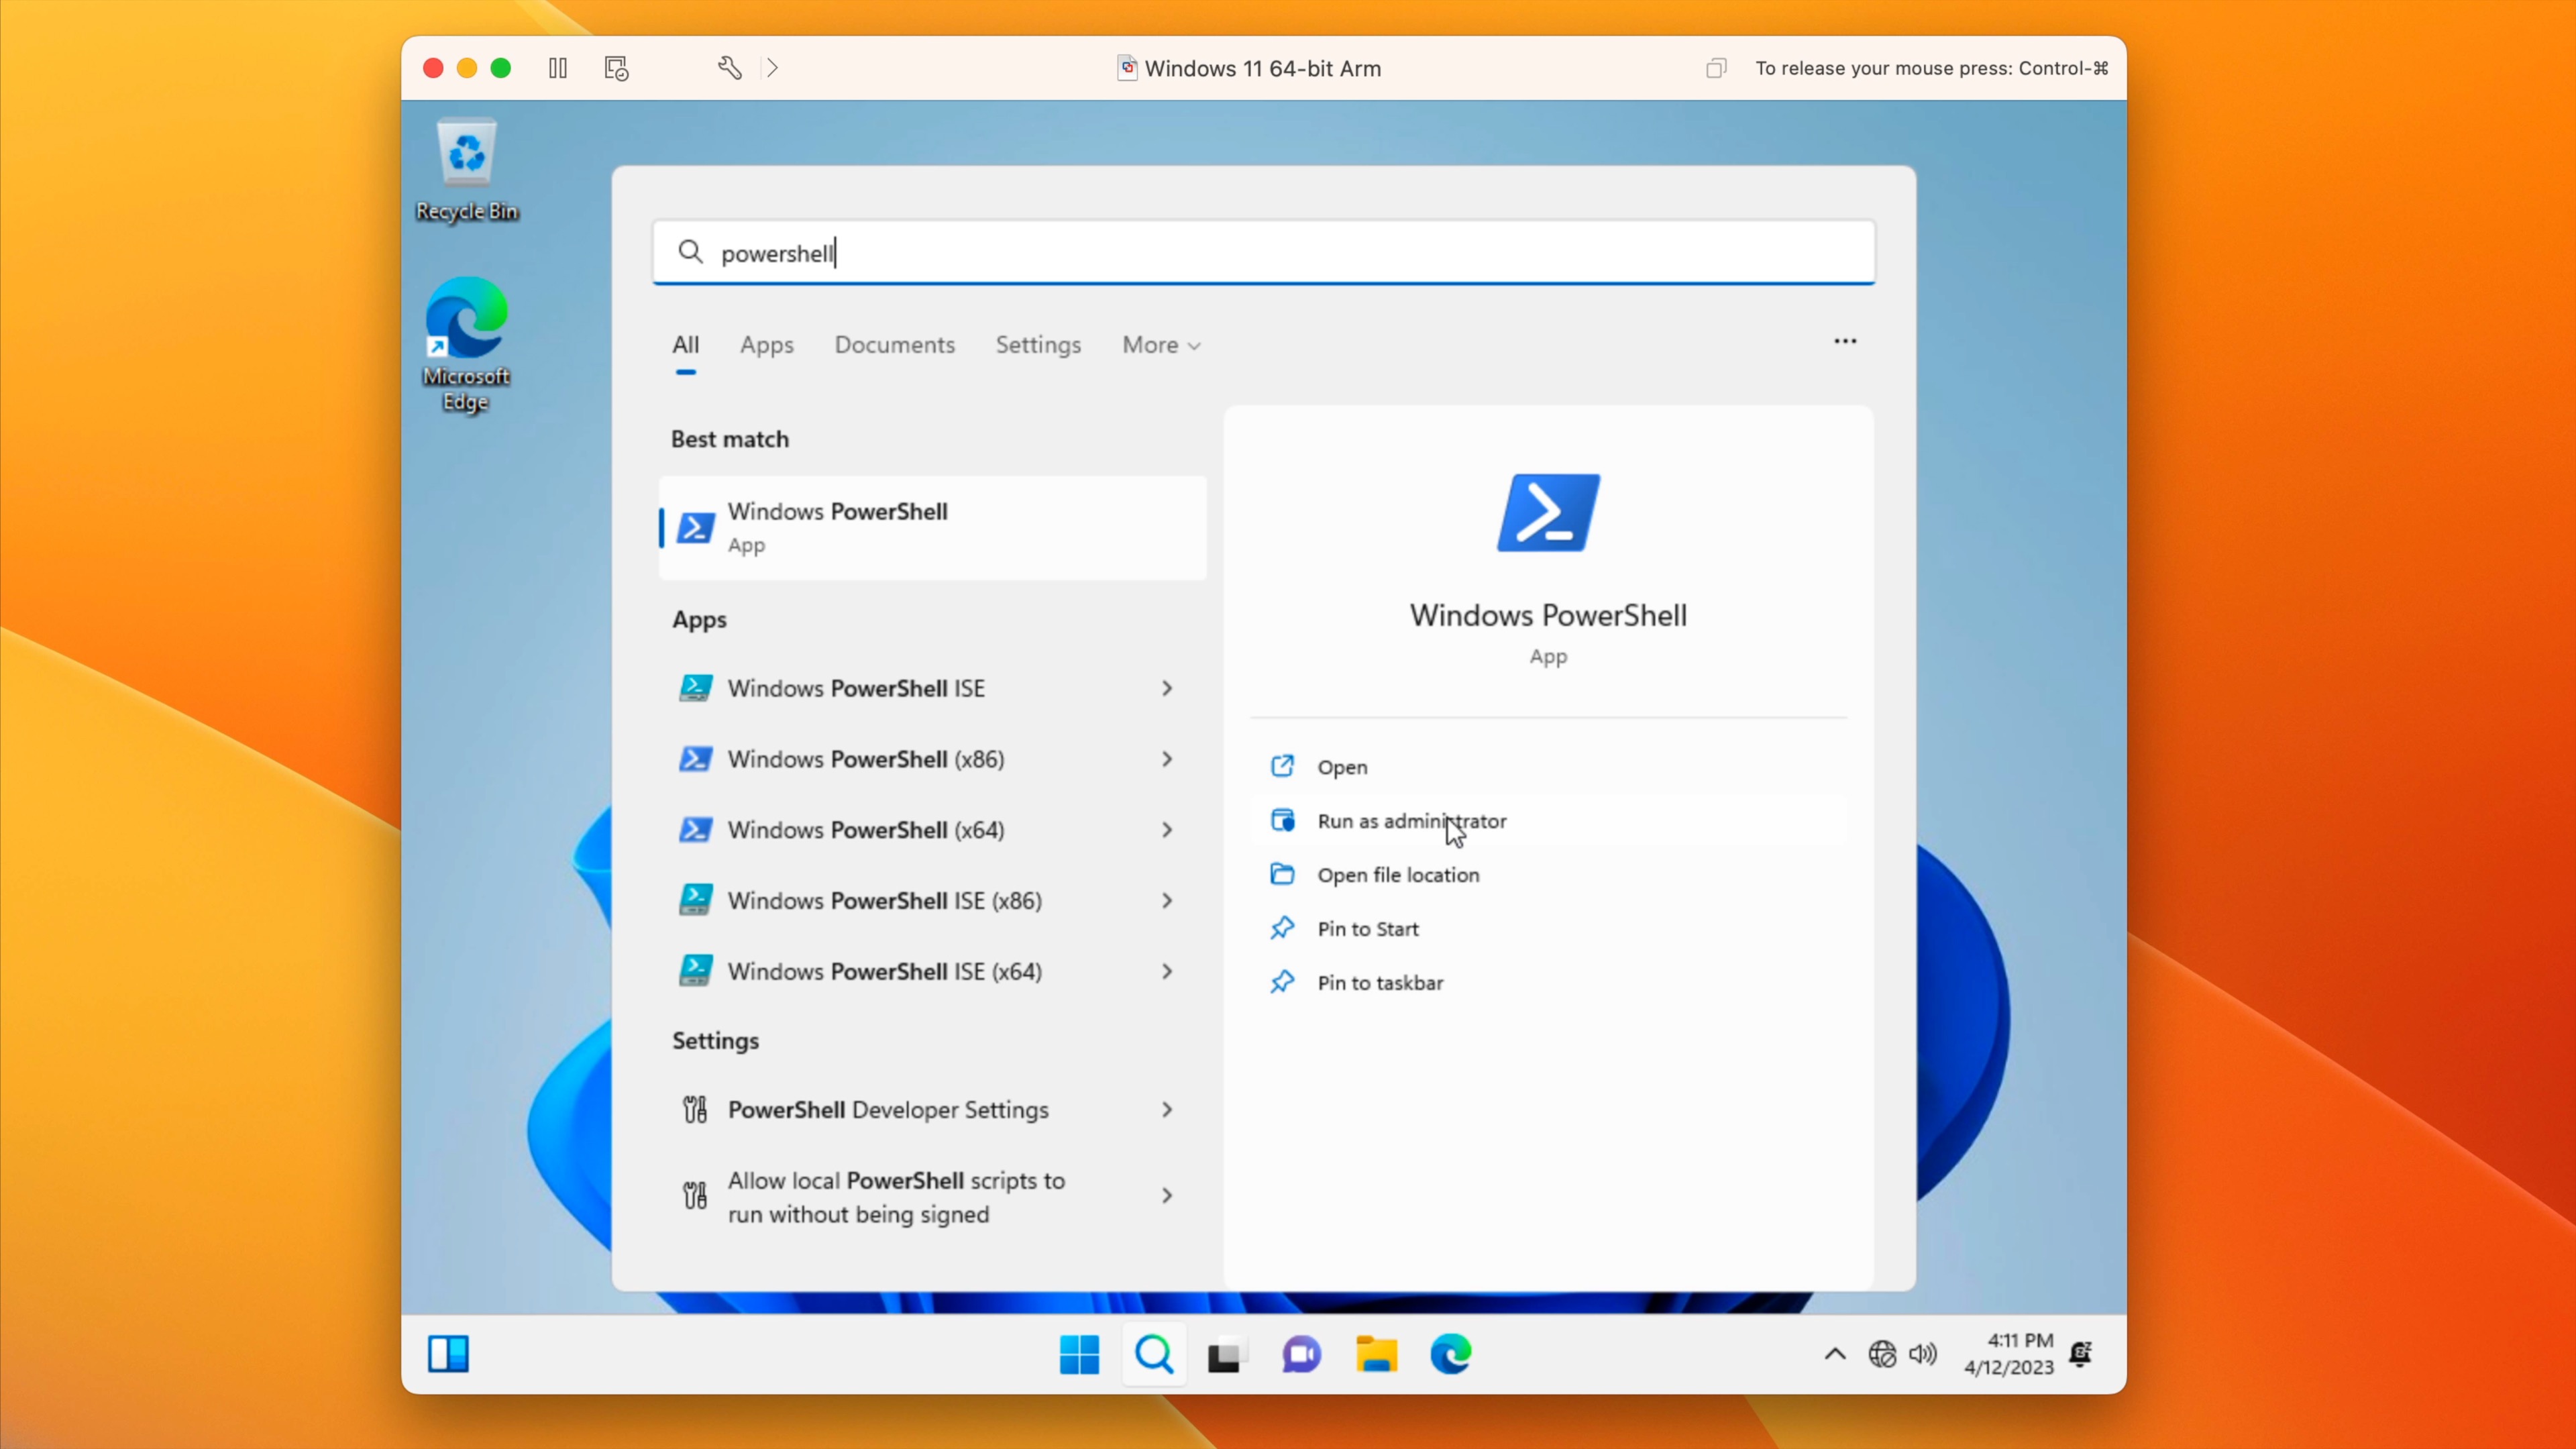
Step 7: Open the Begin Menu, kind “PowerShell” within the search field, and click on Run as administrator for PowerShell. Click on Sure on the Consumer Account Management pop up, and PowerShell will open.
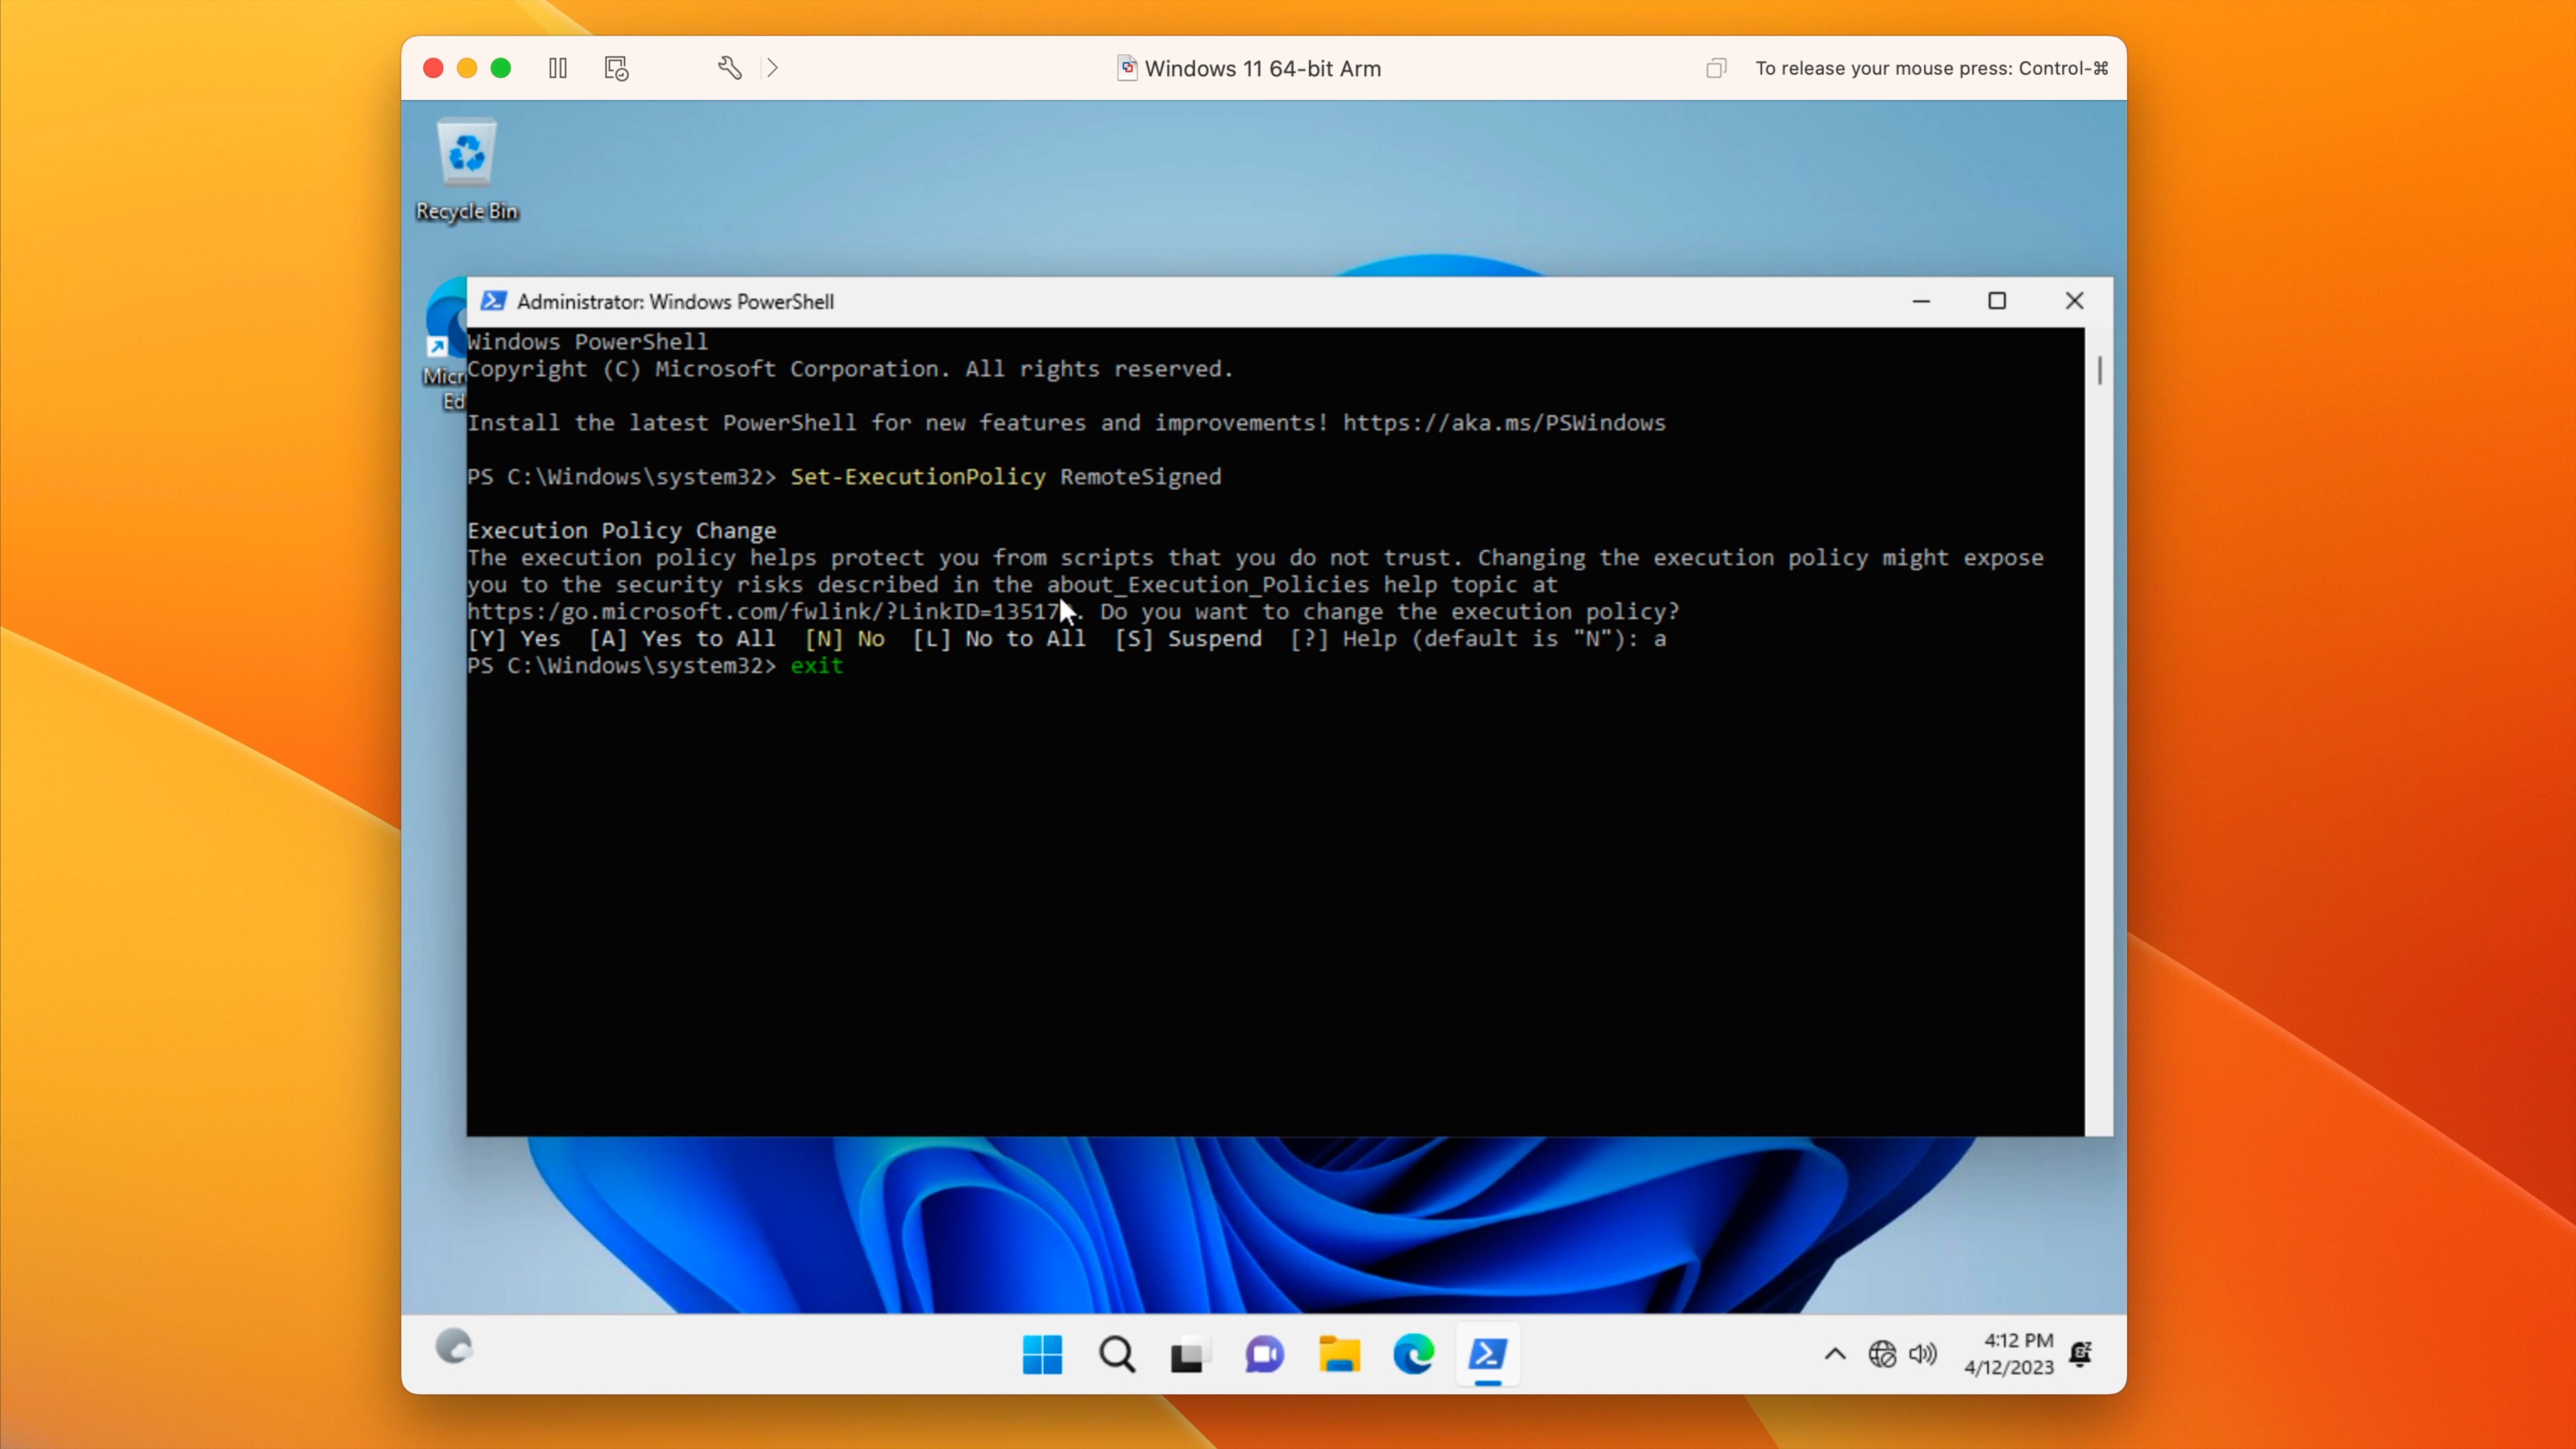
Step 8: On the PowerShell command immediate, kind the next and press Return in your keyboard:
Set-ExecutionPolicy RemoteSigned
You’ll subsequent be requested if you wish to change the execution coverage. Kind “A” to point Sure to All, and press Return in your keyboard after which shut the PowerShell window.
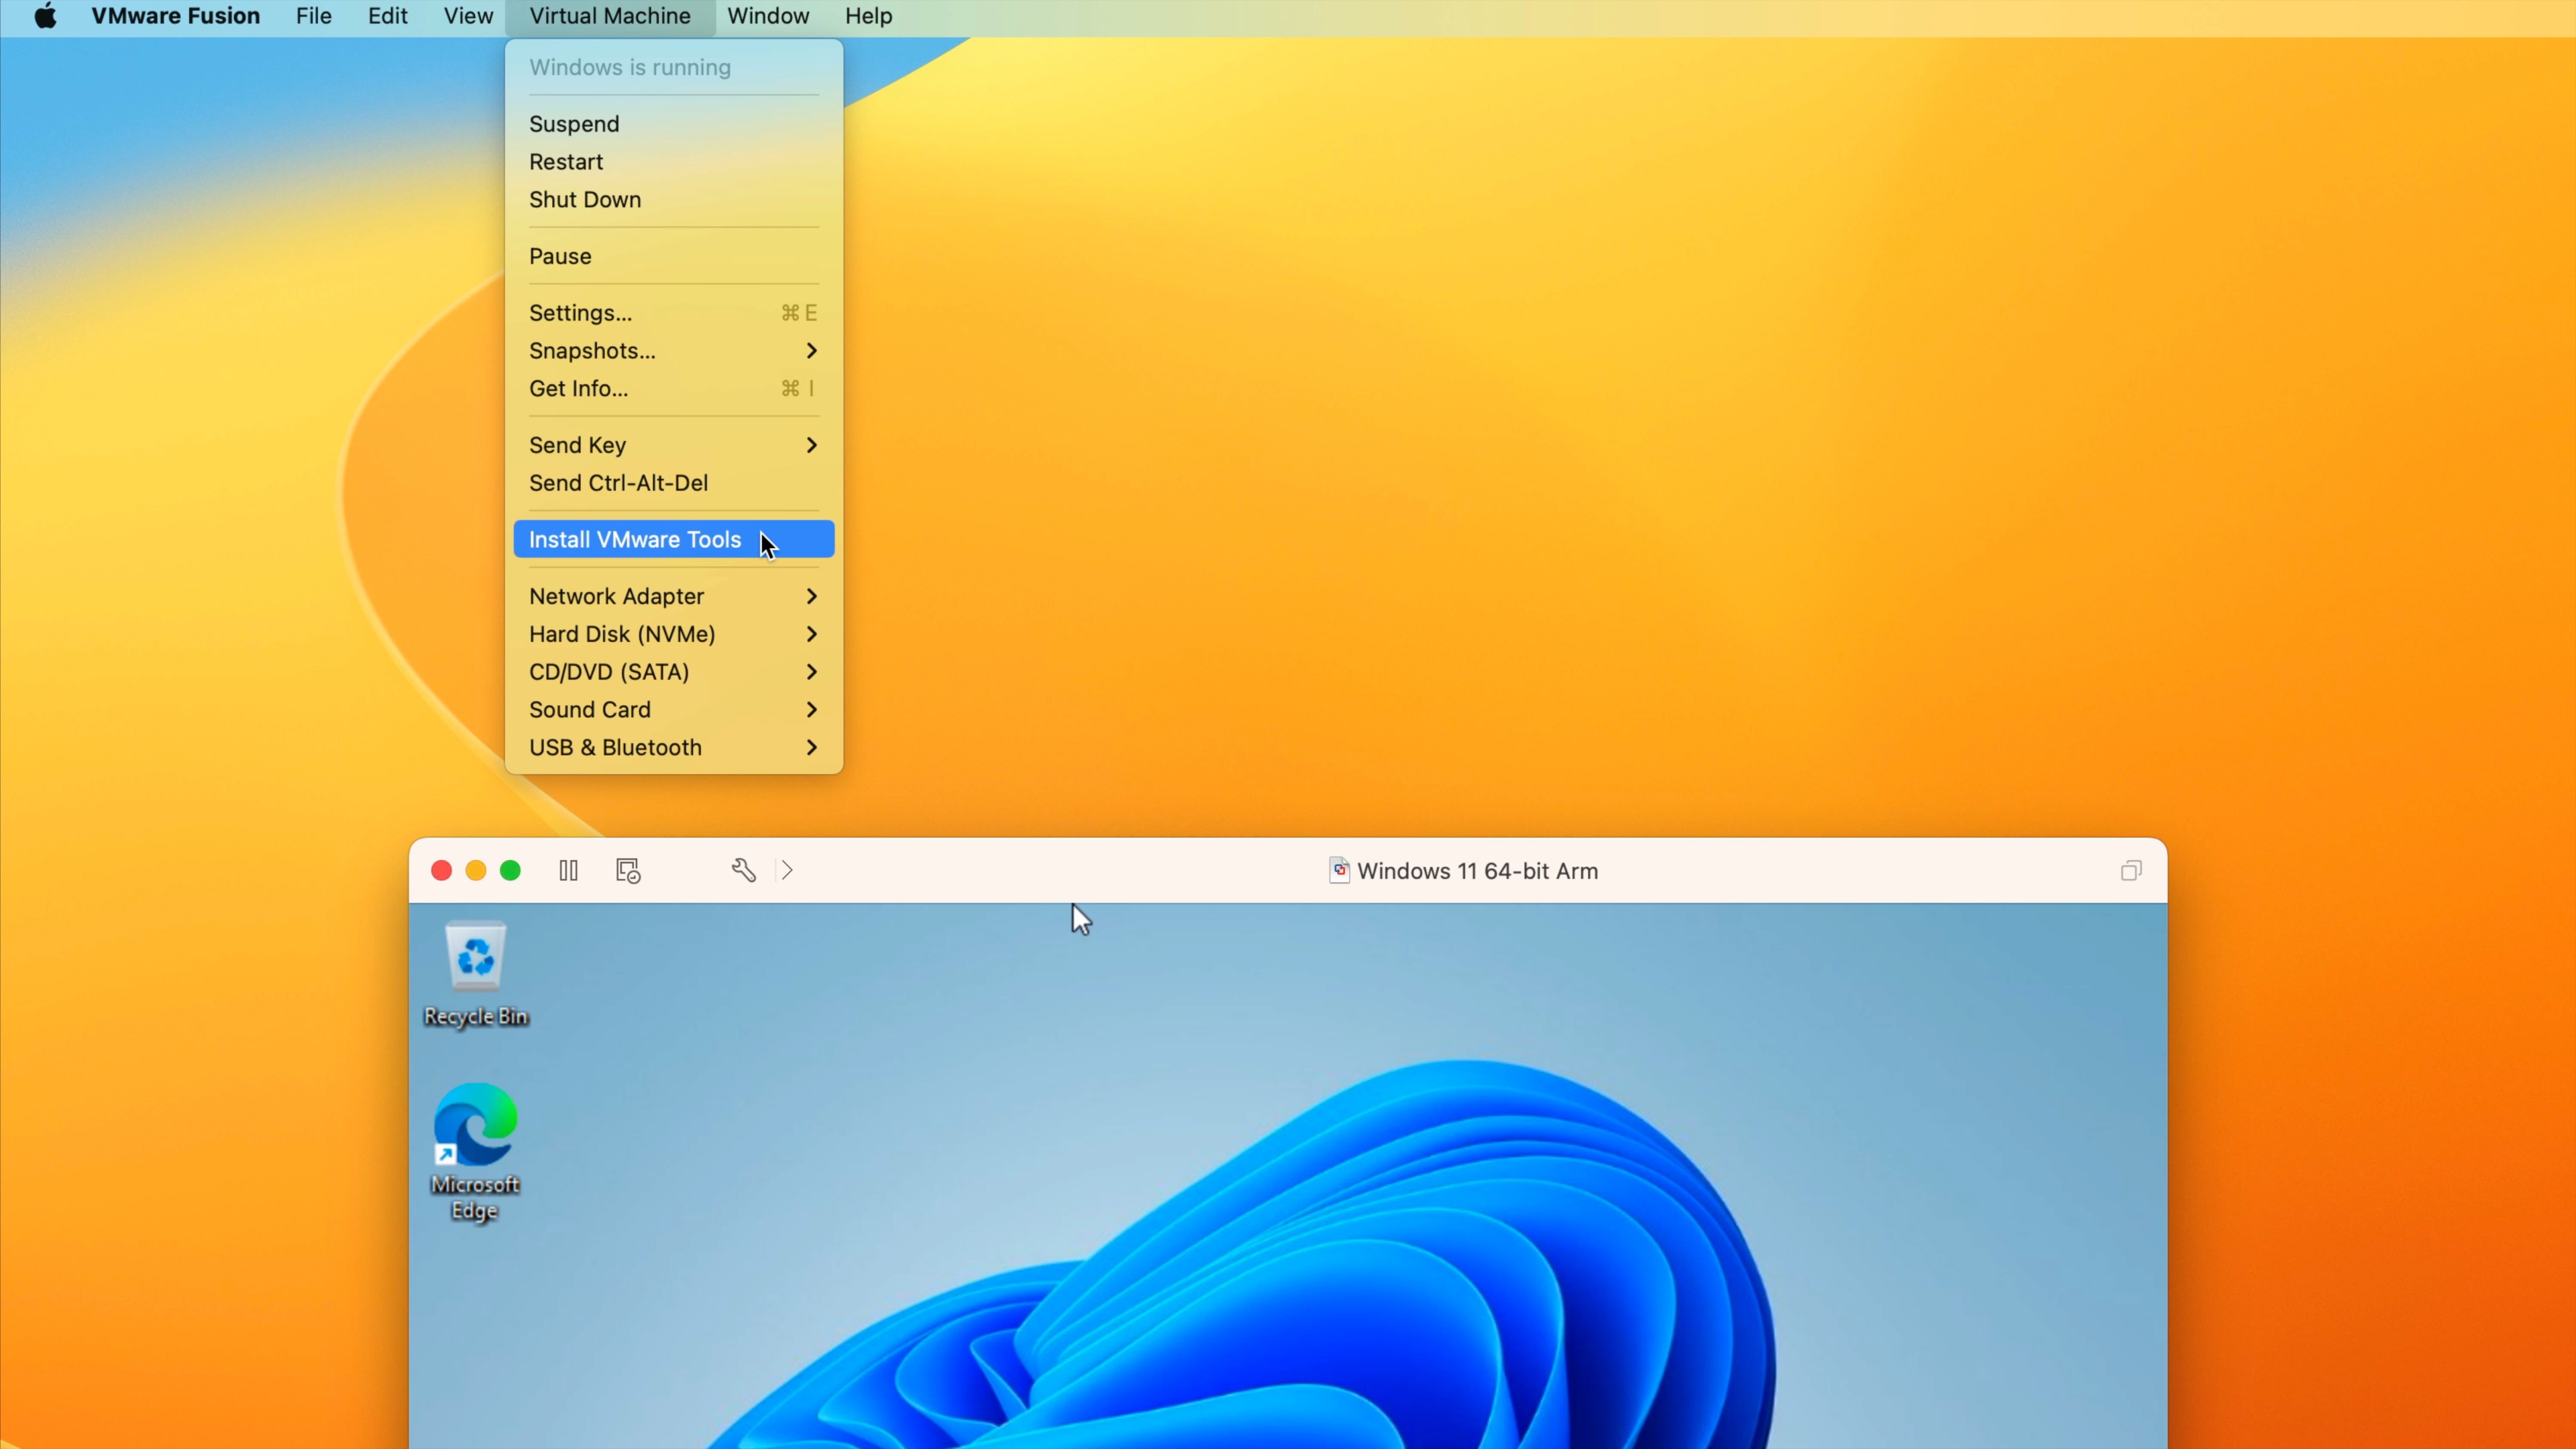
Step 9: Within the Mac menu bar click on Digital Machine → Set up VMware Instruments. Click on the Set up button on the pop-up that seems to mount the digital DVD-ROM drive.
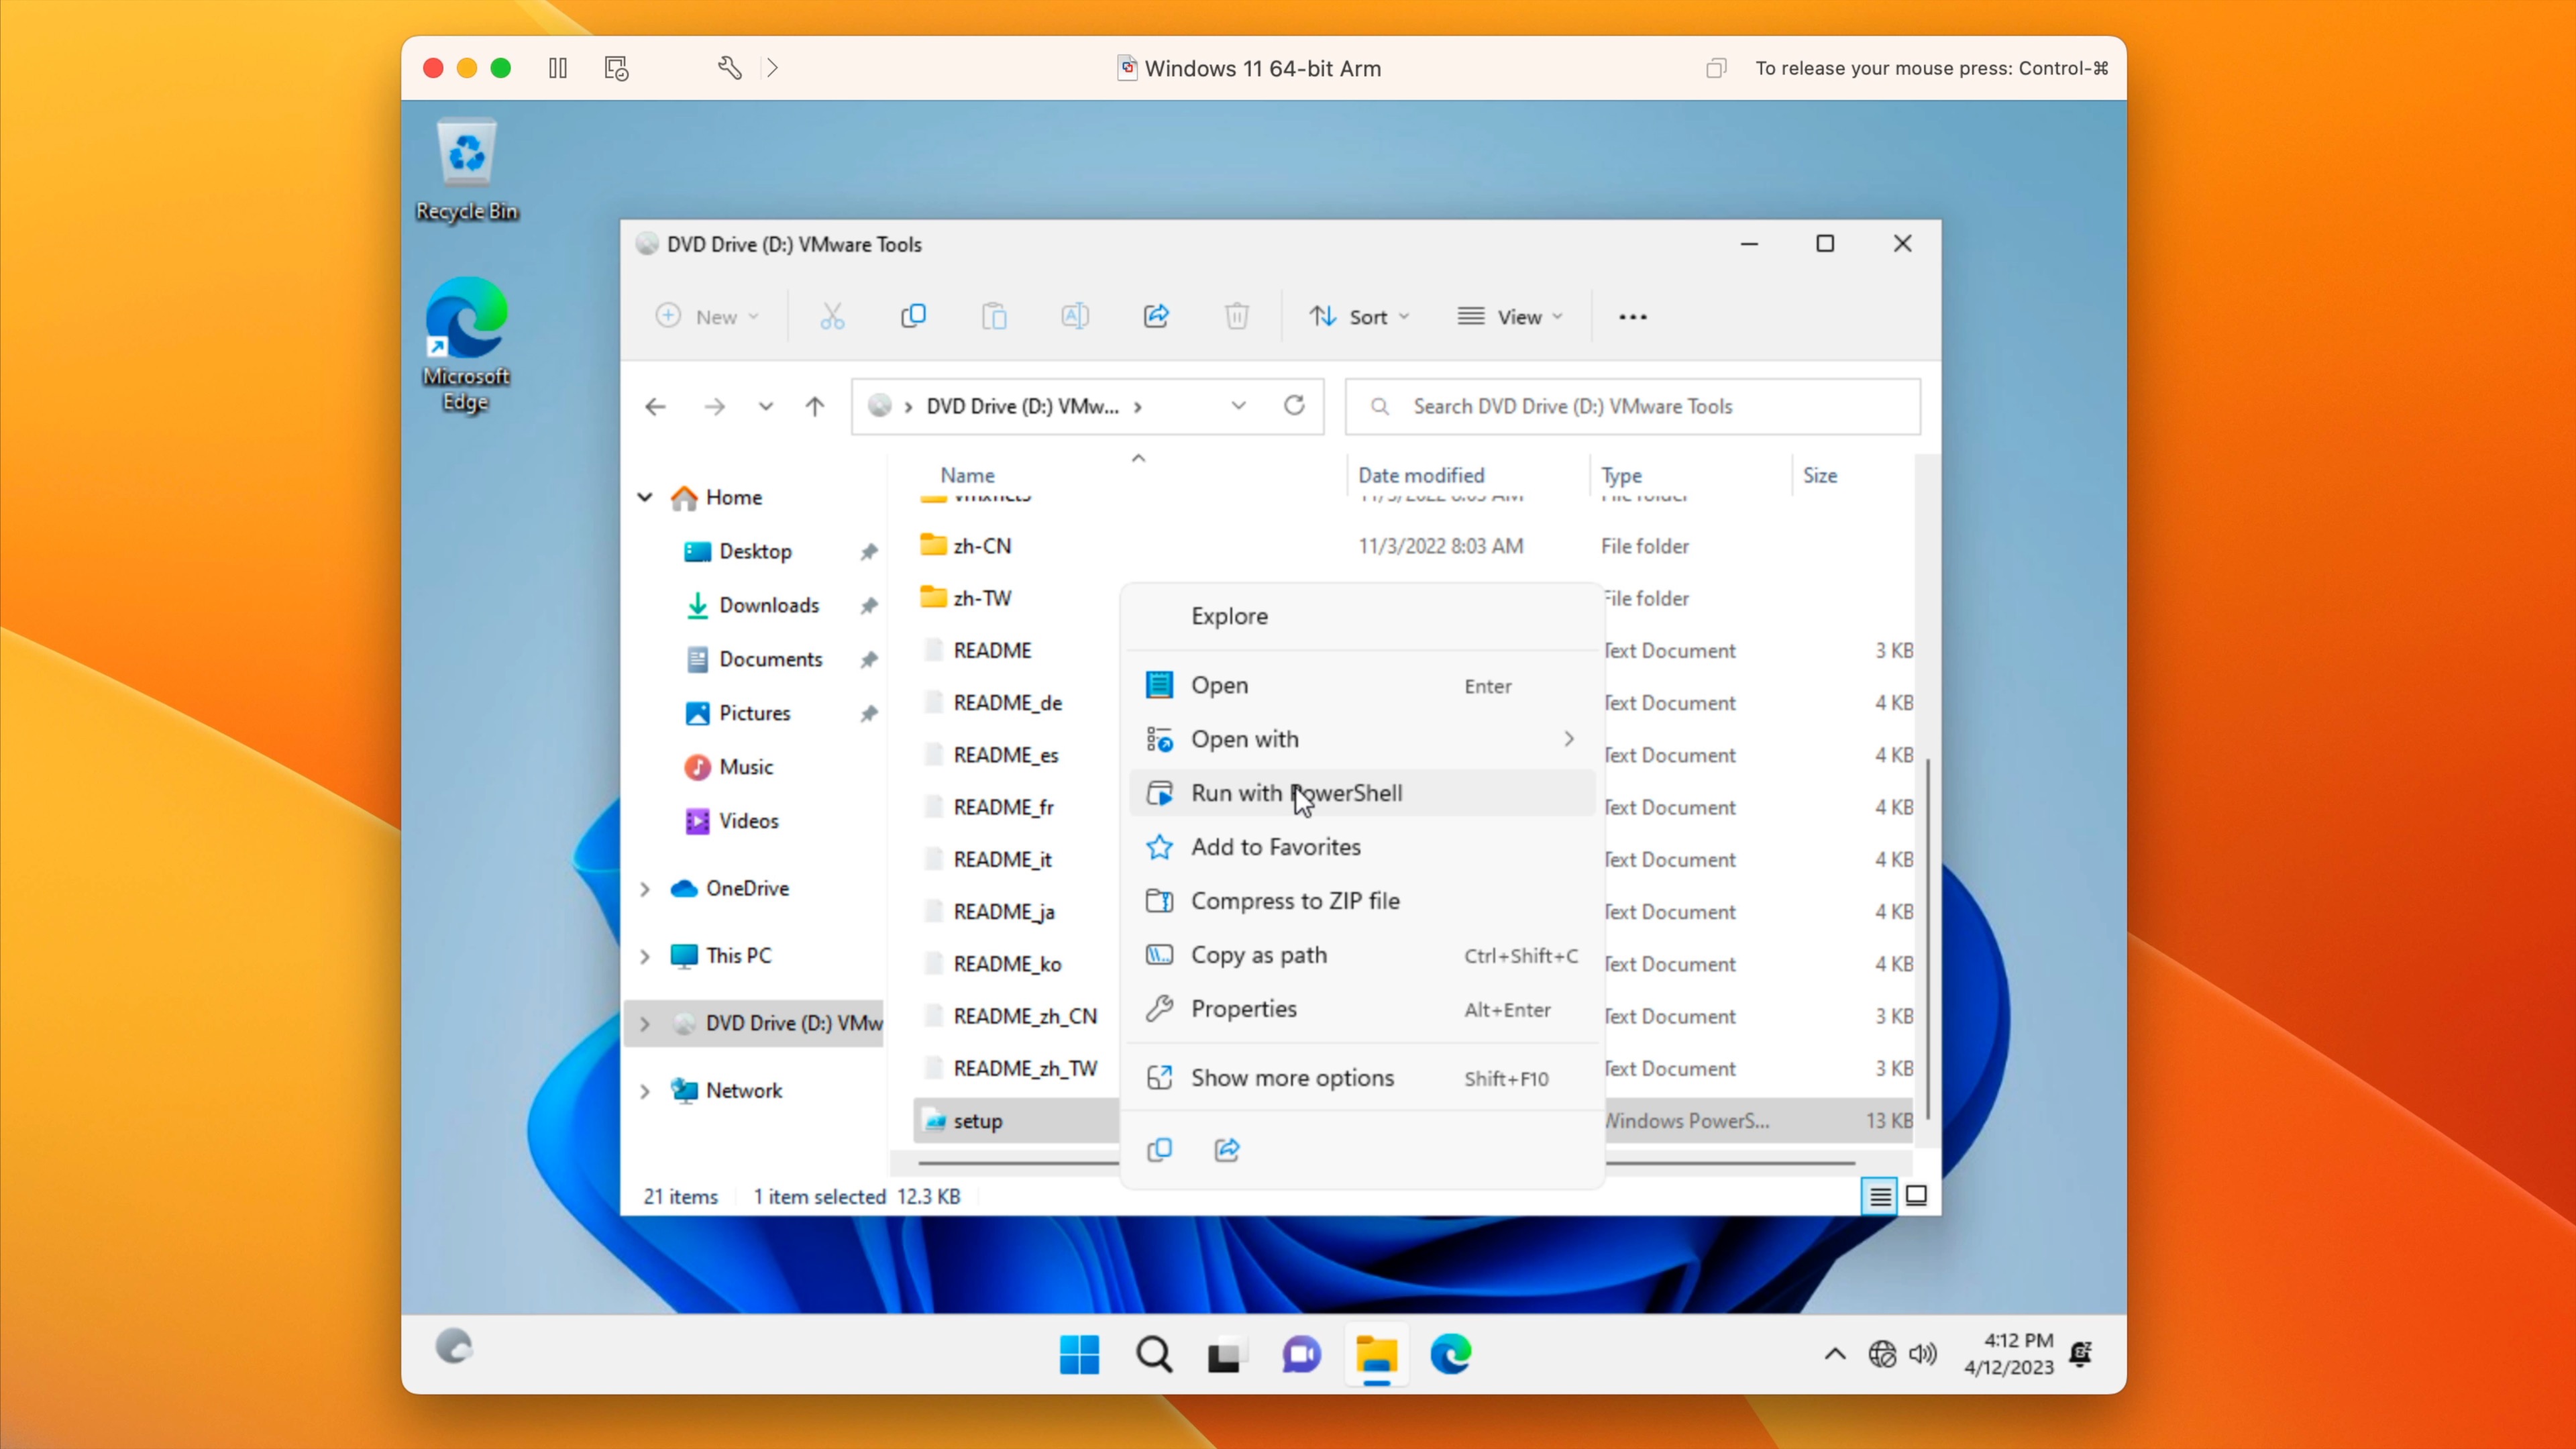
Step 10: Open Widows Explorer and choose the DVD drive. Scroll down till you see the “setup” PowerShell script. Proper click on on setup, choose Run with PowerShell, then click on Sure on the Consumer Account Management pop-up.
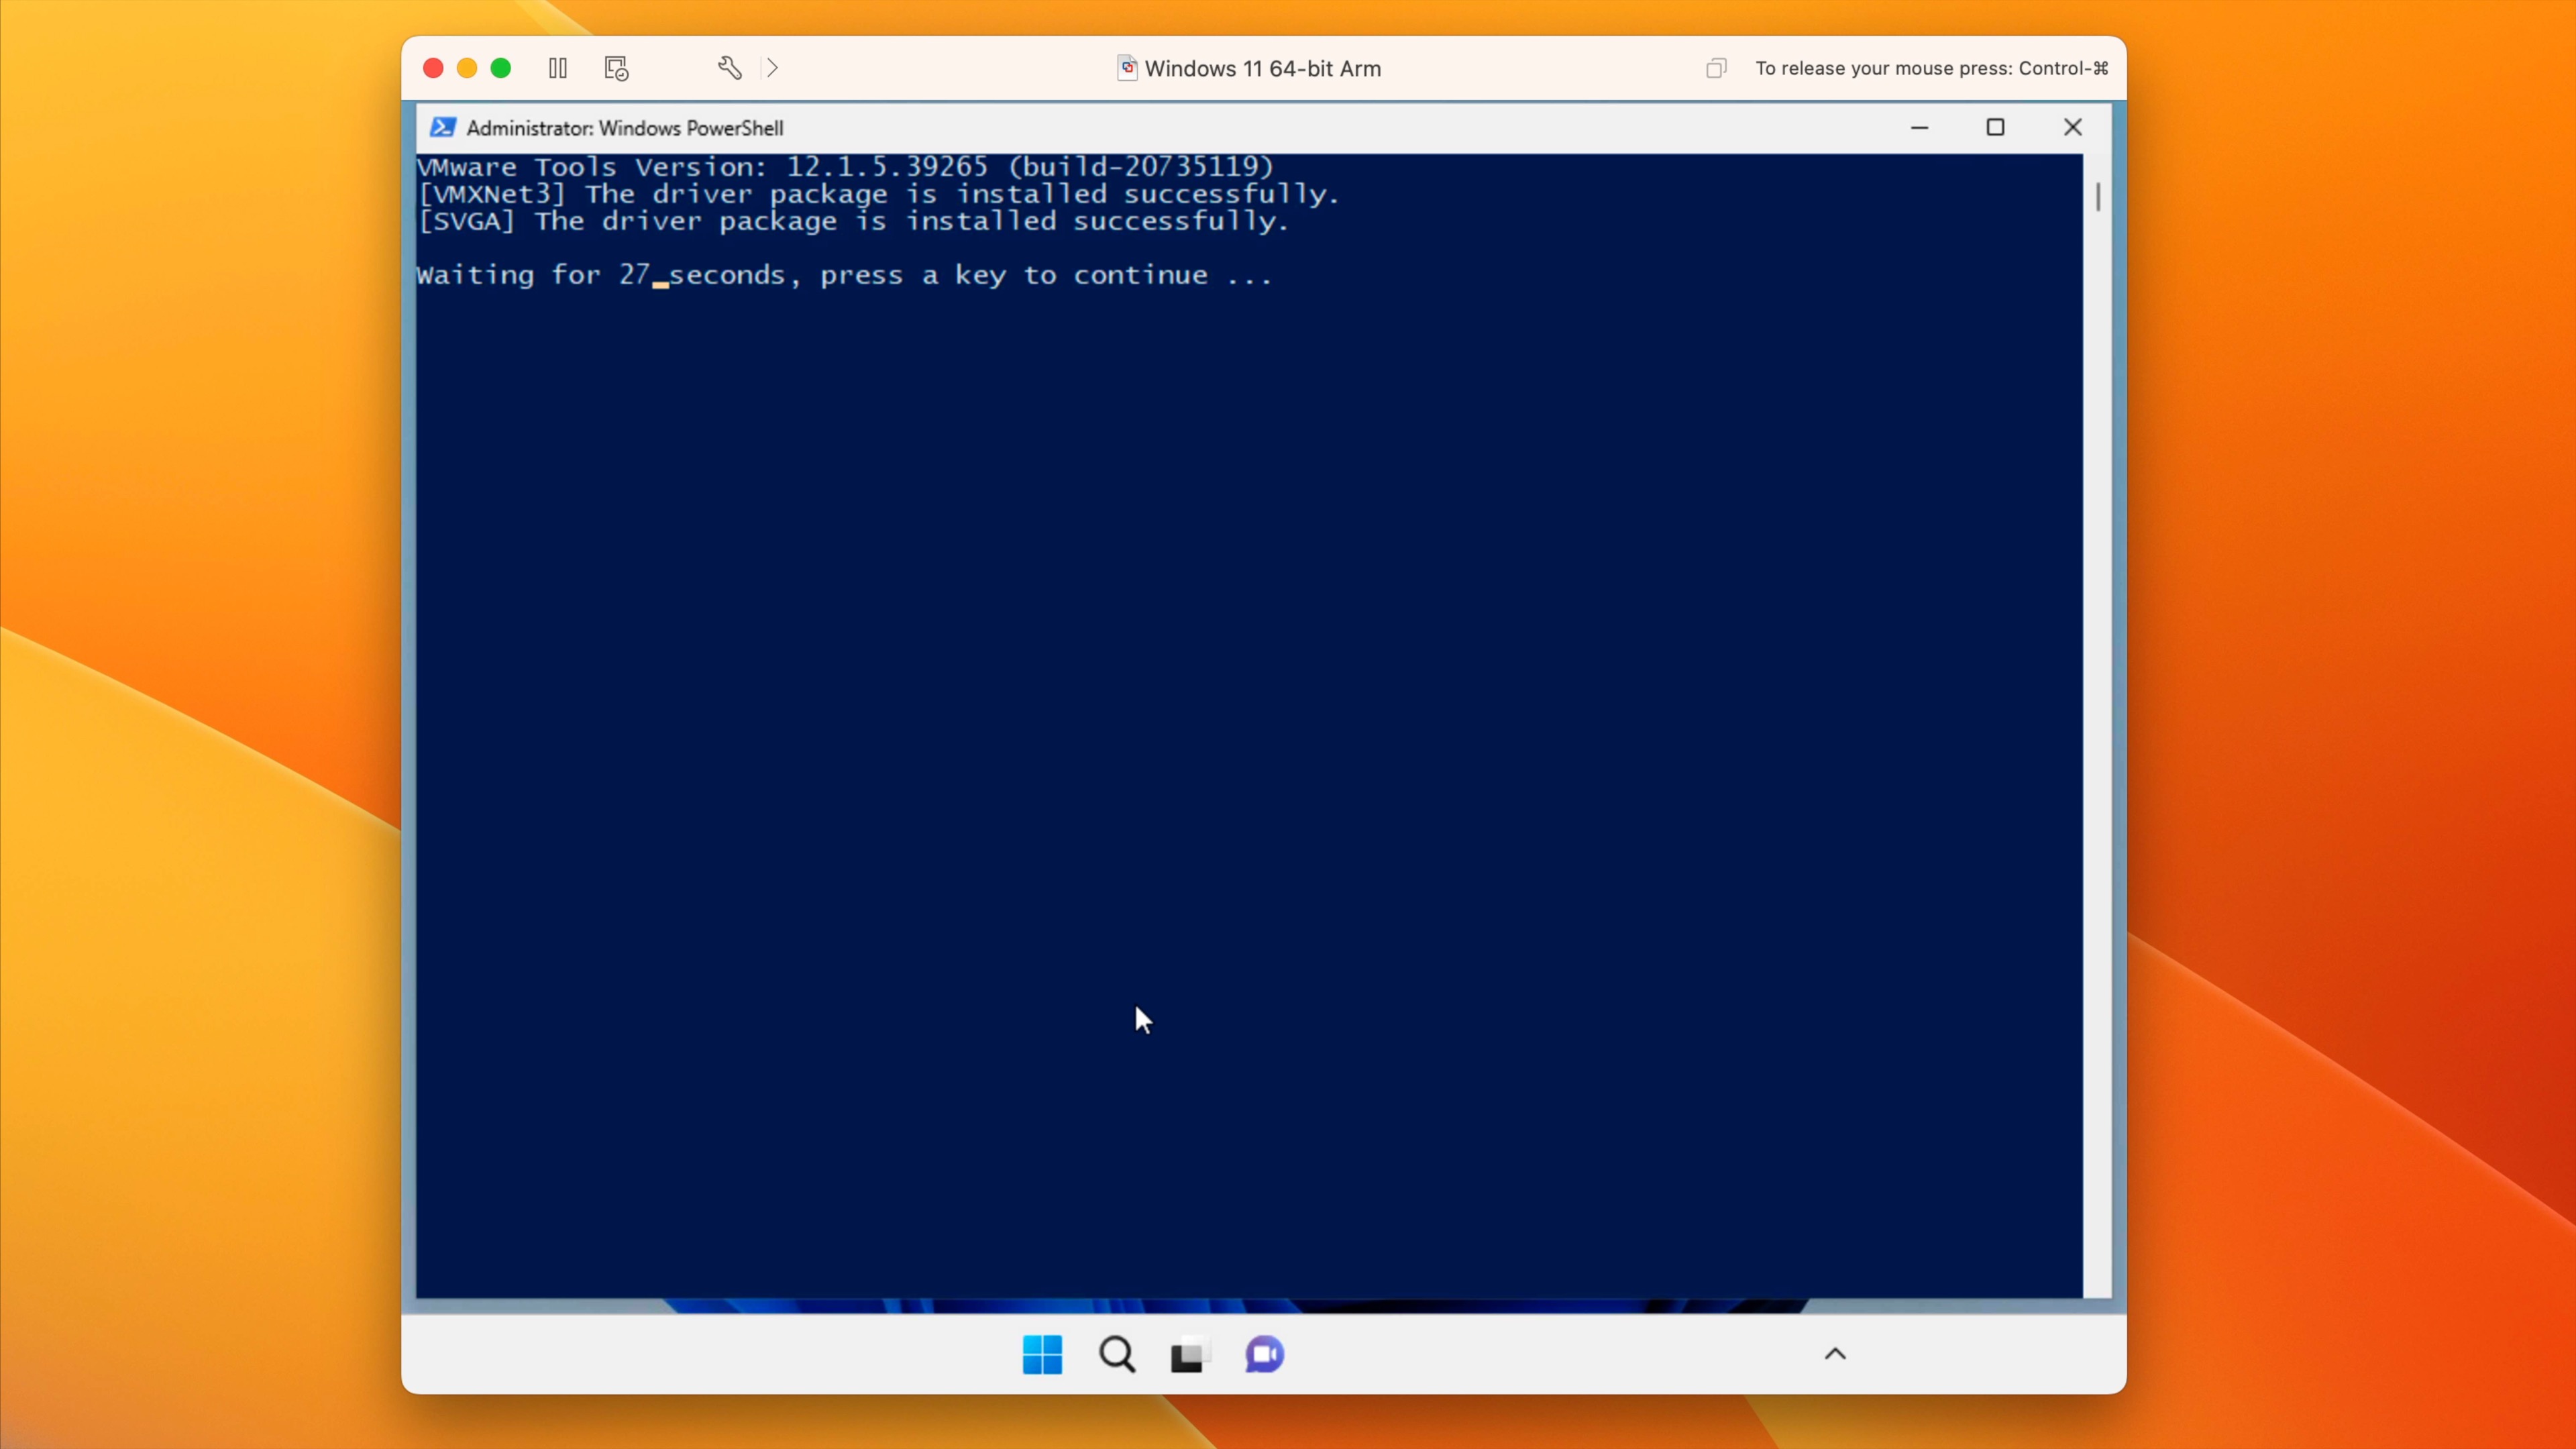
Step 11: Powershell will open and VMware Instruments will set up the VMXNet3 driver bundle and SVCGA driver bundle. As soon as put in, the PowerShell window will routinely dismiss after a time frame, or you’ll be able to press any key when prompted to dismiss the Window manually.
It’s best to now have full community entry, together with the wanted show drivers.
Step 12: Go to Begin → Settings → Home windows Replace → Examine for updates to obtain the newest drivers and software program updates from Microsoft.
Conclusion
In case you’re a gamer, then Parallels Desktop is my really helpful resolution for operating Home windows 11 on a Mac function Apple Silicon. Parallels has entry to DirectX 11, which suggests 3D gaming is way extra viable when operating Home windows by way of Parallels versus VMware Fusion Participant. However keep in mind that, in most use circumstances, Parallels requires a subscription charge on prime of no matter you find yourself paying for a sound Home windows 11 license, do you have to select to license Home windows. If you don’t, you’ll get the watermark of disgrace within the backside right-hand nook till you buy the mandatory license.
Associated: Run Home windows 11 on Apple Silicon w/ Parallels Desktop 18
Subscribe to 9to5mac on YouTube for extra movies
VMware Fusion Participant, alternatively, is a way more budget-friendly resolution, with a free private license, and no subscription charges. It’s additionally comparatively straightforward to get setup, however isn’t useless easy like Parallels is with its tighter Microsoft integration. VMware Fusion Participant is a strong choice in case you’re not fearful about gaming, and want to run light-weight one-off Home windows functions that aren’t obtainable on macOS.
What do you suppose? Are you contemplating or at present operating Home windows in your Mac with Apple Silicon? Pontificate down beneath within the feedback with any ideas, solutions, observations, or questions.
FTC: We use revenue incomes auto affiliate hyperlinks. Extra.