

Progress bars or different kinds of indicators play an important function in apps that execute time-consuming duties or operations. It enriches the consumer expertise by displaying a progress indicator, which allows the consumer to trace the progress of the operation and get an thought of how lengthy it can take to finish.
In SwiftUI, it comes with a built-in element referred to as ProgressView for builders to current a progress bar or a round indicator to show the progress of a long-running operation, comparable to downloading a file or importing knowledge to a server.
The default look of ProgressView is straightforward and minimalistic, and it may not match the design and theme of your app. That is the place the ProgressViewStyle protocol comes into play. You should utilize the ProgressViewStyle protocol to create customized kinds for the ProgressView element that match the design and theme of your app.
On this tutorial, I’ll stroll you thru the fundamentals of ProgressView and present you learn how to customise the look & really feel of the progress view utilizing ProgressViewStyle.
The Primary Implementation of ProgressView
The ProgressView element could be very simply to make use of. In your SwiftUI apps, you possibly can create a progress indicator by writing the next line of code:
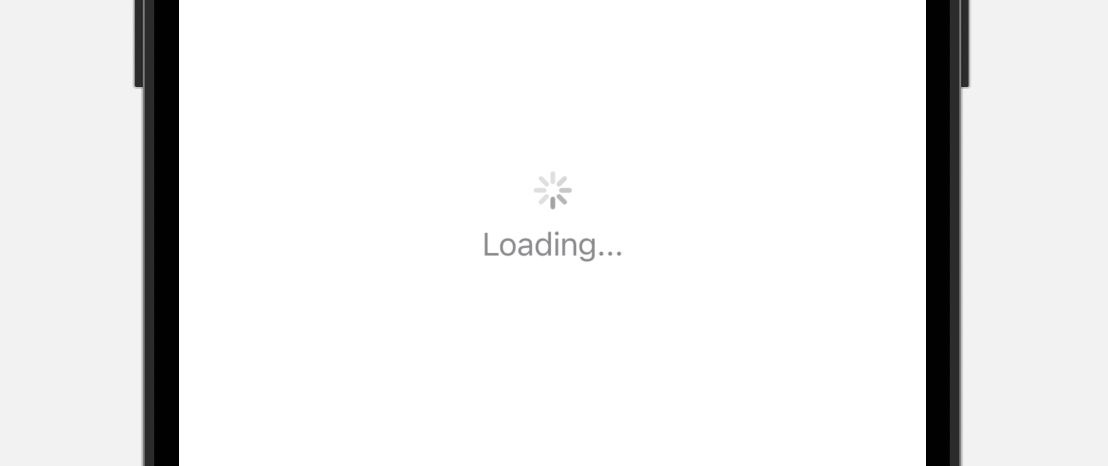
Optionally, you possibly can add a label to show the standing message like this:
|
ProgressView() { Textual content(“Loading…”) } |
On iOS, the progress view is displayed as a round indicator.
Indeterminate Progress vs Determineate Progress
The ProgressView element offers two sorts of progress indicator to point indeterminate progress and determineate progress. What we simply demonstrated within the earlier part is an indeterminate progress indicator. For duties which have an unknown period, comparable to loading or syncing advanced knowledge, we use indeterminate progress indicators, which is displayed as a round exercise indicator.
When potential, use a determinate progress indicator. An indeterminate progress indicator reveals {that a} course of is happening, however it doesn’t assist individuals estimate how lengthy a process will take. A determinate progress indicator may help individuals determine whether or not to do one thing else whereas ready for the duty to finish, restart the duty at a special time, or abandon the duty.
For a determinate progress indicator, it’s used for duties with a well-defined period comparable to file downloads. On iOS, a determinate progress indicator is offered within the type of a progress bar. To implement it, you simply must instantiate a ProgressView with the present worth of the progress. Right here is an instance:
By default, the whole worth is 1.0. You’ll be able to present a price between 0.0 and 1.0 the place 1.0 means 100% full. If you must use a special vary with a special whole, you possibly can write the code through the use of one other initializer:
|
ProgressView(worth: 30, whole: 100) |
Each strains of the codes current the identical progress indicator that reveals 30% full.
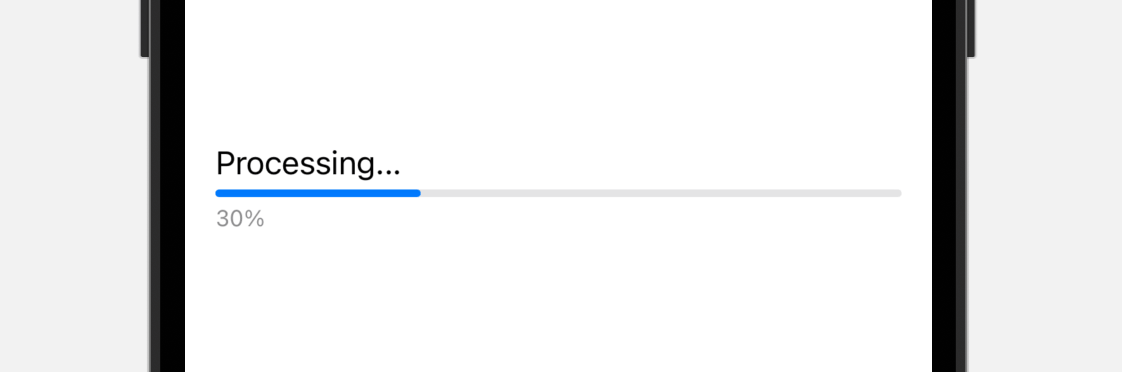
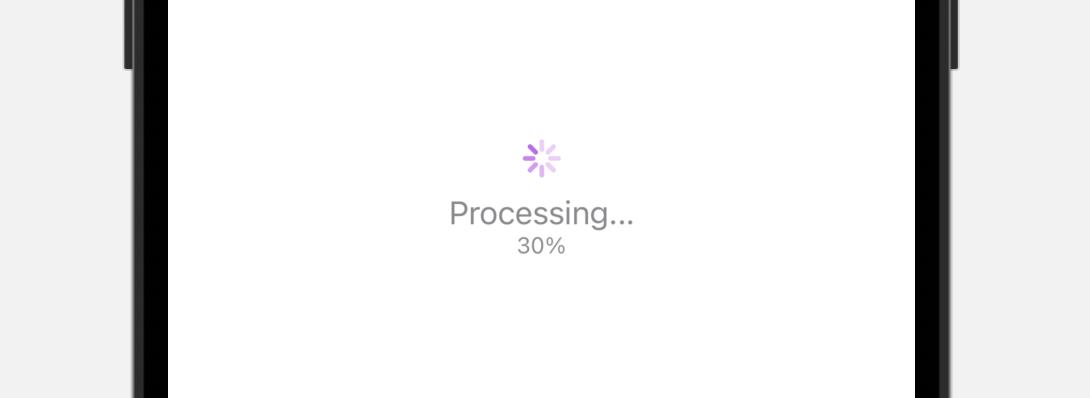
Optionally, you possibly can add some labels to show the standing message and present progress through the use of the label and currentValueLabel parameters:
|
ProgressView(worth: 0.3, label: { Textual content(“Processing…”) }, currentValueLabel: { Textual content(“30%”) }) |
With a view to replace the worth of the progress, you normally create a state variable to carry the present worth of the progress. Here’s a pattern code snippet:
|
1 2 3 4 5 6 7 8 9 10 11 12 13 14 15 16 17 18 19 20 21 |
struct ContentView: View {
@State personal var progress = 0.1
var physique: some View { ProgressView(worth: progress, label: { Textual content(“Processing…”) }, currentValueLabel: { Textual content(progress.formatted(.%.precision(.fractionLength(0)))) }) .padding() .process { Timer.scheduledTimer(withTimeInterval: 1, repeats: true) { _ in
self.progress += 0.1
if self.progress > 1.0 { self.progress = 0.0 } } } } } |
Altering the Progress View’s Colour and Type
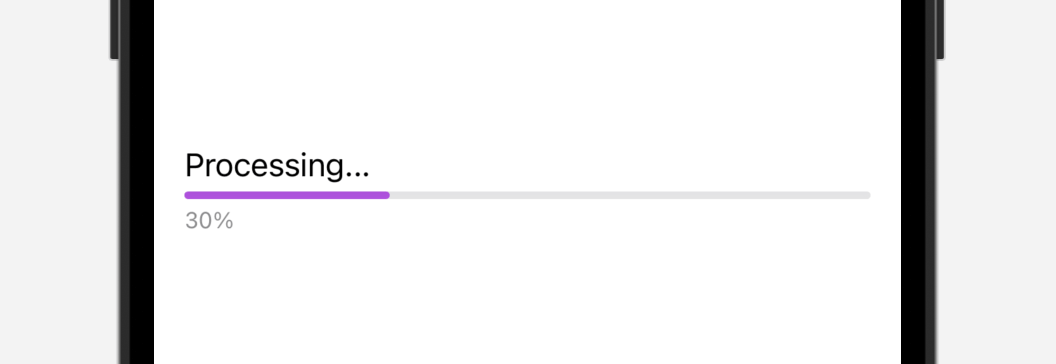
The default progress indicator has a easy design with restricted customization choices. Nevertheless, it’s potential to change the colour of the progress bar by making use of the tint modifier:
|
ProgressView(worth: 0.3) .tint(.purple) |
A determinate progress indicator is usually displayed as a progress bar. Should you want to modify its look, you should utilize the progressViewStyle modifier. For example, you possibly can swap from the default linear fashion to a round fashion, like so:
|
ProgressView(worth: 0.3, label: { Textual content(“Processing…”) }, currentValueLabel: { Textual content(“30%”) }) .progressViewStyle(.round) |
This transforms the progress bar right into a round indicator.
Utilizing ProgressViewStyle for Superior Customizations
Though the default fashion of the progress view is enough for many functions, you might need to create distinctive and visually interesting progress bars that match their app’s design and theme. If you wish to create a personalized progress bar that aligns together with your app’s aesthetic, you should utilize the ProgressViewStyle protocol in SwiftUI.
ProgressViewStyle is a robust instrument for creating personalized progress indicators in SwiftUI. With ProgressViewStyle, you possibly can create distinctive and visually interesting progress bars that completely match the design and theme of your app. There are a number of built-in kinds out there, comparable to CircularProgressViewStyle and LinearProgressViewStyle. By conforming to the ProgressViewStyle protocol, you possibly can create your personal kinds and apply them to the ProgressView element. This enables for superior customizations that transcend altering the colour of the progress bar.
To offer you a greater thought about ProgressViewStyle, let’s construct a customized progress bar just like the one proven above. What it’s essential to do is to create a brand new struct that conforms to the ProgressViewStyle protocol and implement the next required technique:
|
@ViewBuilder func makeBody(configuration: Self.Configuration) –> Self.Physique |
If in case you have expertise with ButtonStyle, the implementation of ProgressViewStyle could be very related because it follows the identical sample.
Let’s create a brand new fashion named BarProgressStyle like this:
|
1 2 3 4 5 6 7 8 9 10 11 12 13 14 15 16 17 18 19 20 21 22 23 24 25 26 27 28 29 30 31 32 33 34 35 36 37 38 39 40 |
struct BarProgressStyle: ProgressViewStyle {
var coloration: Colour = .purple var top: Double = 20.0 var labelFontStyle: Font = .physique
func makeBody(configuration: Configuration) –> some View {
let progress = configuration.fractionCompleted ?? 0.0
GeometryReader { geometry in
VStack(alignment: .main) {
configuration.label .font(labelFontStyle)
RoundedRectangle(cornerRadius: 10.0) .fill(Colour(uiColor: .systemGray5)) .body(top: top) .body(width: geometry.dimension.width) .overlay(alignment: .main) { RoundedRectangle(cornerRadius: 10.0) .fill(coloration) .body(width: geometry.dimension.width * progress) .overlay { if let currentValueLabel = configuration.currentValueLabel {
currentValueLabel .font(.headline) .foregroundColor(.white) } } }
}
} } } |
This practice fashion takes in three parameters for configuring the bar coloration, top, and font fashion. I’m not going to clarify the code within the makeBody technique line by line. In short, we implement our personal progress bar fashion by overlaying a purple RoundedRectangle view on prime of one other RoundedRectangle view in mild grey.
The configuration parameter offers you with the widespread properties of a progress view together with:
fractionCompleted– The finished fraction of the duty represented by the progress view, from0.0(not but began) to1.0(absolutely full).label– The standing label.currentValueLabel– the label that reveals the present progress.
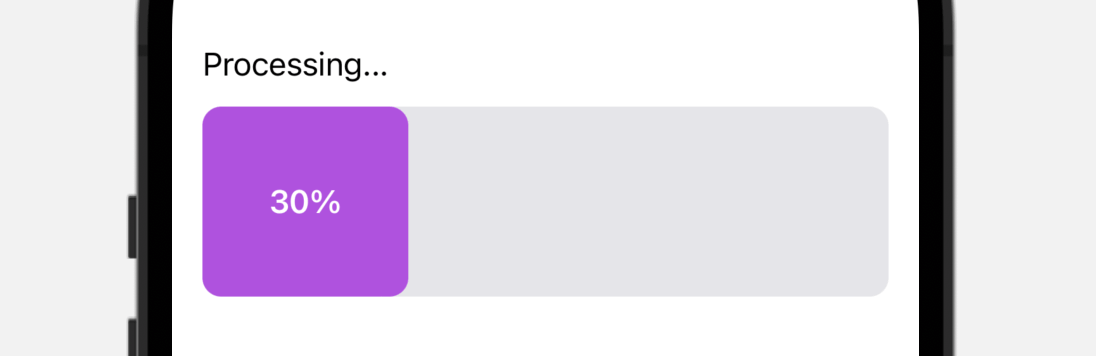
Now that we’ve created our personal fashion, you possibly can apply it by attaching the progressViewStyle modifier to the progress view:
|
ProgressView(worth: 0.3, label: { Textual content(“Processing…”) }, currentValueLabel: { Textual content(“30%”) }) .progressViewStyle(BarProgressStyle(top: 100.0)) |
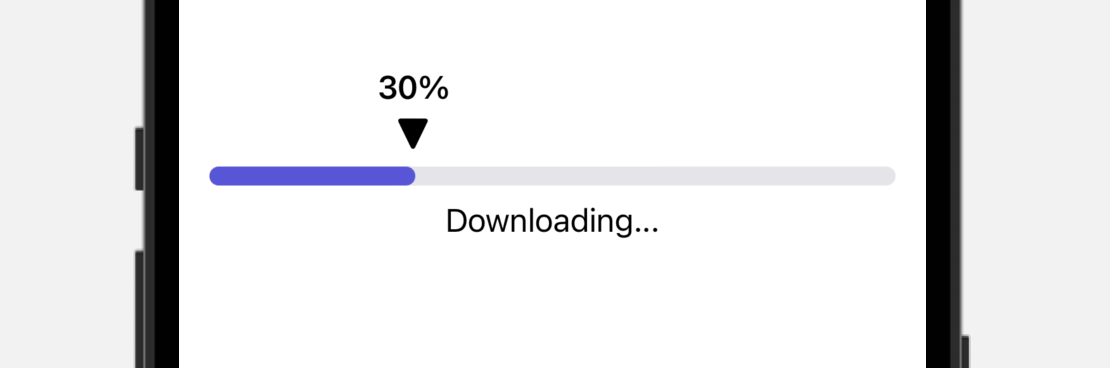
Train
After gaining an understanding of ProgressViewStyle, it’s time to place that information into apply and create a brand new customized fashion. You’ll be able to problem your self by making an attempt to construct a mode that resembles the one proven within the picture under. This won’t solely enable you to reinforce what you’ve gotten discovered but additionally push you to assume creatively about learn how to obtain your required feel and appear. Don’t be afraid to experiment and have enjoyable with it!
Abstract
All through this tutorial, we’ve lined the basics of utilizing ProgressView to show the progress of time-consuming duties or operations in your app. It’s endorsed to make use of a determinate progress indicator at any time when potential, because it offers customers with a extra correct understanding of the progress being made.
Whereas the default progress view is sufficient for many functions, we’ve additionally explored learn how to create a personalized progress view utilizing the ProgressViewStyle protocol. By following the steps outlined on this tutorial, you must now have a stable understanding of learn how to create your personal distinctive fashion of progress view that aligns with the design and theme of your app.