
Learn to arrange customized audio output preferences for particular apps in your Mac, permitting you to take pleasure in your music and media precisely the way you need.
You’ll be able to play a track or video in your Mac and choose an obtainable speaker by clicking the speaker icon within the prime menu bar and selecting an output. No large deal.
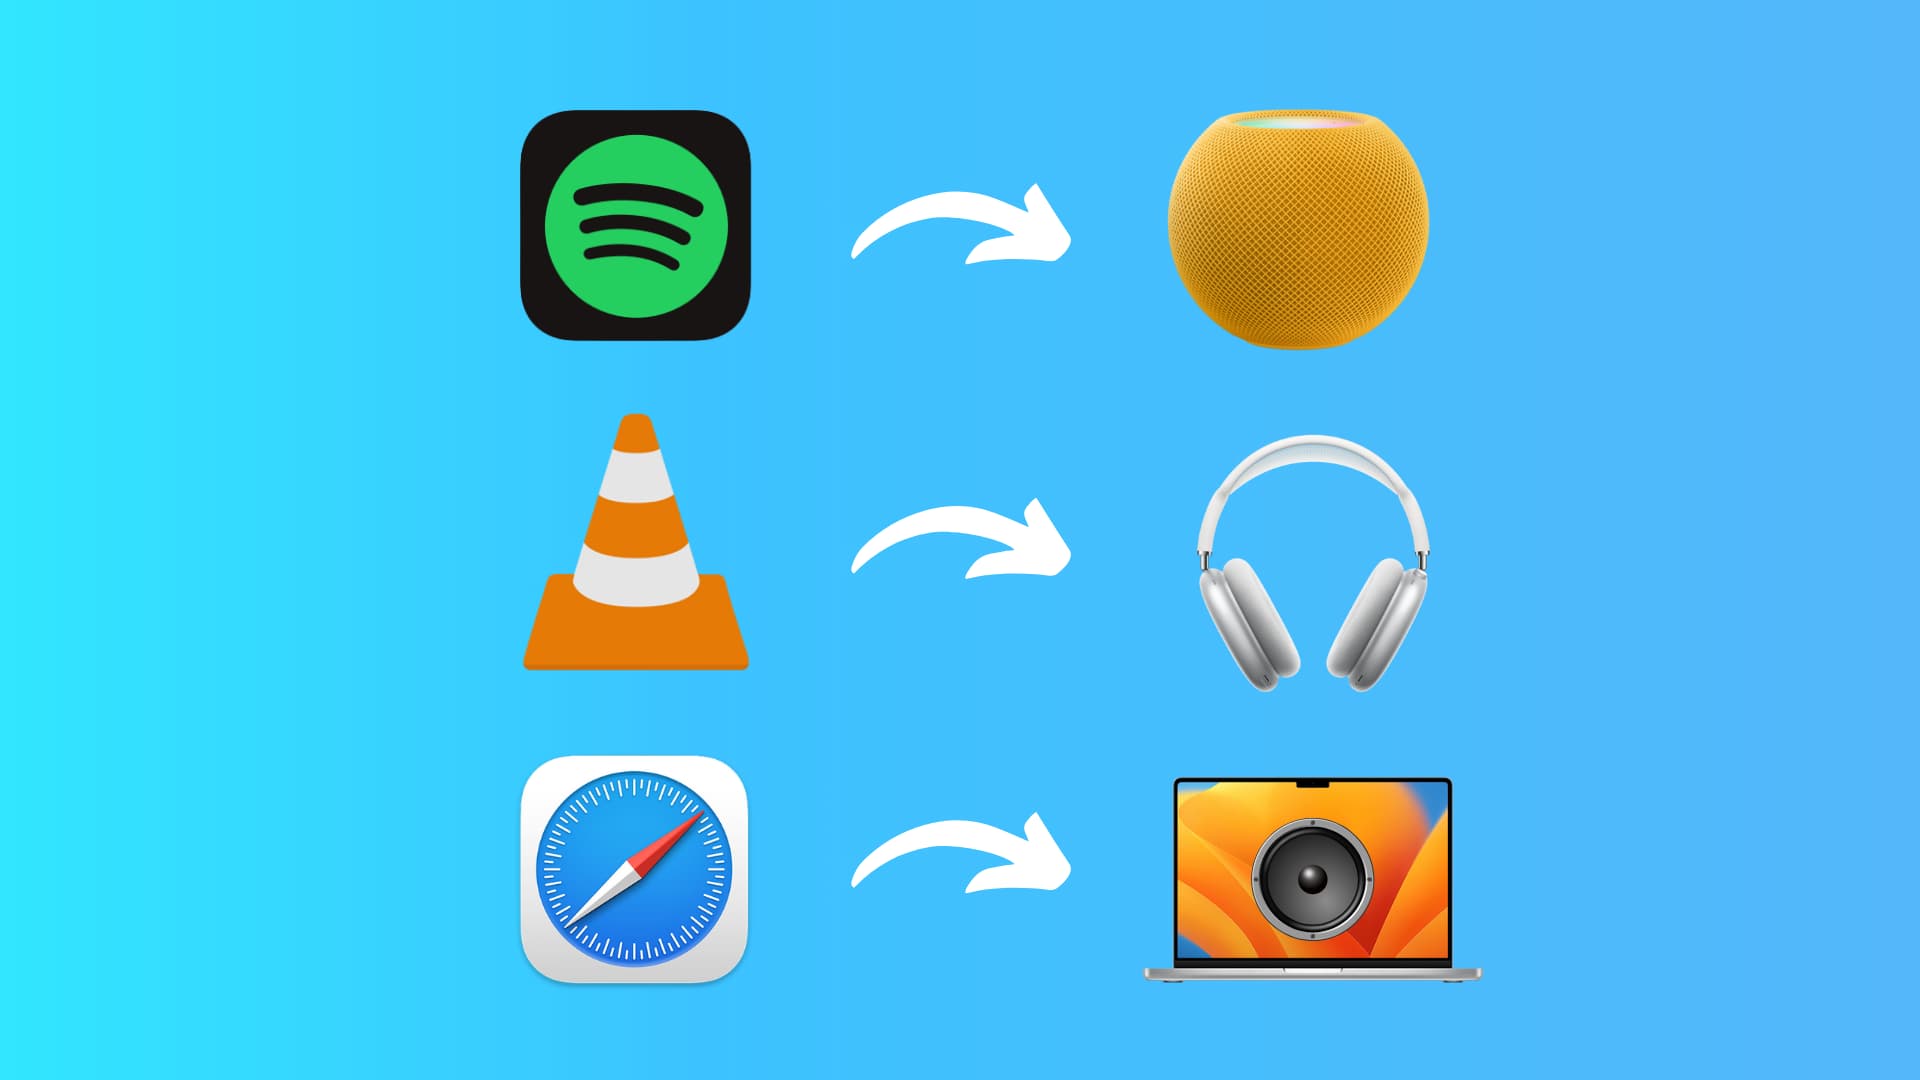
However what if you wish to outline particular guidelines for particular apps and solely need audio from them to play through a particular speaker? For instance, you might need to at all times take heed to Spotify in your HomePod linked to your Mac. Likewise, you might have considered trying YouTube to at all times play via your AirPods, and audio from VLC to at all times play through your Mac’s built-in speaker.
On Home windows PC, the built-in working system helps you to do that with relative ease. Nevertheless, macOS lacks this characteristic. And thus, you’ll have to depend on third-party apps.
One such app is Audio Hijack, which helps you to outline output routes for every Mac app and choose the speaker. This tutorial exhibits you the way to try this.
Set the popular audio output speaker on a per-app foundation on Mac
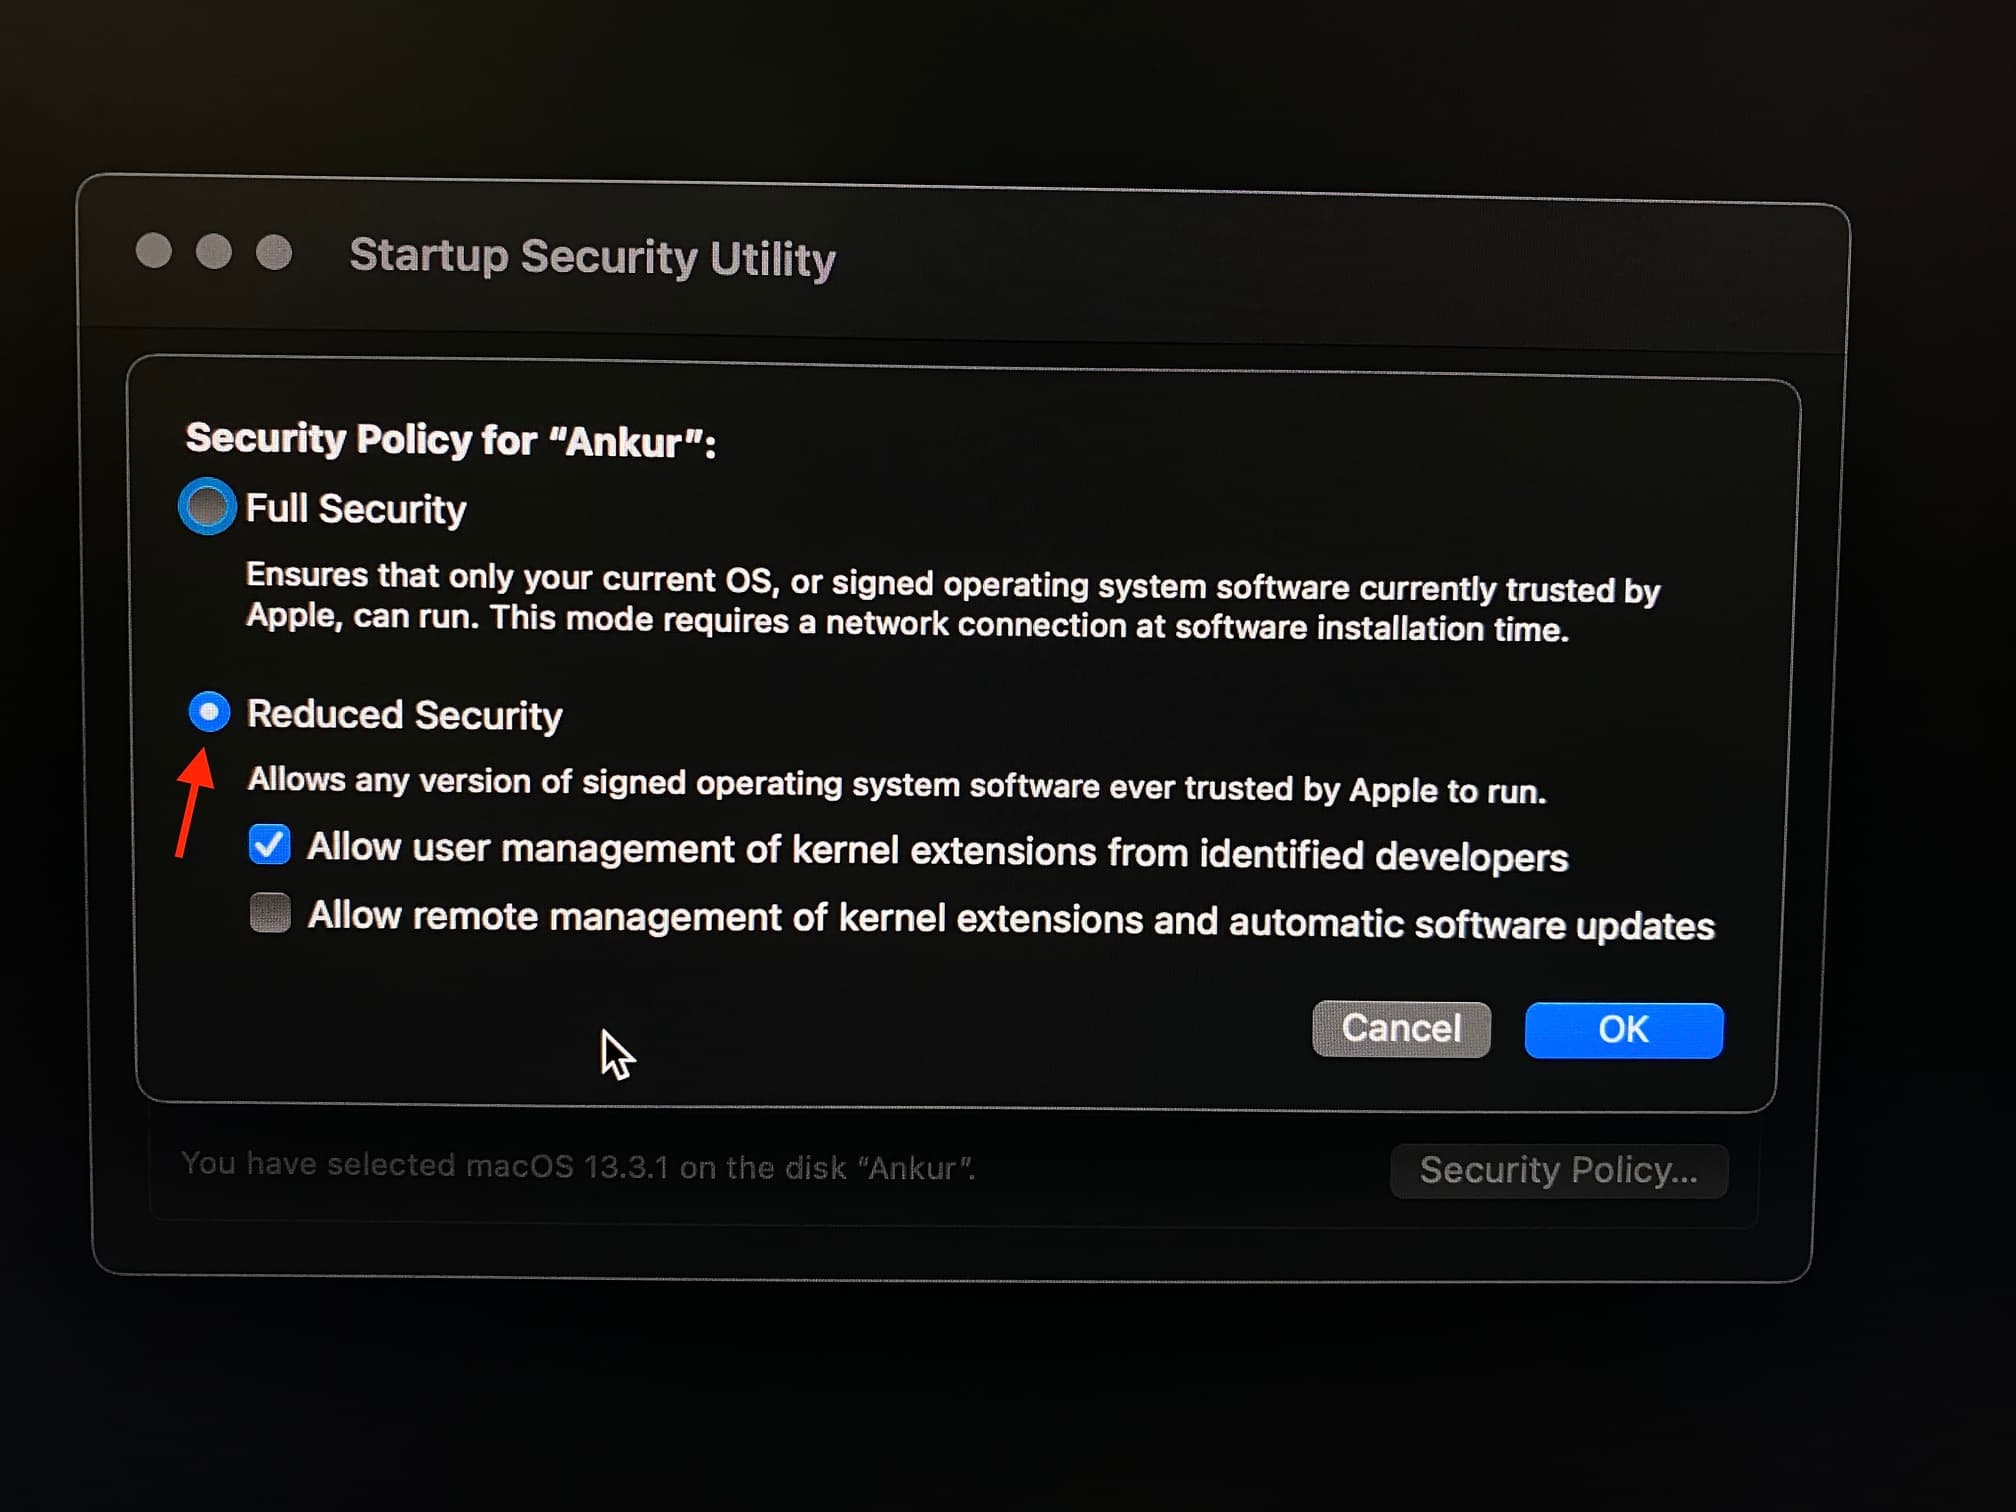
Step 1: Change the safety settings of your Mac
To run the Audio Hijack app, you’ll have to cut back the default safety of your Mac. This entails going to Mac’s Restoration and selecting Decreased Safety versus the default Full Safety. You’ll be able to be taught extra about it on Apple Assist for Apple silicon and Intel Macs with Apple T2 Safety Chip.
In the event you’re able to proceed, comply with our separate information on altering the startup safety stage of your Mac. Alternatively, you may also see a step-by-step tutorial on Audio Hijack’s developer web site.
Step 2: Route the audio output for every Mac app to totally different audio system
1) Go to Audio Hijack’s web site and click on Free Obtain. Double-click the zip file to open it if it hasn’t already.
Subsequent, launch the Audio Hijack app in your Mac. You could have to take care of some alerts in System Settings and restart your Mac a few occasions.
The primary time you open it, go forward and set up its audio dealing with part, ACE. After that, end the quick app tour till you attain the primary display screen.
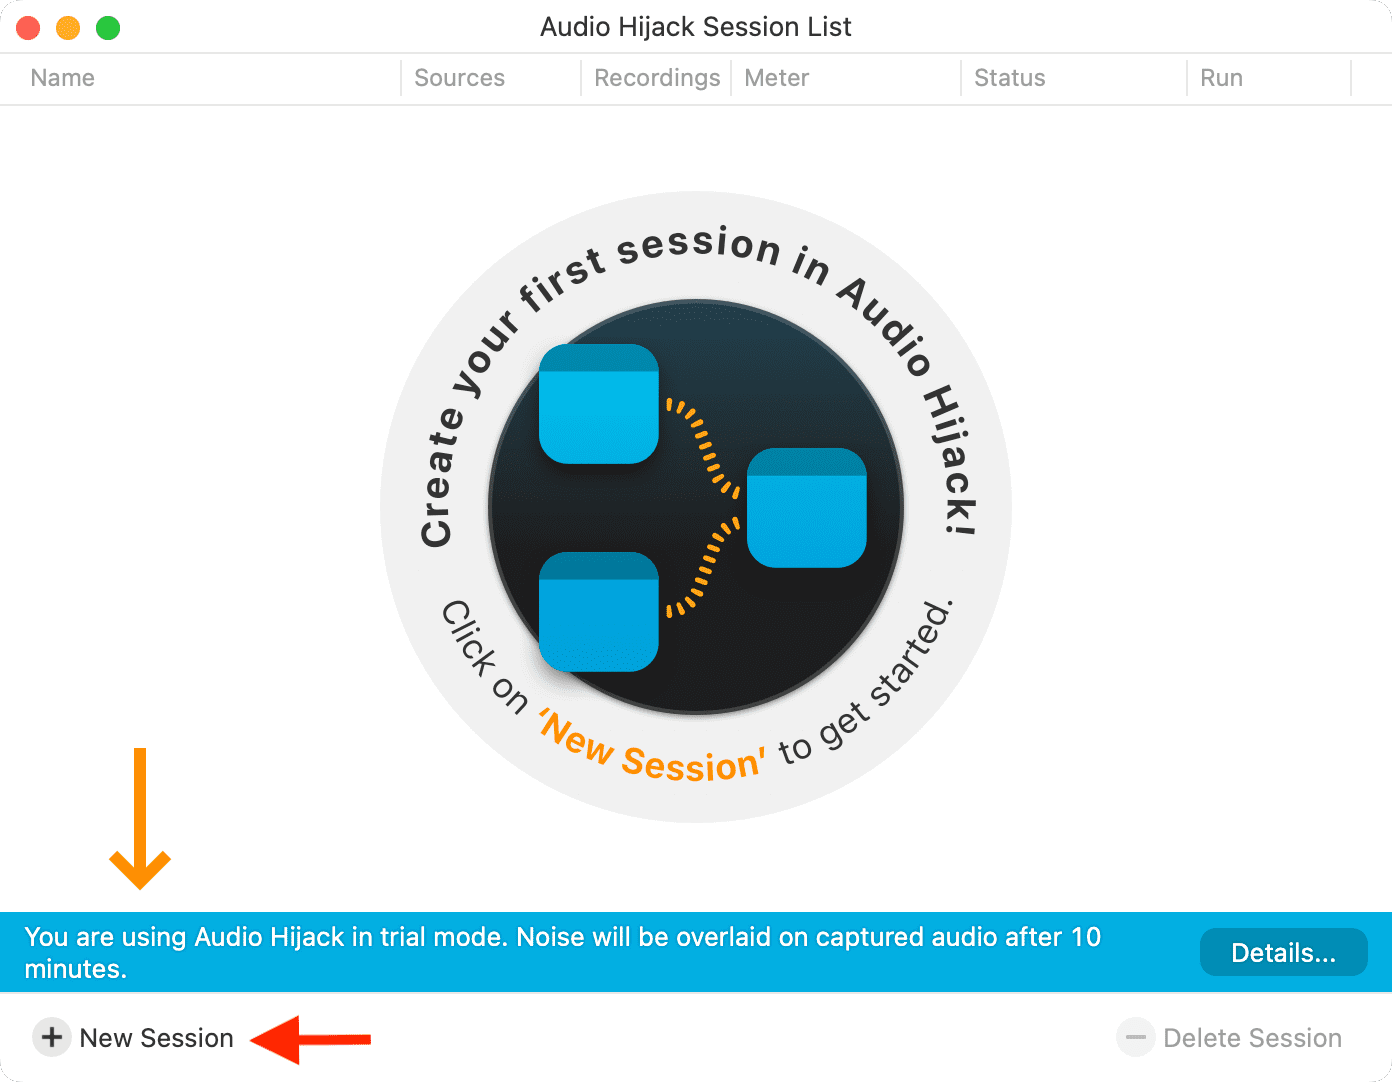
2) Click on New Session from the underside left.
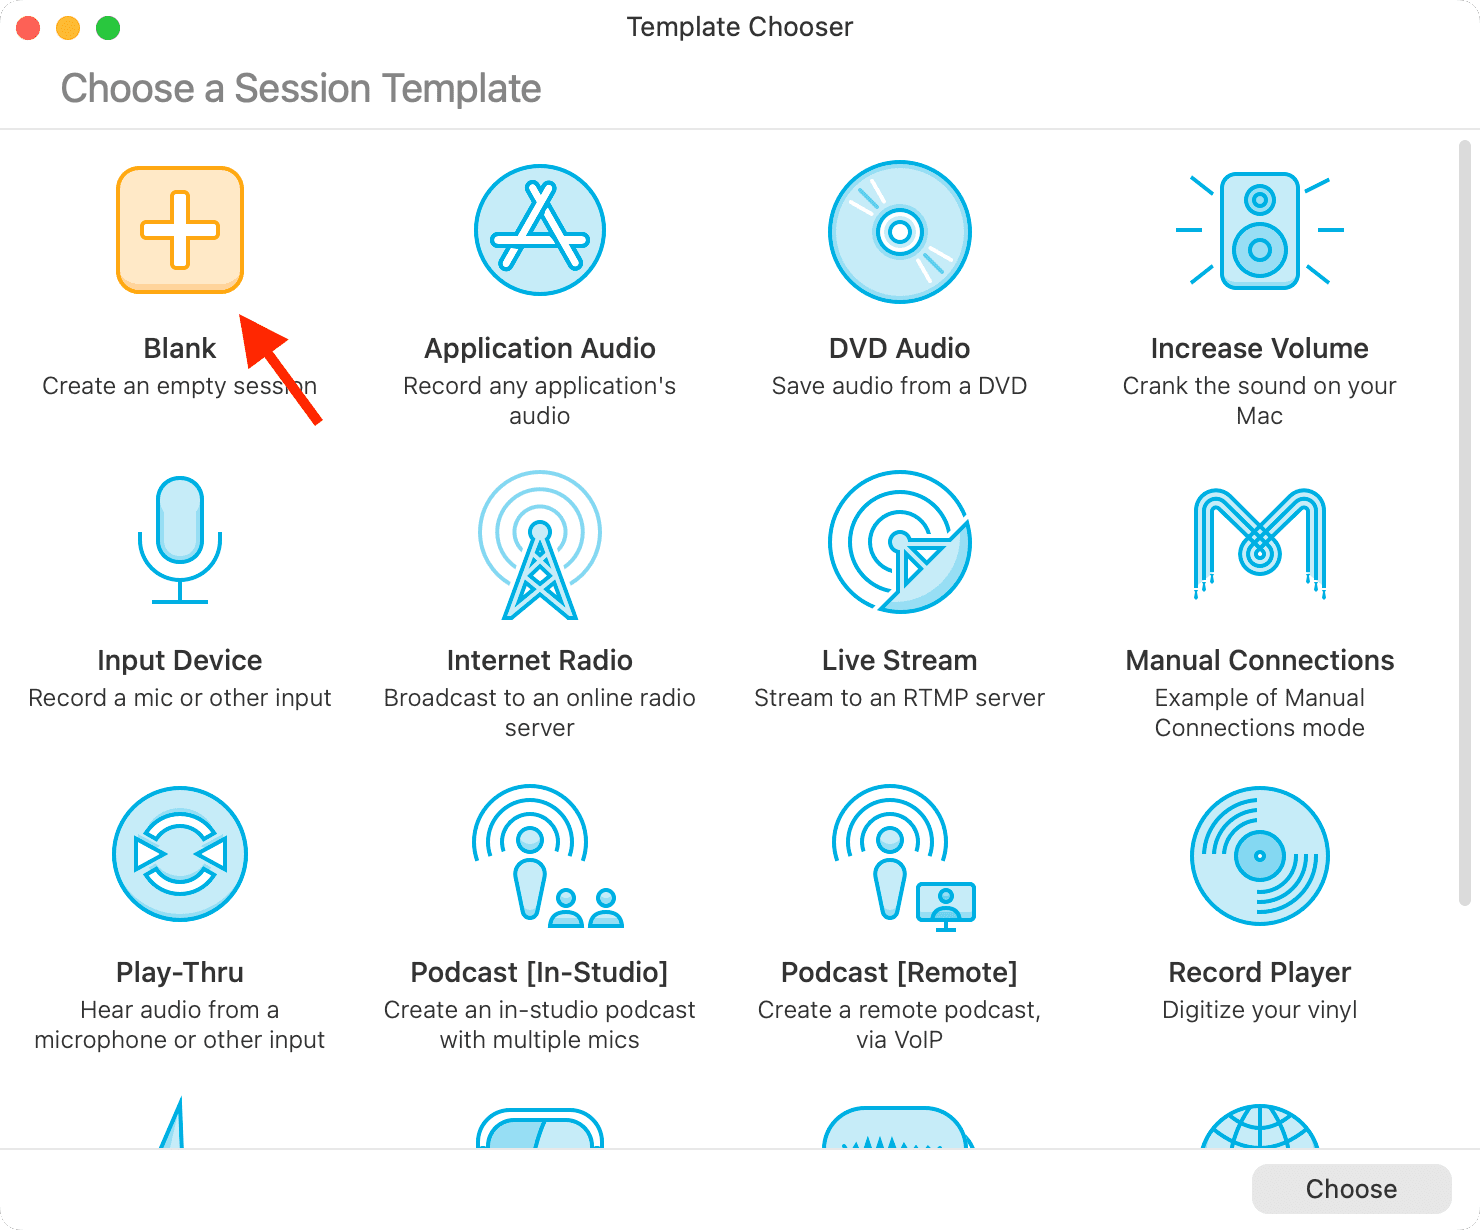
3) Double-click Clean.
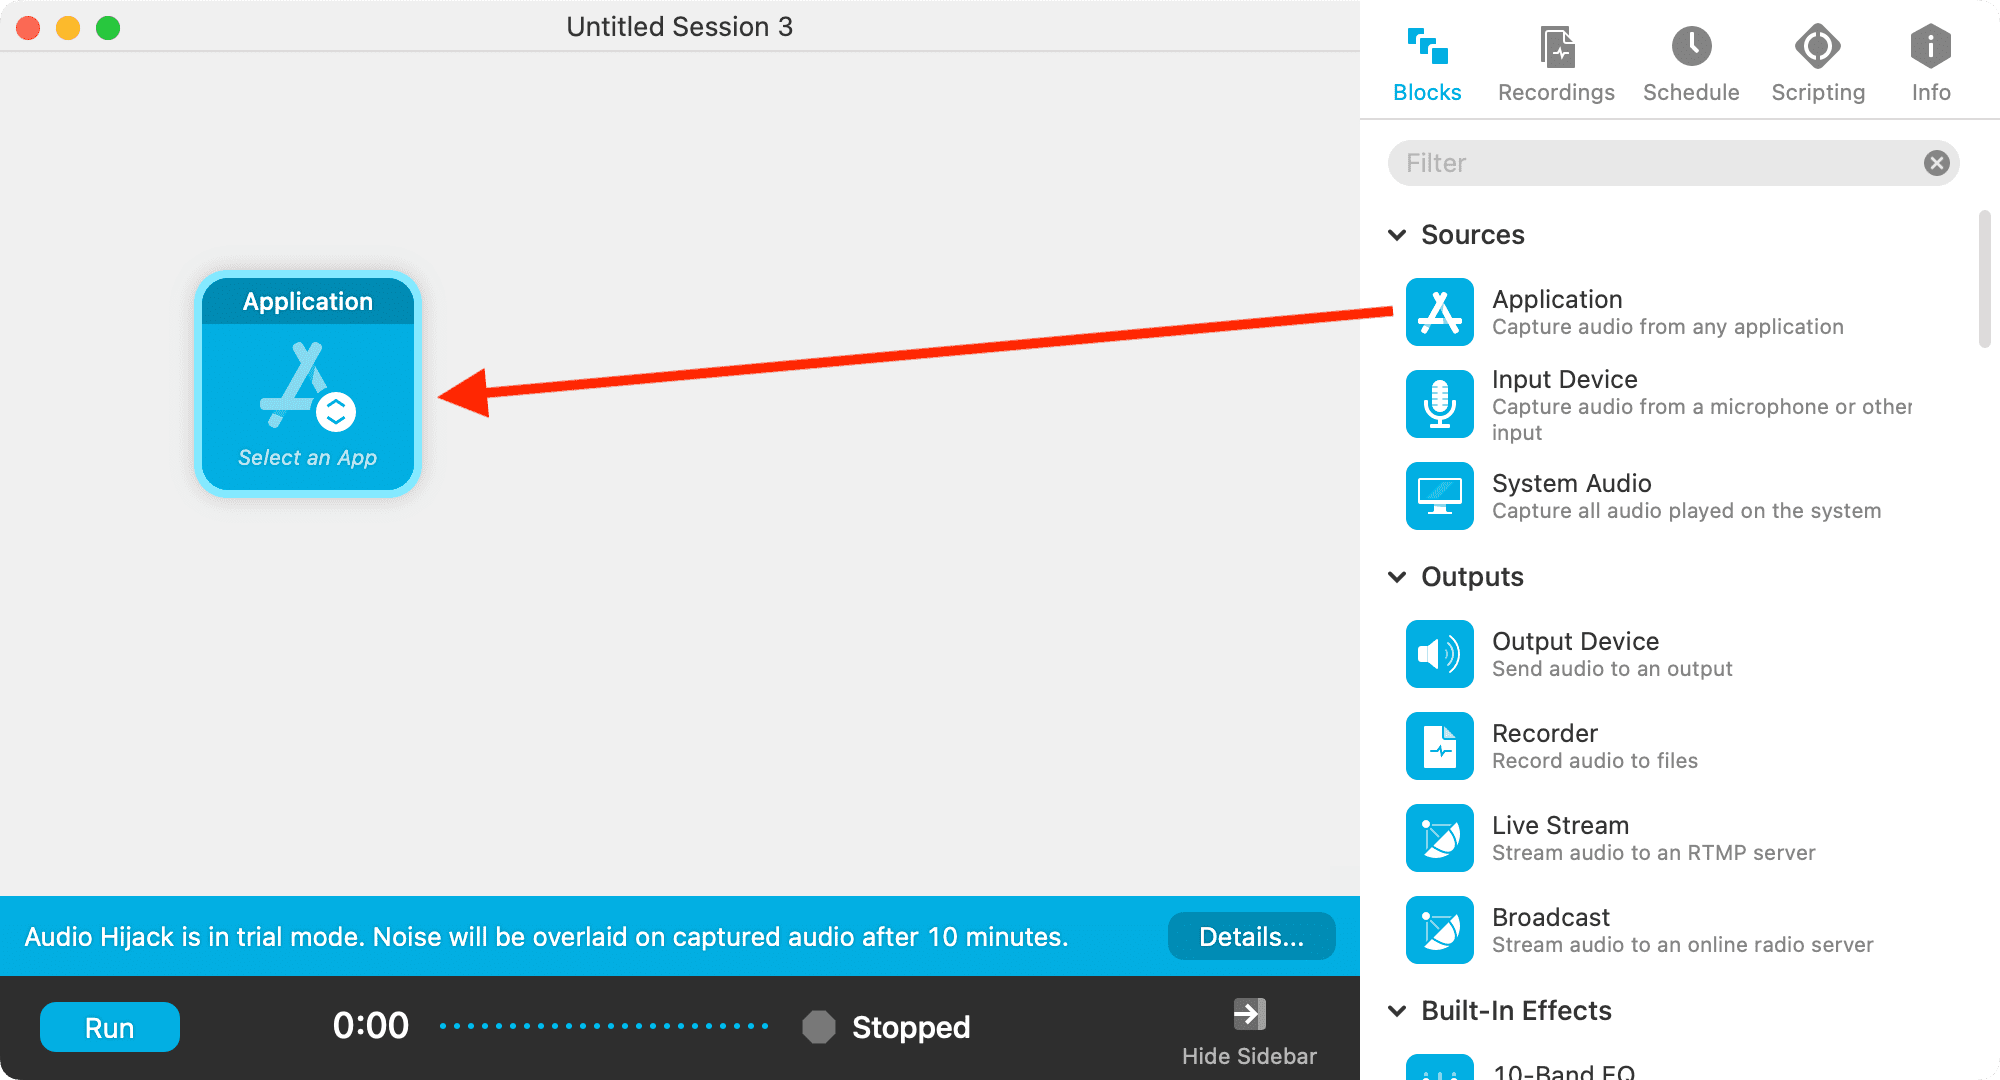
4) Drag the Utility choice from beneath the Sources heading and drop it on the empty left panel.
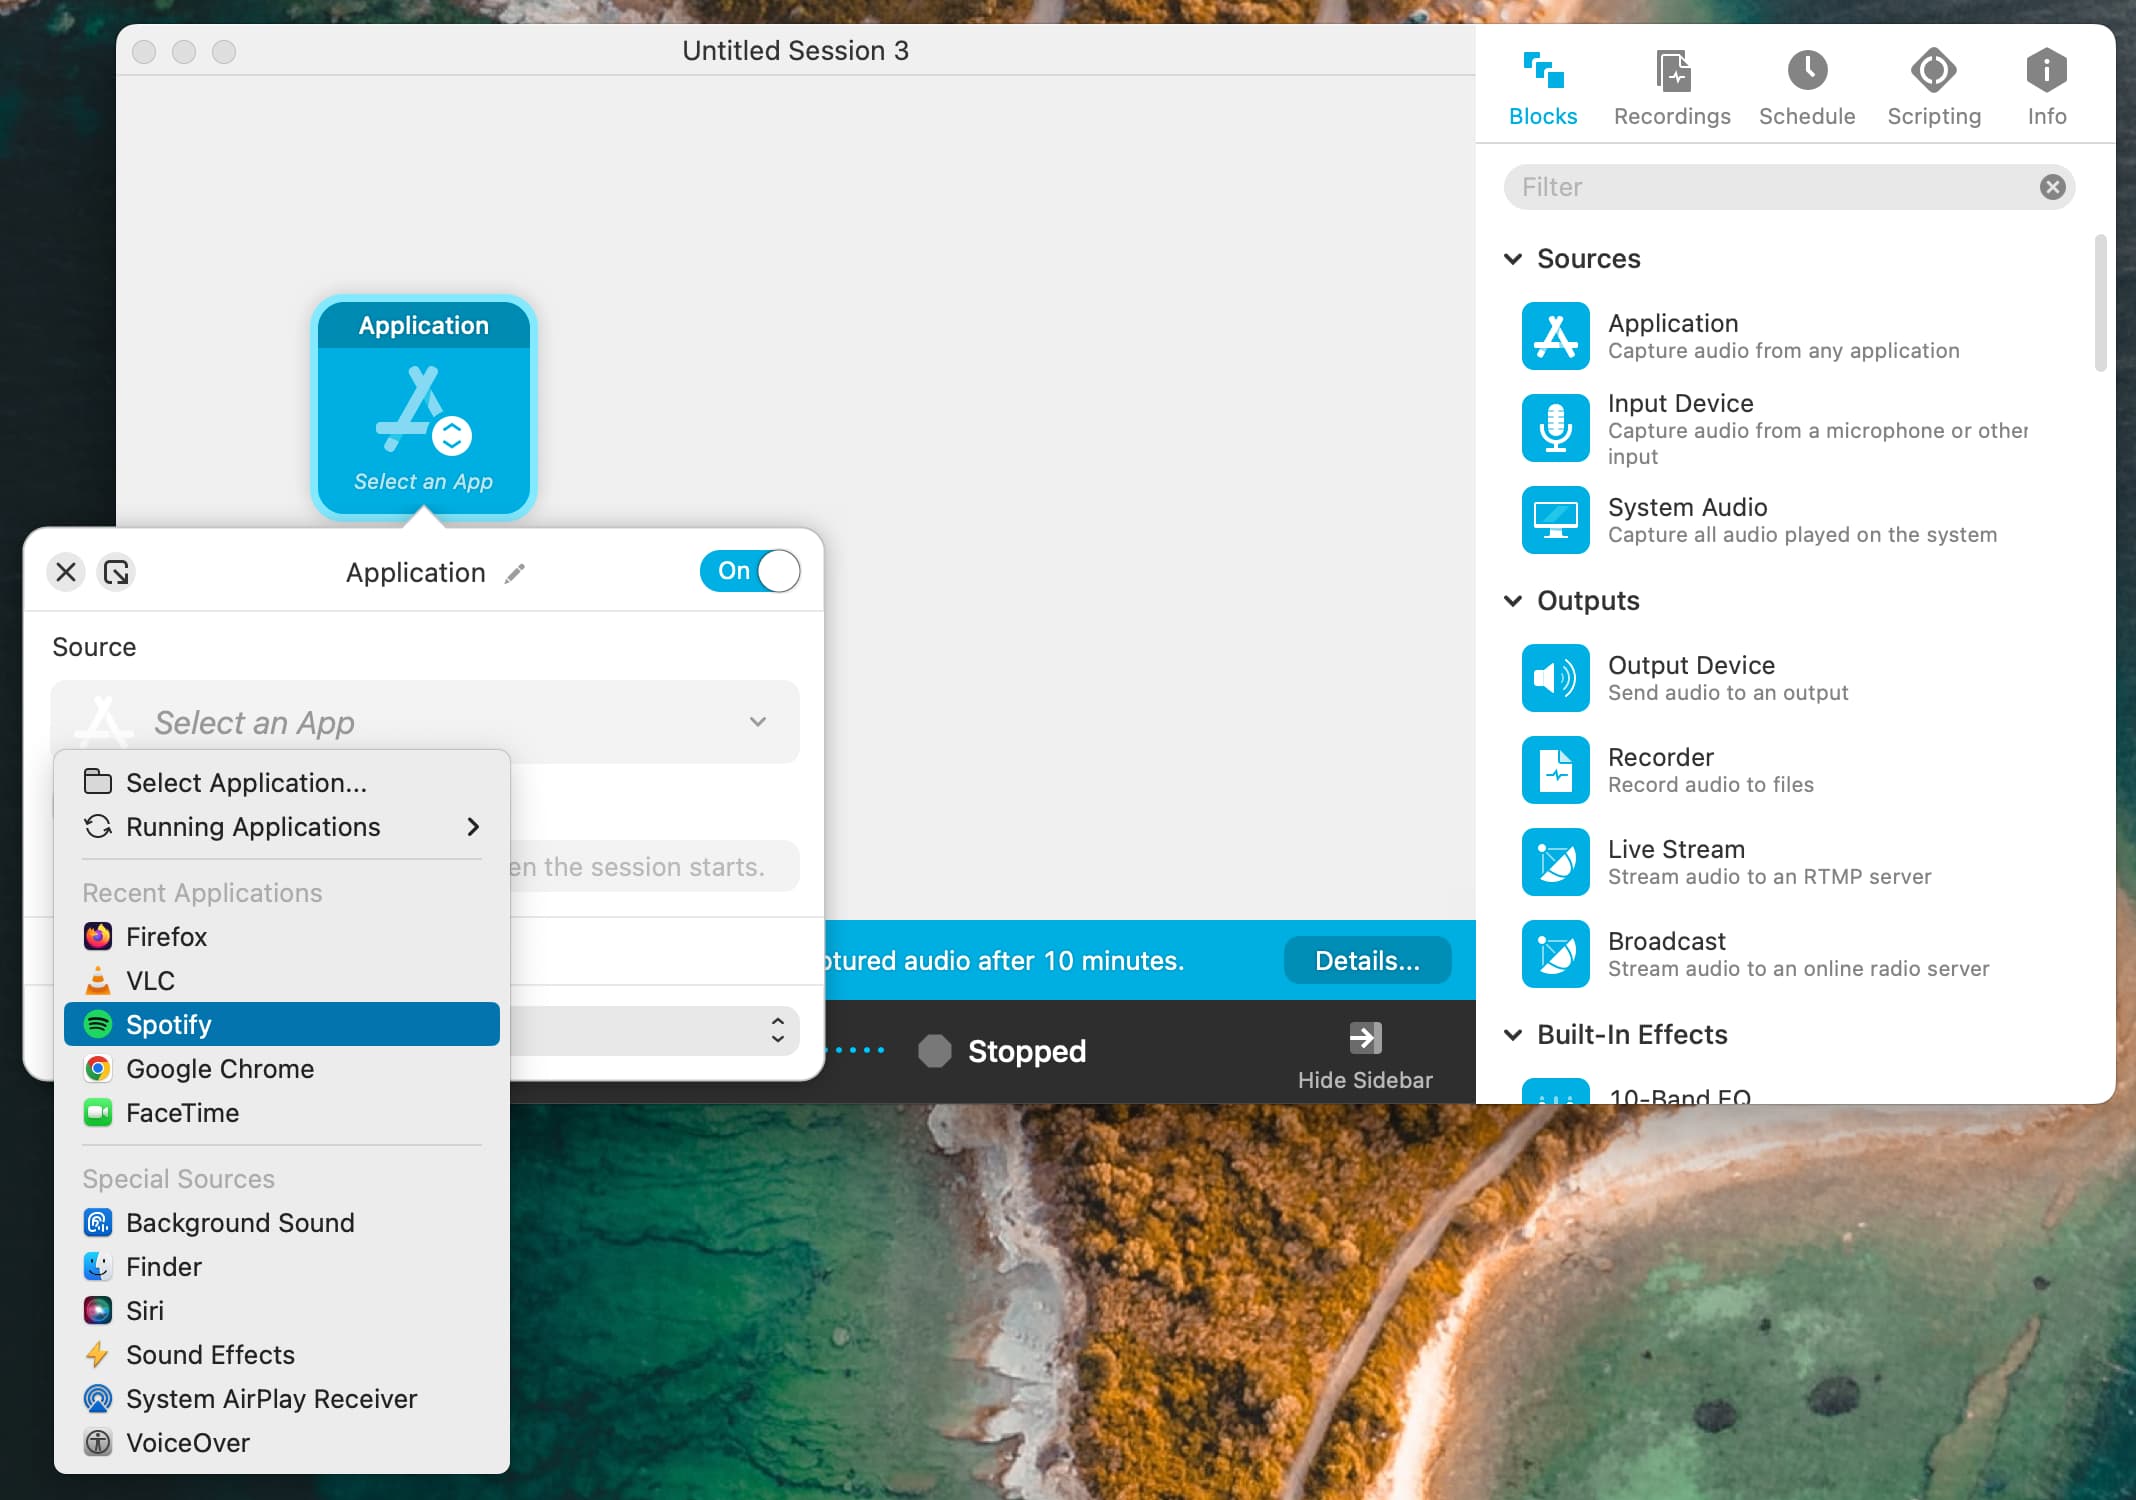
5) Click on Choose an App on the Utility tile and select your required software. I’ve chosen Spotify.
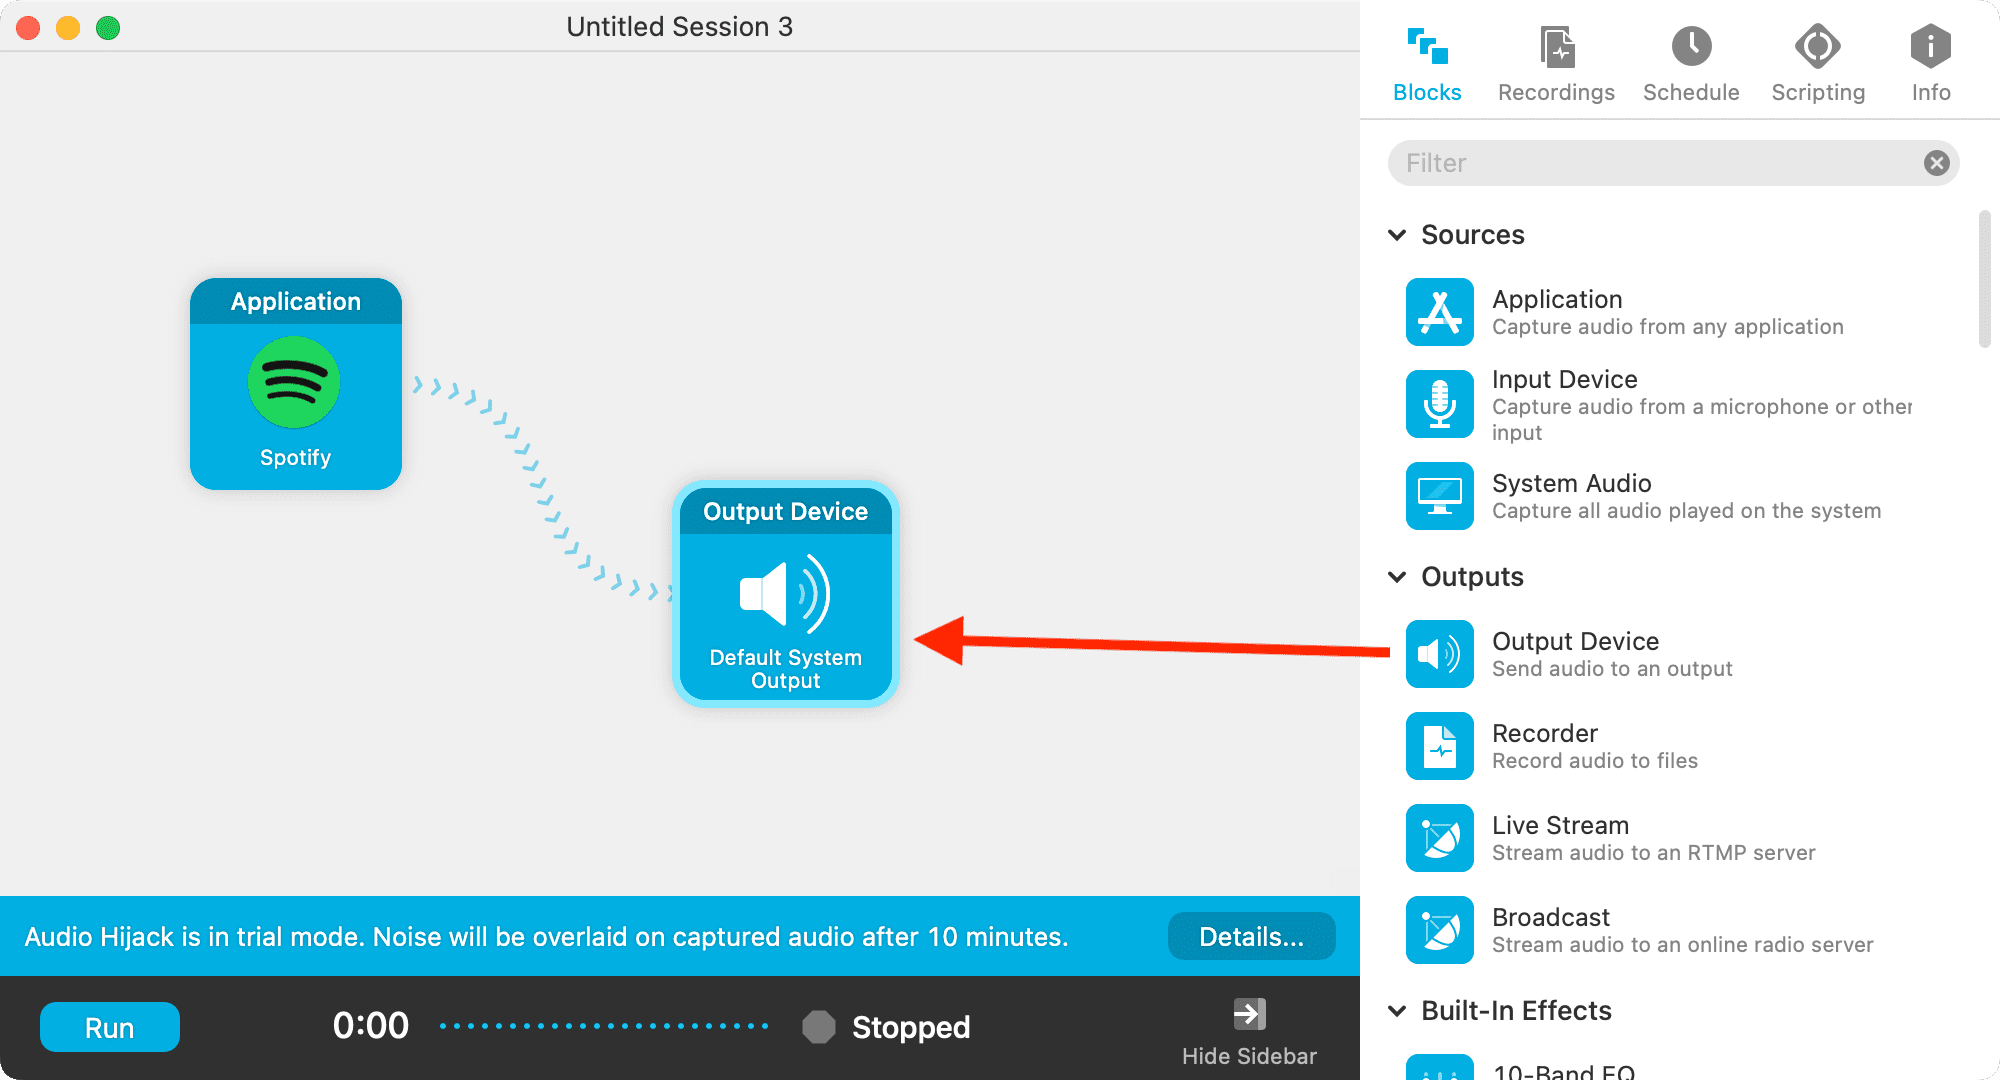
6) Now drag Output System and drop it onto the left canvas.
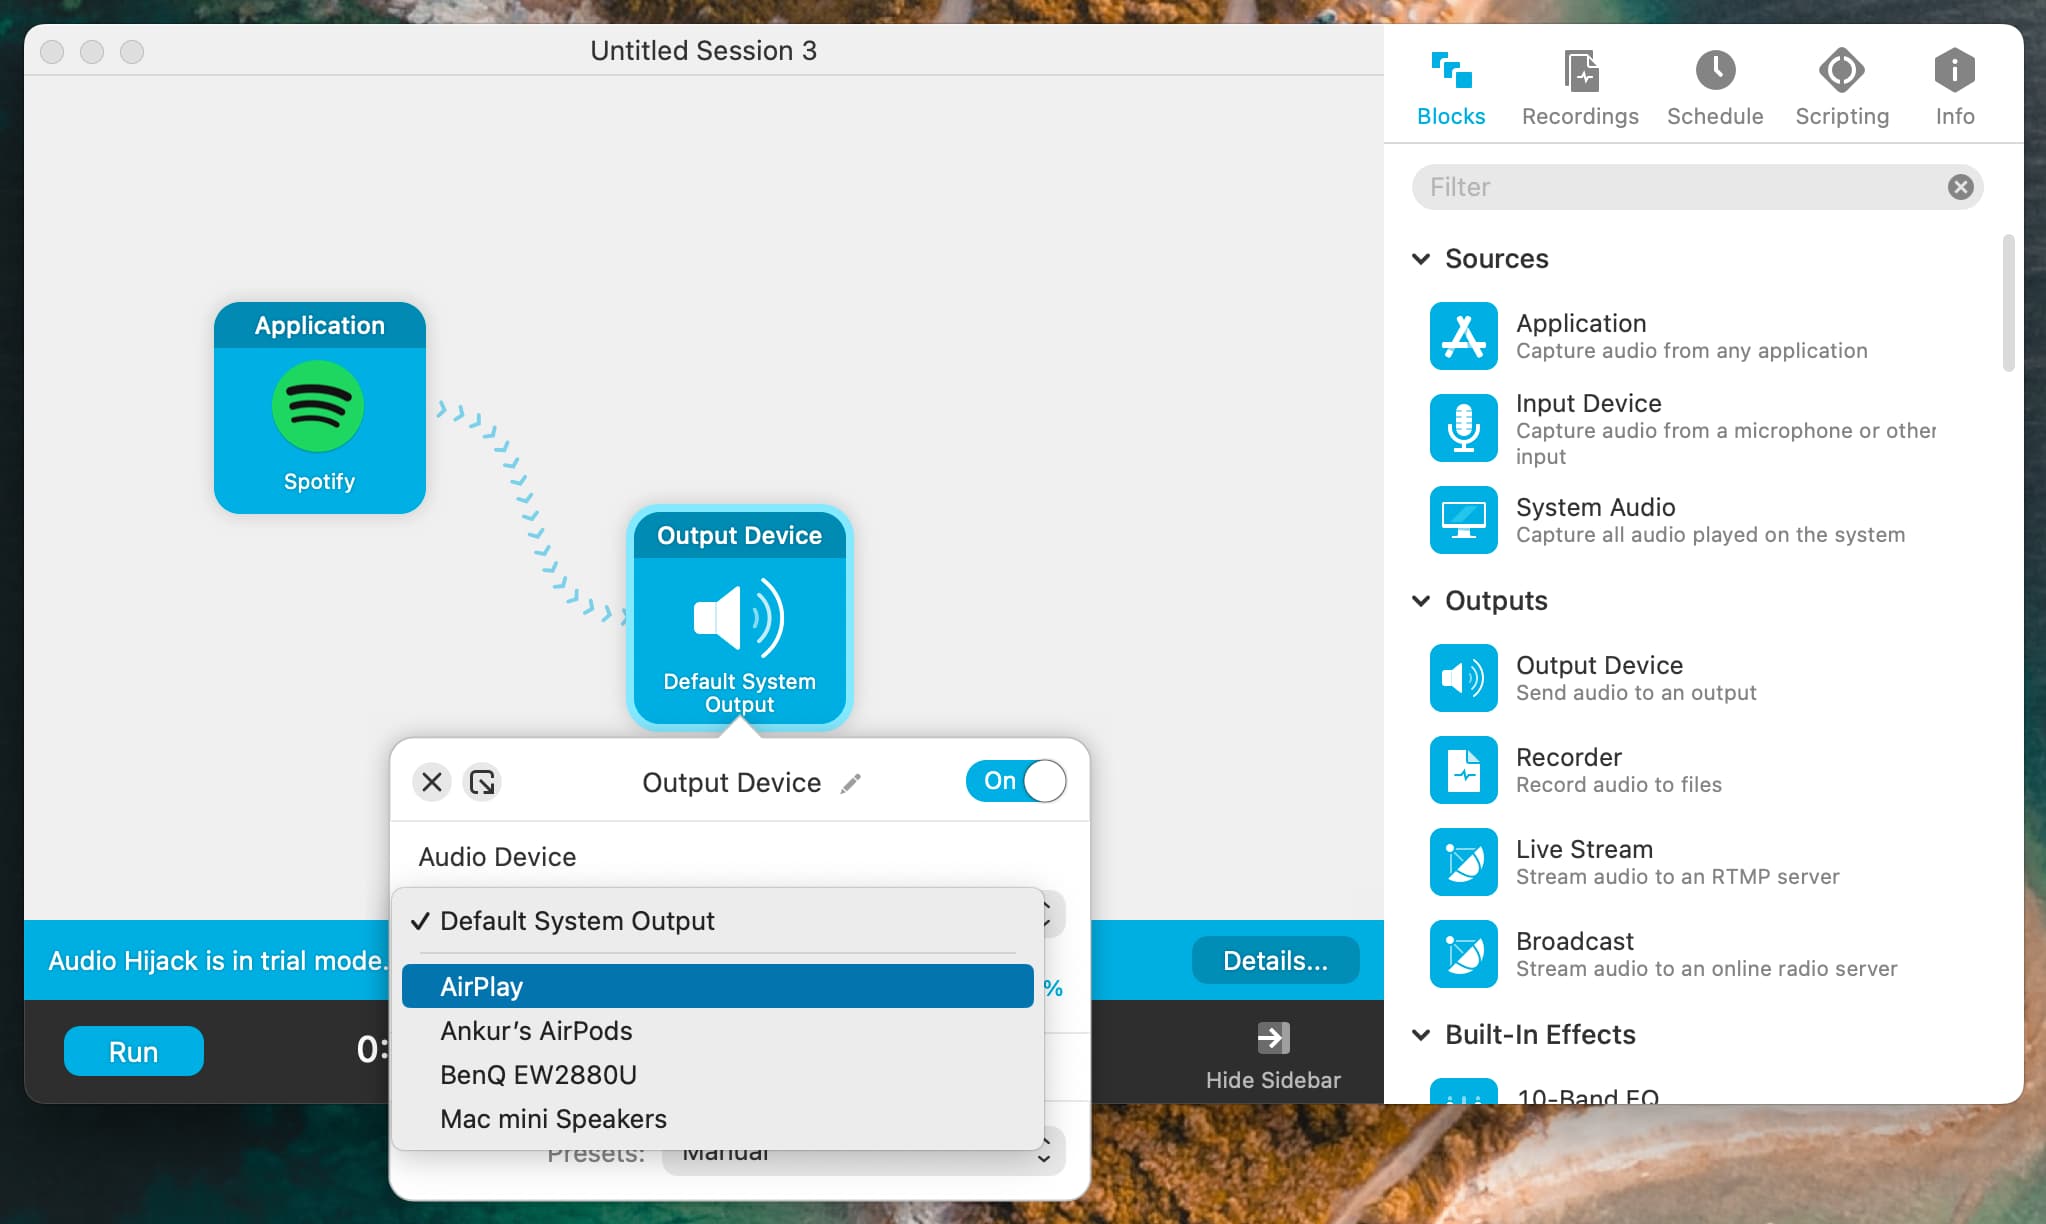
7) Click on the Output System tile > Default System Output and choose the specified output speaker. Relying on what number of audio system are presently obtainable in your Mac, they may all seem within the checklist right here. It’s going to embody AirPlay-capable HomePod, Bluetooth AirPods, built-in audio system, monitor audio system, and others. Choose one from the checklist.
8) Elective: You’ll be able to customise different choices reminiscent of setting the output quantity, left & proper channels, and so forth. You may also click on the Data tab and provides it a reputation.
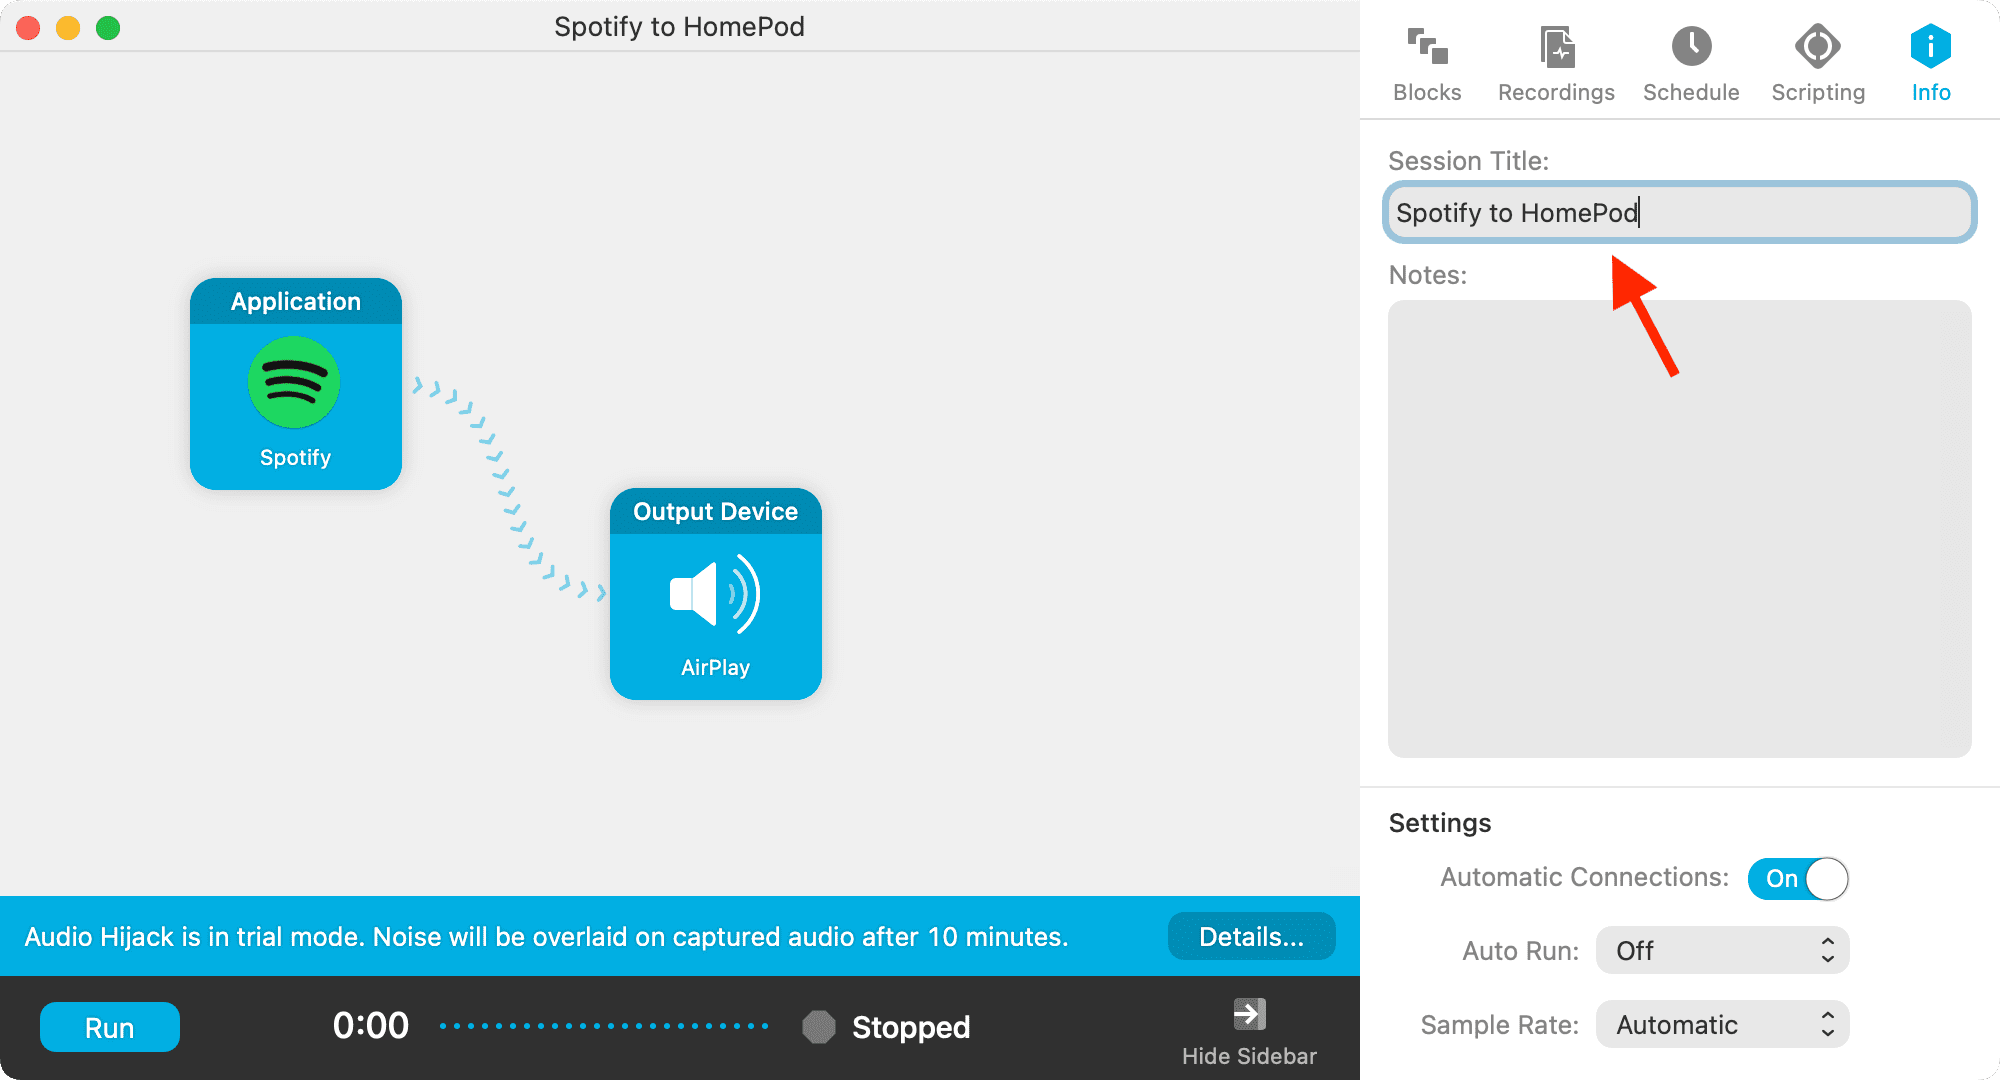
Click on the purple shut button from the highest left, and it’ll take you to the Session Record display screen. You’ll be able to comply with the above steps to create extra guidelines.
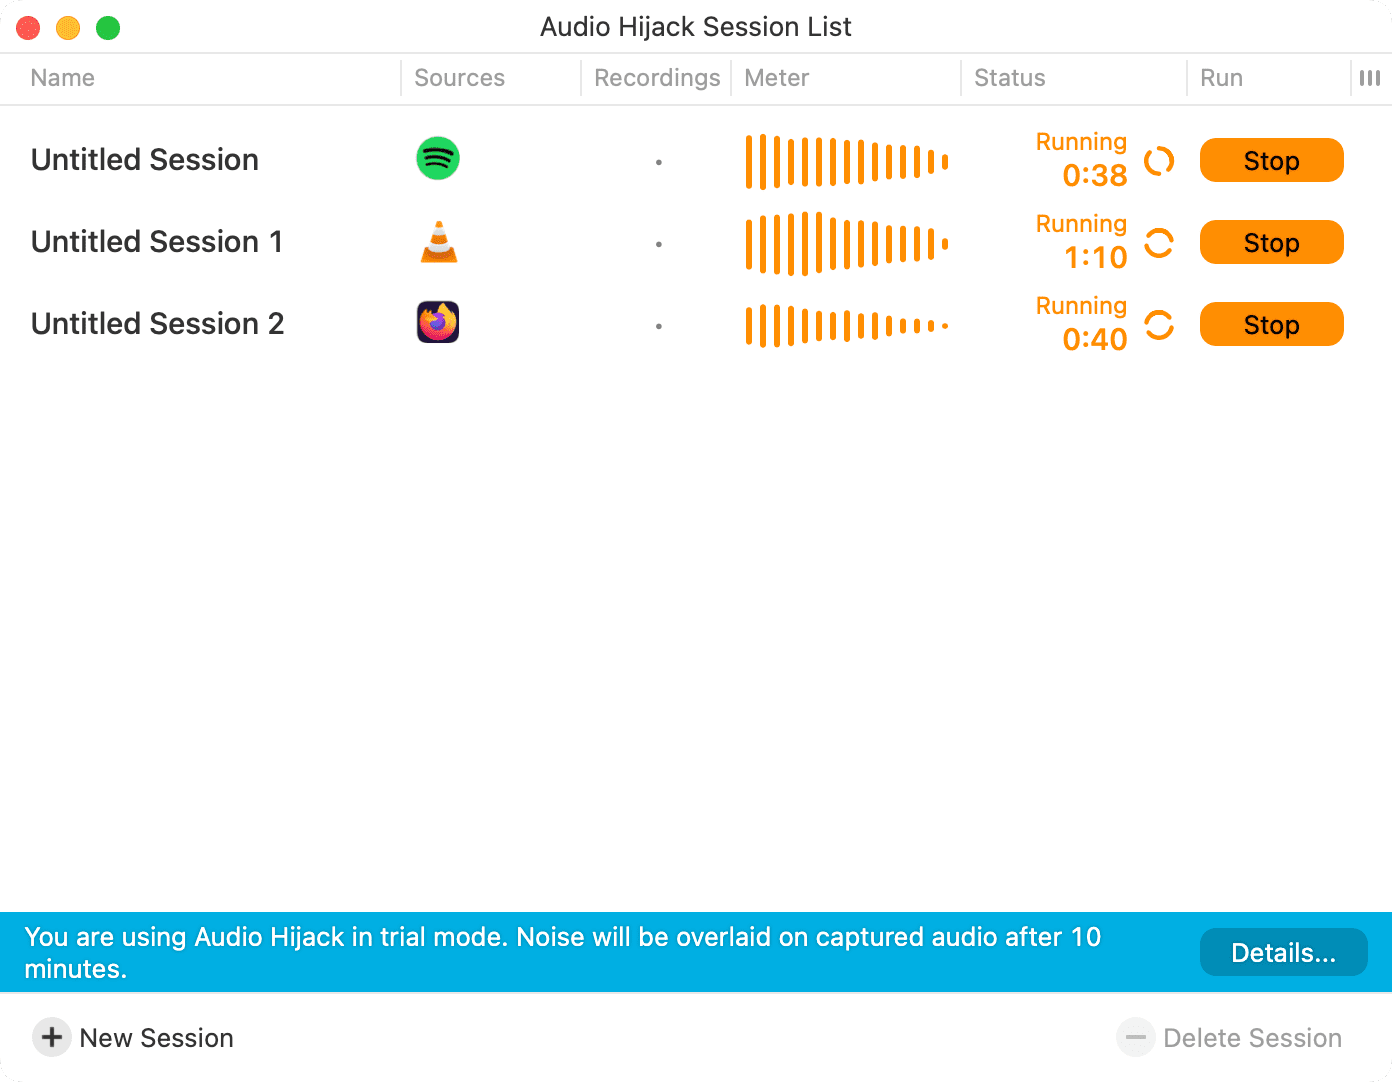
9) Click on Run subsequent to all the foundations.

10) Now, open the involved app (like Spotify) and play one thing. It’s going to play through the speaker you selected for it. Subsequent, open one other app like VLC and play one thing in it. You’ll once more discover that the sound is routed solely through the speaker you picked for this app.
Step 3: Be amazed by the app
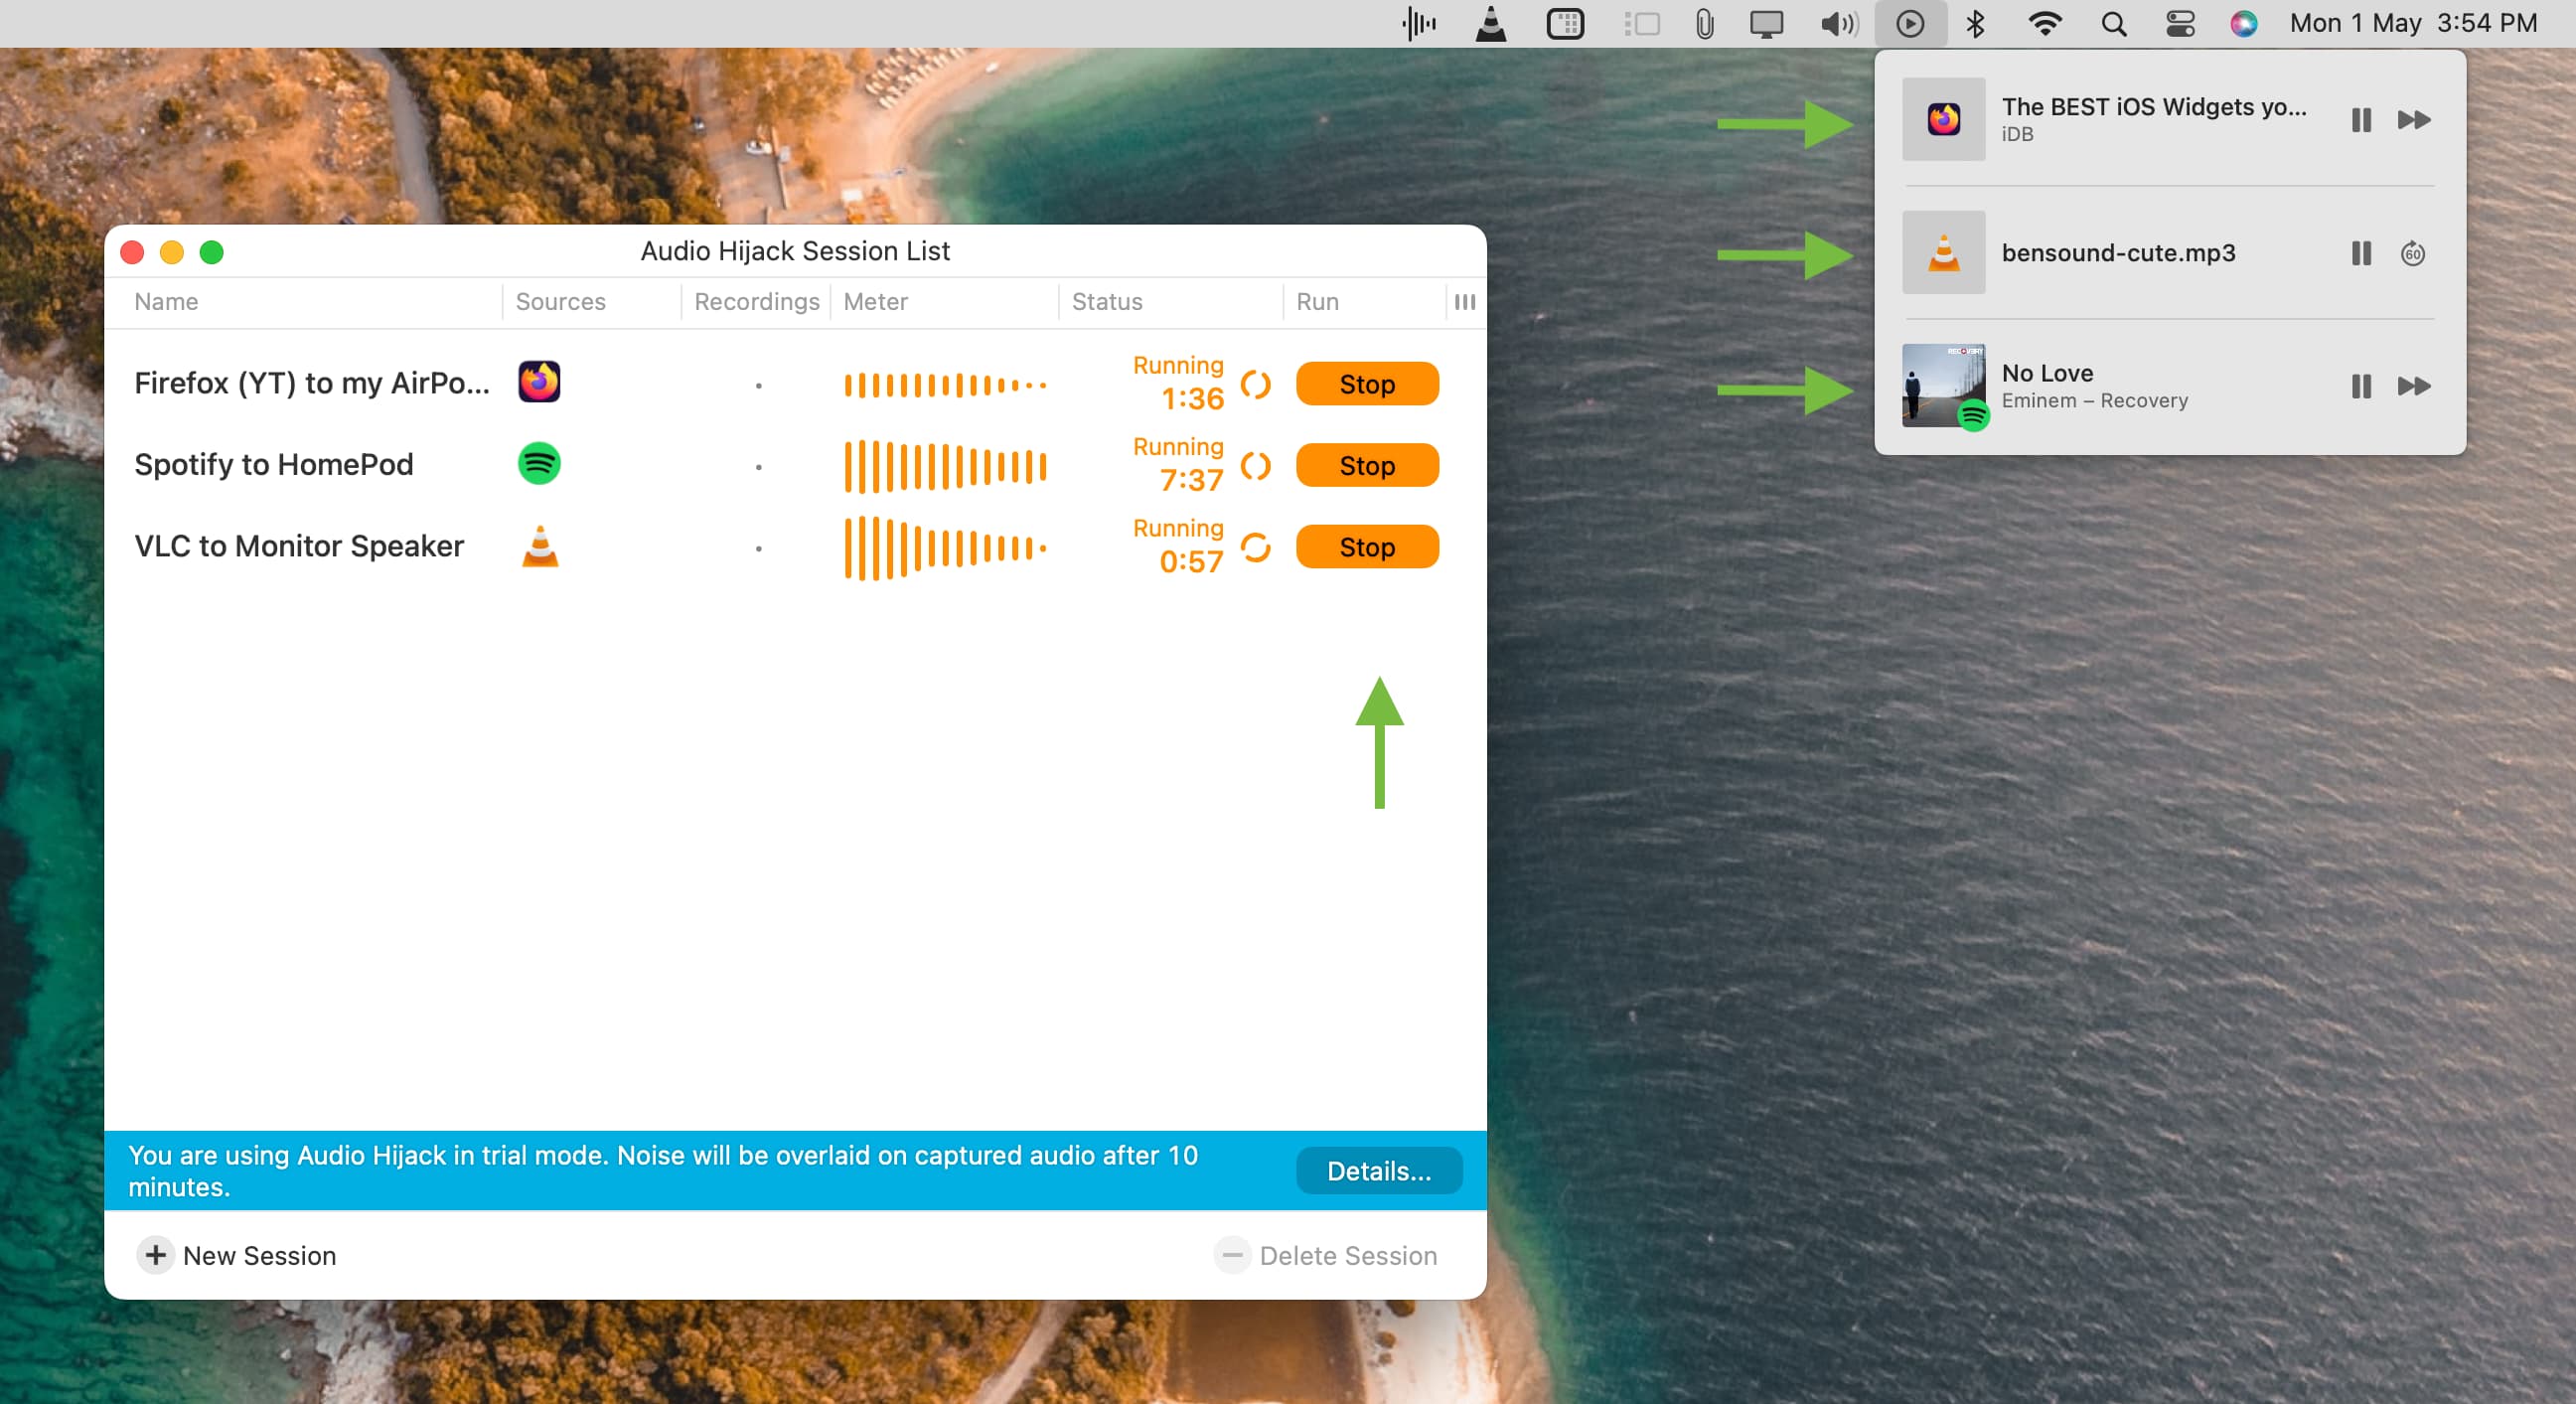
I created three guidelines (for Spotify, Firefox, and VLC), opened all three apps, and performed one thing in all of them:
- Spotify sound was output solely via my HomePod;
- The media performed in VLC solely sounded via my monitor audio system;
- The audio for YouTube movies performed in Firefox solely got here via my AirPods (with a slight video-audio lag).
That approach, I might play three issues on my Mac on the identical time, with the audio for all three outputting individually to separate audio system.
Step 4: Buy a license
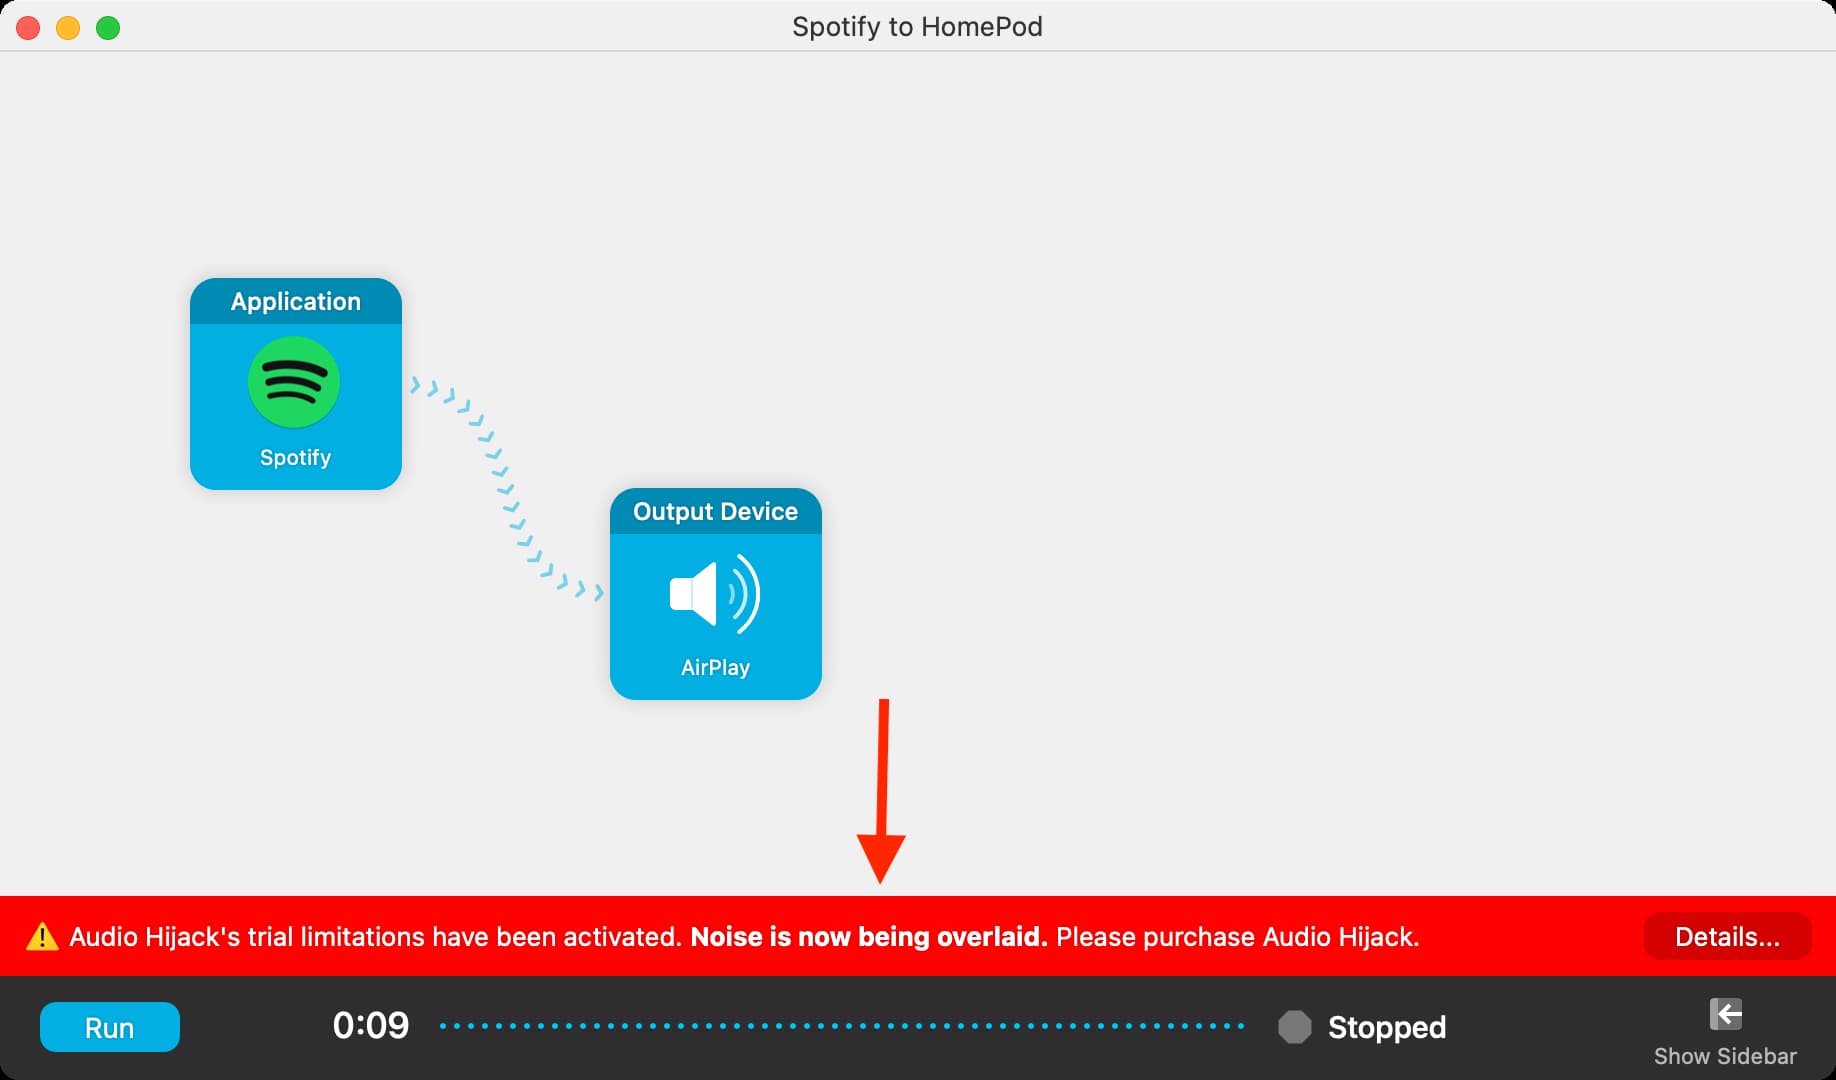
The free model of Audio Hijack is only a trial that allows you to arrange and discover the app. You’ll be able to’t use the free model for significant listening as it would overlay additional noise after 10 minutes of use. However after getting given this app a spin and love its performance, try their web site and improve to the professional model ($76) to take away this noise watermark.
See subsequent: