

macOS Ventura arrived on Macs in October 2022, many individuals have put in Ventura and adore it, others have put in the up to date solely to remorse it later. Maybe you found that an app you depend on now not works or is buggy, perhaps you simply hate one of many new options, or maybe there’s a downside with Ventura – or a subsequent replace to Ventura – that makes you would like you hadn’t put in it.
Fortunately it’s potential to downgrade, however sadly, Apple doesn’t make it as straightforward because it might.
This text will make it easier to downgrade from any model of the Mac working system to an older model – so in case you are trying to downgrade from Ventura, Monterey, Huge Sur, Catalina, Mojave, Excessive Sierra, Sierra, El Capitan and even one of many Huge Cat variations of Mac OS X, then learn on!
Alternatively, you may shield your self from being lumbered with an working system that doesn’t run the best way you need it to (or doesn’t run the apps you want) by putting in it on a separate quantity (often known as twin booting) or working it on a separate drive, so, perhaps after reverting again to an older macOS, you may wish to attempt that as a substitute.
Why downgrade macOS Ventura
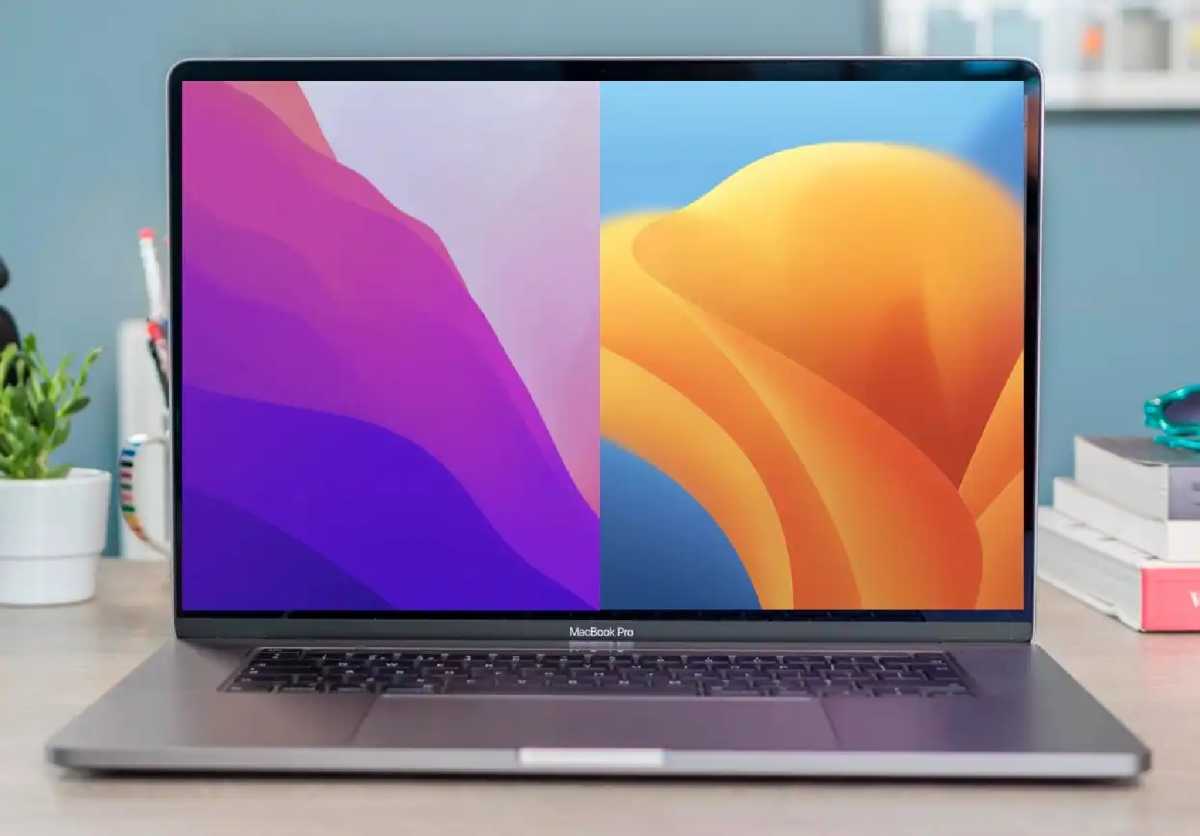
Ventura is a good replace to the Mac working system with some helpful options and a few iOS impressed modifications (learn: Finest options of Ventura, Ventura: Replace now or wait and macOS Ventura vs Monterey). Nevertheless, it’s potential that your Mac can’t reap the benefits of all the brand new options in Ventura. In case you have an Intel Mac it’s probably that you may be lacking out on a few of Ventura’s finest options. Learn: When you don’t have an M1 Mac you gained’t get these Ventura options. Intel Macs miss out on quite a lot of options together with Dwell Captions, Dictation emoji help, and Reference Mode with Sidecar.
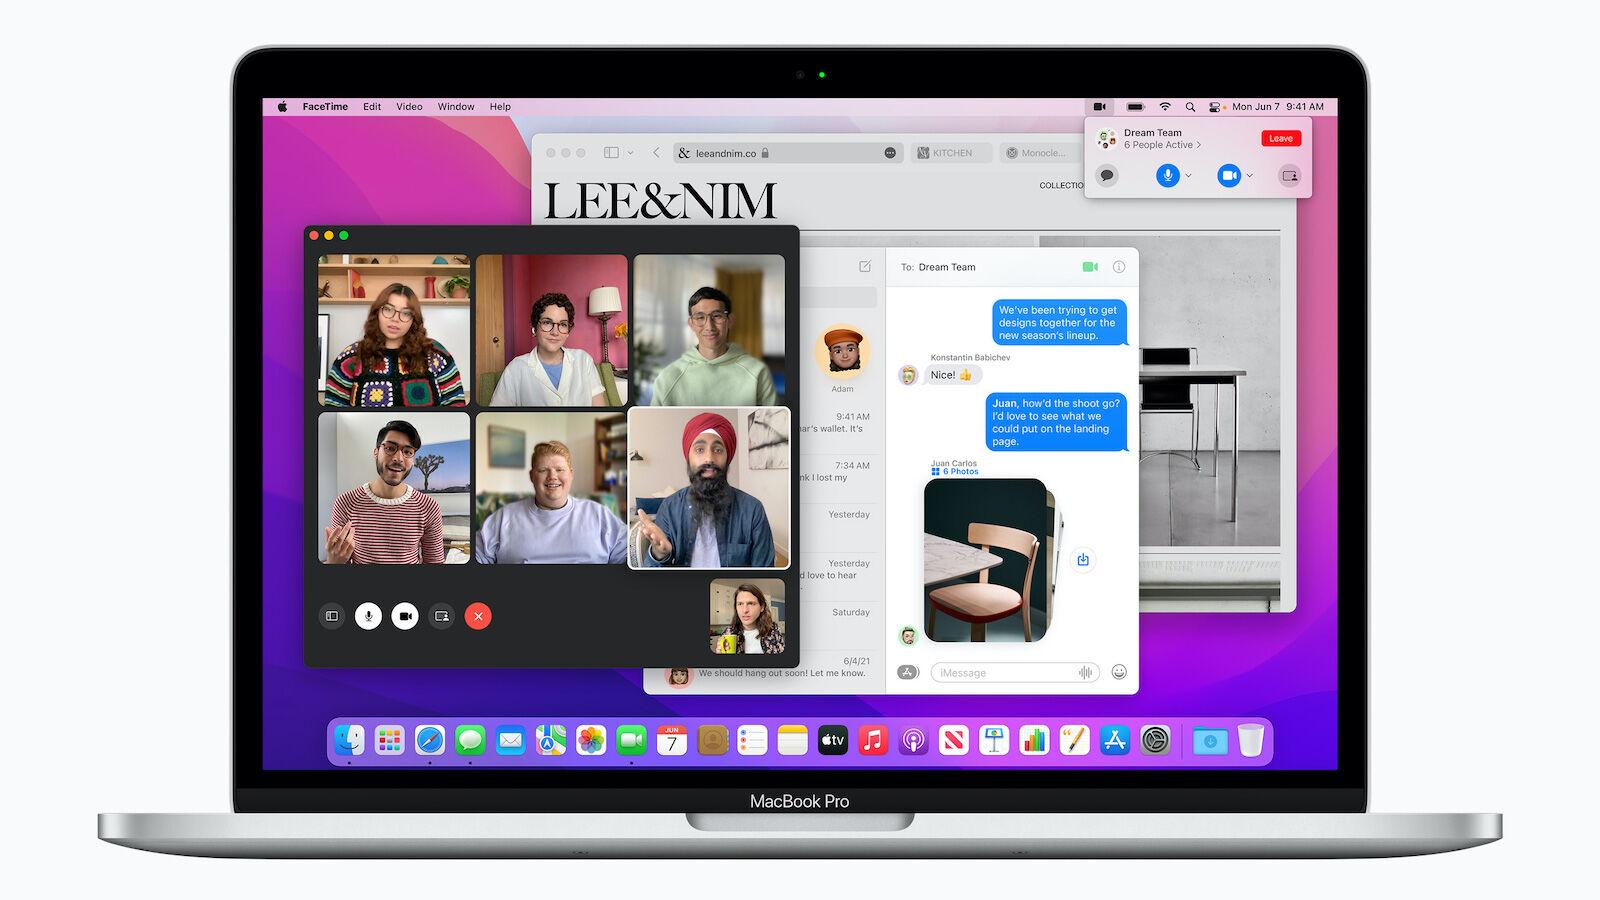
One other downside (which is shared with Monterey, Huge Sur, Catalina, Mojave, and Excessive Sierra), is that some instances when Apple updates the working system with new options customers encounter issues and vulnerabilities with the brand new software program. Since Apple launched Ventura there have been just a few issues and points. For instance, a Wi-Fi bug associated to AirDrop. Nevertheless, our recommendation stays that it’s a good time to replace to Ventura if you happen to haven’t but.
Foundry
There could also be different the explanation why you could revert to an older model of the Mac working system. Maybe you upgraded to a more moderen model of macOS solely to find that an app you depend on doesn’t work. Maybe you’ve got found that the model of Photoshop you personal now not works, for instance. There have been a number of apps that didn’t work in Catalina for instance. Nowadays the difficulty with apps not working tends to narrate as to if you’re working an M1 or Intel Mac, however software program points are a typical subject. See: Which apps are suitable with M1 Macs?
Or perhaps you could run an older model of the macOS on a Mac you’re utilizing to check apps as a part of your job. By which case you could be trying to run a number of working methods on the identical machine. We’ve got this extra detailed article that appears at numerous methods to put in older variations of macOS.
Sadly downgrading to an older model of macOS (or Mac OS X because it was beforehand recognized) isn’t so simple as discovering the older model of the Mac working system and reinstalling it. As soon as your Mac is working a more moderen model it gained’t permit you to downgrade it that means. However it’s nonetheless potential to downgrade your Mac. We additionally deal with The right way to set up older variations of macOS or OS X individually.
We’ll run by way of the steps to downgrade your Mac from Ventura on this article. In case you are eager to downgrade from a beta model of macOS we now have a separate article coping with downgrading from a beta model of macOS.
The right way to downgrade from Ventura to Monterey
Likelihood is you arrived on this text as a result of you’ve got up to date to Ventura and remorse it. Fortunately proper now it’s nonetheless comparatively straightforward to downgrade again to Monterey.
There are just a few strategies you should use to downgrade from Ventura to Monterey all of which we cowl beneath. For instance, if in case you have a Time Machine backup from earlier than the improve you may revert to that – however make sure to make a duplicate of any new information or pictures you’ve got added since upgrading first (and don’t use Time Machine for the again up as a result of you’ll simply get well Ventura alongside along with your information).
You might additionally reinstall macOS Monterey utilizing a bootable installer, however you’ll have to wipe your Mac first.
We’ll take a look at the varied choices and how one can downgrade from Ventura beneath.
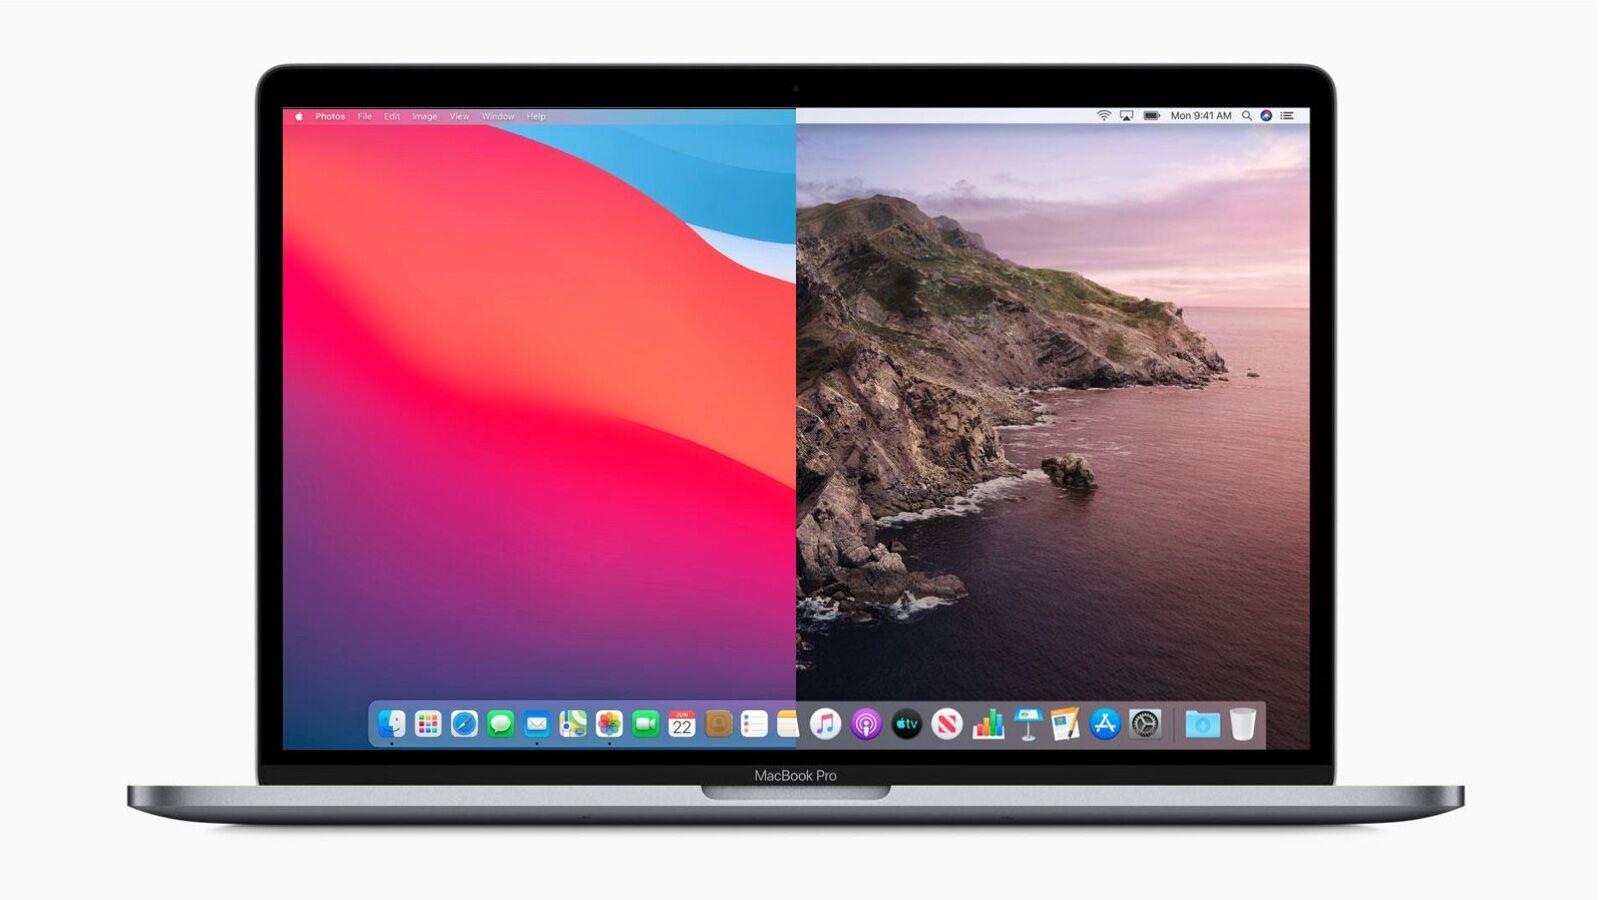
The right way to downgrade from Monterey to Huge Sur
When you up to date to Monterey and remorse it, or are encountering issues with Monterey, you can too comply with one of many strategies beneath to downgrade from Monterey to Huge Sur.
While you downgrade you’ll lose any new information you’ve got added – and probably you’ll have to wipe your Mac utterly – so make sure to make a backup. As a result of you may’t use Time Machine to make the again up, attributable to Time Machine additionally backing up the macOS that you simply don’t wish to get well too, you’ll want to seek out another again up answer to your Mac. We focus on this in additional element beneath.
We’ll take a look at the varied choices and how one can downgrade from Monterey beneath.
The right way to downgrade from Huge Sur to Catalina
Observe that in case you are on an M1 Mac you gained’t be capable to revert to a model of macOS earlier than Huge Sur.
When you up to date your Intel Mac to Huge Sur and regretted it you may downgrade to an older model of macOS. As famous above, if in case you have an M-series Mac then macOS Catalina is not going to run on it.
As above although, you should use a Time Machine again up from earlier than the improve or you may use a bootable installer to reinstall an older macOS. Chances are you’ll even be capable to use a particular key mixture once you begin up in Restoration mode to put in the unique model of macOS your Mac shipped with. Extra on that and the opposite strategies beneath.
The right way to downgrade from Catalina to Mojave
Possibly it’s Catalina you wish to downgrade. The choices are much like these above so the next steps also needs to allow you to revive Mojave – and even Excessive Sierra or earlier in your (Intel-powered) Mac if you wish to. Learn on to seek out out what to do.
Backup your Mac first!
Earlier than you begin the method of downgrading your Mac, it’s best to again up your Mac. The explanation for making a again up is that through the downgrade course of you’ll utterly wipe your arduous drive–so if there’s something you don’t wish to lose be sure to have a duplicate of it.
Nevertheless, you shouldn’t use Apple’s Time Machine to make this specific backup, as a result of if you happen to get well from a Time Machine backup made in macOS Ventura you’ll get well Ventura too (and likewise for no matter macOS you’re working). As an alternative again up any current modifications and paperwork utilizing one other again up software. For instance, you may attempt Carbon Copy Cloner (which has a free 30-day trial or prices £52/$49.99), and doesn’t make you again up the working system. Try our suggestions right here: Finest backup software program for Macs. We even have recommendation about The right way to again up a Mac.
It’s potential that you may get by with none backup in any respect if all of your information are saved in iCloud. Simply remember that iCloud isn’t a strategy to again up your Mac as a result of once you delete sure information out of your Mac you may additionally be deleting them from iCloud. You also needs to make completely positive that every thing you need is in iCloud–we’re so used to working within the cloud that we regularly assume that issues are there when in reality they’re on our Macs (talking from expertise right here!)
So again any new information as much as a spare exterior drive, or use iCloud to retailer a duplicate of any information you’ve created or modified because you upgraded to Ventura. See: The right way to use iCloud to again up your Mac.
And make a duplicate of any pictures you wouldn’t wish to lose, even if you happen to use iCloud Picture Library, there are some issues which are inconceivable to exchange.

Choice 1: Downgrade macOS utilizing a Time Machine backup
Hopefully you’ve got an older Time Machine again up from earlier than you upgraded as this may make the downgrade course of quite a bit simpler. Ideally you should have had your backup drive plugged in making common backups of your Mac, or no less than you should have made a backup previous to upgrading to Ventura (which is one thing we all the time advise when updating an OS). Together with your pre-Ventura Time Machine backup in hand you may get well your machine from earlier than the replace after which copy again any information you created after you put in Ventura.
That is our most well-liked methodology as a result of Time Machine backs up your settings and apps in order that once you get well from that backup every thing is strictly the best way you’re used to it being, which may be comforting. So long as you’ve got outdated backups it’s best to be capable to return to a date earlier than your improve and get well that model of your Mac. Simply do not forget that something you’ve got finished since then might be misplaced since you’ll wipe every thing in your Mac as a part of the method so if you happen to skipped the again up a part of this tutorial return and try this.
Right here’s learn how to get well the sooner model of the macOS utilizing Time Machine:
- Plug your Time Machine disk into your Mac.
- Restart your Mac.
- In case you have an Intel Mac maintain down Command + R till the Apple emblem seems. In case you have an M1 or M2 Mac you could press and maintain the ability button till the Choices menu comes up.
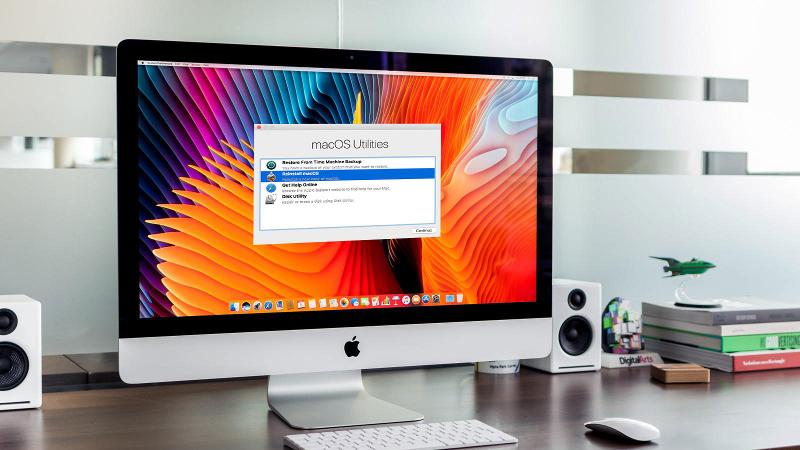
- When the choices seem on display screen, select ‘Restore From Time Machine Backup’ and click on Proceed.
- The subsequent display screen will present the phrases Restore from Time Machine, click on Proceed once more.
- Subsequent, choose your Restore Supply – this must be your backup drive.
- The subsequent display screen exhibits all of your backups over time, decide the final one you made previous to updating to the newer model of the Mac working system. (You may see which model of macOS the again up was made in).
As we stated above, in case you are on an M1 or M2 Mac you gained’t be capable to revert to a model of macOS earlier than Huge Sur, that’s as a result of Huge Sur gained’t run an ARM-based processor just like the M1 and M2.
After getting restored the older model of macOS you may get well the information you created since out of your separate backup.
However what if you happen to don’t have a Time Machine again up?
Choice 2: Reinstall an older macOS by way of Web Restoration
Relying on the age of your Mac there may be an choice to get well the unique model of macOS it shipped with utilizing Web Restoration.
Sadly this gained’t work on M1 or M2 Macs as they don’t permit you to reinstall any model aside from the one put in in your Mac.
Observe these steps to reinstall the model of macOS your Intel-powered Mac got here with:
- Flip off your Mac.
- Restart it whereas holding down Shift + Choice/Alt + Command + R to enter Web Restoration Mode.
- Select the Reinstall macOS choice.
- Click on Set up.
This will permit you to set up the unique working system that your Mac shipped with. Sadly, once we tried this methodology we had been unable to get well an older model of macOS, evidently it really works just for some Macs.
Observe that this methodology will erase your Mac, so do be sure to have a again up of necessary information.
Choice 3: Reinstall an outdated model of macOS with a bootable installer
When you don’t have a backup or the Web Restoration methodology above doesn’t work all isn’t misplaced. You may set up Monterey, Huge Sur, Catalina or an older model of macOS in your Mac. You have to to wipe your Mac first, which might imply you’ll lose your information if you happen to don’t again it up. Bear in mind backing it up with Time Machine gained’t be helpful right here as you’d get well Ventura alongside along with your information.
Step 1: Get the installer
The primary stage of this methodology is to get the installer for the model of macOS you require, with the prerequisite that your Mac wants to have the ability to run it. See: macOS compatibility–the variations your Mac can run
We’ve got hyperlinks to numerous variations of macOS beneath so you may obtain the one you need. When you require one other model of macOS see this text: The right way to obtain outdated variations of macOS.
Presently you may seize the Monterey installer from the Mac App Retailer, right here’s how:
- Click on on this hyperlink which can open the Mac App Retailer on the Monterey web page.
- Click on Get.
- The Software program Replace window up from System Preferences will open exhibiting the newest model of Monterey (or the model of the working system you’re after). Verify that you simply wish to obtain the software program, you’ll additionally see a warning that you’re downloading an older model of the OS, ignore it. (Just like the message beneath). Wait whereas the macOS downloads – it might take some time.

- As soon as it’s downloaded DO NOT click on on Open – you don’t wish to set up it but.
In case you are on the lookout for an older model of macOS the method is identical. For instance, Huge Sur is right here, you may seize macOS Catalina from this hyperlink to the Mac App Retailer and the Mojave installer may be obtained from the Mac App Retailer by way of this hyperlink which can open the Mac App Retailer on the Mojave web page. (Generally the Mac App Retailer doesn’t open, ought to that occur we now have two ideas: use Safari and be sure that the Mac App Retailer is closed earlier than clicking the hyperlink). 
Step 2: Create a bootable installer
You gained’t simply be capable to set up Monterey over Ventura (or Huge Sur over Monterey, or Catalina over Huge Sur) however there’s a strategy to get the older model of macOS in your Mac: now you’ve got the set up information you may make a bootable installer.
To make a bootable installer from which you’ll be able to reinstall the older macOS you have to a reminiscence persist with no less than 15GB house however we’d advocate extra. You’ll must reformat that drive and put together it in Disk Utility after which use Terminal to enter the createinstallmedia command for the model of macOS you’re putting in.
Within the case of Monterey that is:
sudo /Purposes/Set up macOS Monterey.app/Contents/Sources/createinstallmedia –quantity /Volumes/MyVolume
You have to to exchange MyVolume with the title you’ve got given to the drive you’re utilizing because the bootable installer.
Within the case of Huge Sur that is:
sudo /Purposes/Set up macOS Huge Sur.app/Contents/Sources/createinstallmedia –quantity /Volumes/MyVolume
We advocate that you simply comply with the steps outlined on this article:
The right way to create a bootable installer of macOS to create your bootable installer.
Step 3: Use the bootable installer to downgrade your Mac
Now you’ve got your bootable installer it’s best to be capable to set up the older model of macOS from it.
- Join the bootable installer to your Mac.
- Open System Preferences and click on Startup Disk.
- Select the exterior drive along with your installer because the startup disk and click on Restart.
- Your Mac will shutdown and restart in Restoration mode.
- You have to to hook up with Wi-Fi as a result of your Mac might want to hook up with the web throughout this course of. Entry Wi-Fi settings from the Wi-Fi menu.
- Choose Reinstall macOS from Utilities.
- Click on Proceed.
Troubleshooting points when downgrading your Mac
This stuff don’t all the time go easily so we’re working by way of just a few points you may encounter beneath.
What to do if booting from exterior media doesn’t work
In case you are utilizing a Mac with a T2 Chip then you could be certain that you allow booting from exterior media or this is not going to work! To do that you could entry Restoration Mode after which select Startup Safety Utility from the menu. Right here you will notice quite a lot of choices together with these for Safe Boot and people for Allowed Boot Media. It’s on this second part that you can find Permit booting from exterior or detachable media. You have to this chosen in addition from a bootable drive.
What to do if the outdated macOS gained’t set up
If the above doesn’t work you could must utterly wipe your Mac earlier than reinstalling macOS from the bootable drive.
Step 1: Wipe your Mac
If the above doesn’t work you could must erase your Mac. We clarify intimately learn how to erase a Mac on this article: The right way to erase a MacBook or Mac: restore to manufacturing unit settings and we advise that you simply comply with that tutorial.
The strategy by which you wipe your Mac will rely on which Mac you personal. In case you have an M1 Mac or an Intel Mac with a T2 chip (many from 2018 onward do) the method in macOS Monterey is extremely straightforward. You merely open System Preferences after which click on on the brand new Erase All Content material And Settings choice within the System Preferences menu.

In case your Mac is older, otherwise you aren’t working Monterey, you have to to erase your Mac following these steps, that are additionally detailed within the tutorial about
wiping a MacBook or Mac. We advocate that you simply comply with that tutorial as there are a number of steps it’s best to take to make sure that you don’t create extra issues for your self.
- Enter Restoration mode (by beginning up your Mac whereas urgent and holding Command + R on an Intel Mac or urgent and holding the on change on an M1 Mac).
- As soon as in Restoration you may enter Disk Utility.
- In Disk Utility choose your arduous drive. Be sure you have Delete Quantity Group chosen so that you delete each the Macintosh HD and Macintosh HD Information.
- Click on on Erase. You have to to decide on APFS or HFS+ – current macOS variations use APFS, in case you are going again to HFS+ then we advocate you learn the
notes about APFS and HFS+ beneath as a result of that’s extra difficult.
Step 2: Use the bootable installer to downgrade your Mac
Now you’ve got deleted your Mac you may reinstall macOS out of your bootable installer.
- Restart your Mac holding the Choice key if in case you have an Intel Mac, or urgent and holding the Energy button on an M1 Mac.
- When the Startup Supervisor seems select the USB stick and click on Enter.
- The installer will begin to load. As soon as it has loaded select Set up macOS.
- Wait whereas macOS installs in your Mac.
Now your Mac ought to set up the older model of the working system.
What to do if you could downgrade from APFS to HFS+
It might be a bit of extra sophisticated in case you are reverting from Huge Sur, Catalina, Mojave or Excessive Sierra to a model of the macOS that predates them as a result of Apple switched to a brand new file system (no less than on SSD-equipped Macs) in Excessive Sierra. Fusion Drives and Exhausting Drives received an identical file system change in macOS Mojave.
Nevertheless, it’s potential to change again. When Apple stopped attempting to make APFS work on Fusion Drives again when it was beta testing Excessive Sierra (an early model of the beta did help it on Fusion Drives), the corporate issued the next directions to downgrade from the APFS model to a HFS+ model.
It’s potential that you’ll have to comply with these directions in downgrading if in case you have put in Mojave on a Fusion drive or arduous drive and wish to revert to Excessive Sierra or earlier. Equally, if you happen to put in Excessive Sierra on a Mac with an SSD and needed to revert to Sierra.
- Create a bootable installer as above.
- Press Choice/Alt as you begin up your Mac.
- Select the bootable installer as your startup disk.
- Choose Disk Utility.
- Select Present All Units.
- Select your drive and click on on Erase.
- Change the format to MacOS Prolonged (Journaled).
- Change the title of your drive to one thing else.
- Stop Disk Utility.
- Select Reinstall macOS and choose the brand new drive title as your goal.
- As soon as in Setup Assistant select emigrate your information out of your Time Machine again up (Time Machine isn’t utilizing APFS, but, so this could work, for now).
The right way to keep away from issues once you downgrade macOS
Reversing an improve carries with it quite a lot of wrinkles and pitfalls.
Most of those are attributable to modifications in file codecs and settings between variations of the OS. So, for instance, if you happen to create a doc or work on a file in a brand new model, whether or not it’s a beta or full launch, of macOS after which try to open it in an older model, it might not work.
To mitigate this, it’s smart to export any paperwork you’ve created or labored on within the newer OS in an ordinary file format. So, for instance, if you happen to use Scrivener or Ulysses, export paperwork as RTF information. That means, if the native information don’t survive the reverse improve, you’ll be capable to re-import the RTF information.
Take screenshots of preferences and settings
Everytime you carry out a clear set up of macOS, which is what you’re doing right here, it’s a good suggestion to take screenshots of any customized settings you’ve created in apps or in System Preferences. That makes it simpler to re-create them later.
You also needs to make a remark of person account and password particulars for something you’ve arrange whereas working the brand new model of the OS. When you don’t use iCloud or Chrome to synchronise bookmarks, it’s a good suggestion to export these and make a duplicate.
And until you’re utilizing the migrate information choice outlined above, you’ll additionally want installers and licence codes for apps you employ. If these are downloads from the Mac App Retailer, you may simply re-download them from the Bought part within the App Retailer. If not, be sure to can obtain them from the seller’s web site. When you don’t use a password supervisor to retailer licence codes, be sure to’ve received a duplicate of them earlier than you begin.
Synchronise
When you use Dropbox, OneDrive, Google Drive or every other type of cloud storage, make sure that your information is in sync earlier than you begin the method of reversing an improve. It’s straightforward to neglect that the information that dwell in your Dropbox folder, or instance, are native information and that whereas synchronisation is frequent, the lack of an web connection will forestall it and you may have information in your native folder that haven’t but been copied to the cloud.
Clicking on the cloud service’s emblem in your menu bar ought to let you know whether or not synchronisation accomplished efficiently and information are updated.
When you use Gmail, iCloud mail or every other IMAP server to your e-mail, make sure that it’s updated and any drafts you’ve composed just lately have been synchronised. When you use a POP3 account you’ll must manually again up the mail database and restore it after you reverse the improve. Or, if you happen to solely have just a few messages you could hold, ahead them to a Gmail account – you may set one up particularly for that goal.