
This put up pens down a short description of how I report audio on Ubuntu utilizing the next software program packages:
Methodology 1: Utilizing the “Gnome Sound Recorder” Utility
The “Sound Recorder” is likely one of the most well-known gnome purposes. It’s used to report audio constantly for as much as three hours. It has a easy and environment friendly interface that gives a simple course of to carry out this process.
Learn how to Set up Gnome Sound Recorder?
Merely use the “apt” default bundle supervisor to put in the “gnome-sound-recorder” in Ubuntu:
$ sudo apt set up gnome-sound-recorder
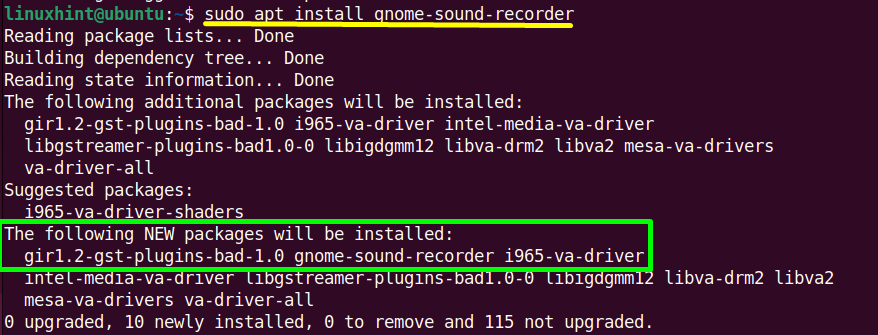
The “gnome-sound-recorder” has been put in in Ubuntu.
Recording Audio Utilizing Gnome-Sound-Recorder
The steps supplied right here reveal the utilization of the “GNOME Sound Recorder” on Ubuntu to report audio on Linux:
Step 1: Open Sound Recorder
Kind the “gnome-sound-recorder” within the terminal and hit the “Enter” key. It is going to open up the “sound recorder” instrument having an interface like this:
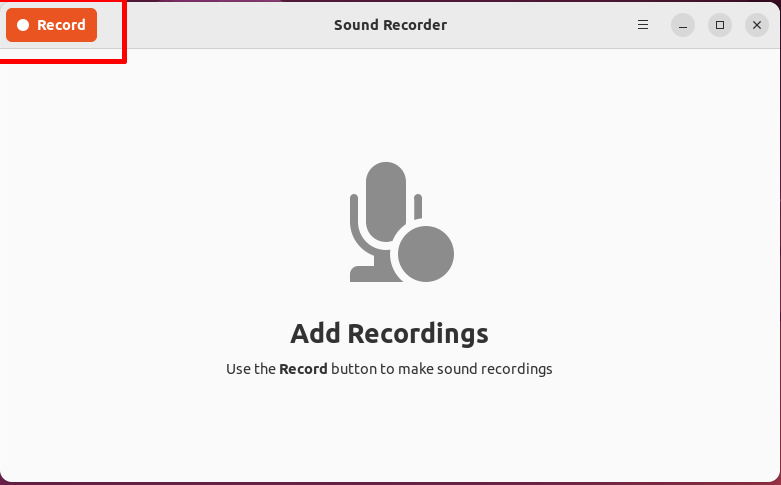
Step 2: Document Audio
Click on on the highlighted “Document” button situated within the left high nook to start out recording the audio utilizing the microphone:
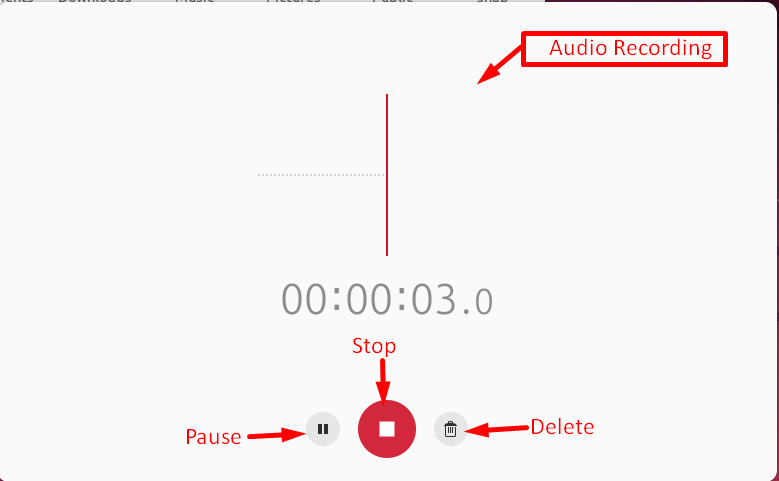
The audio recording has been began, and it may be managed by “Cease”, “Pause”, and “Discord/Delete” buttons.
Step 3: Save and Obtain the Recorded Audio
Faucet on the “Cease” button and the recorded audio shall be stopped. It is going to pop up a brand new window like this:
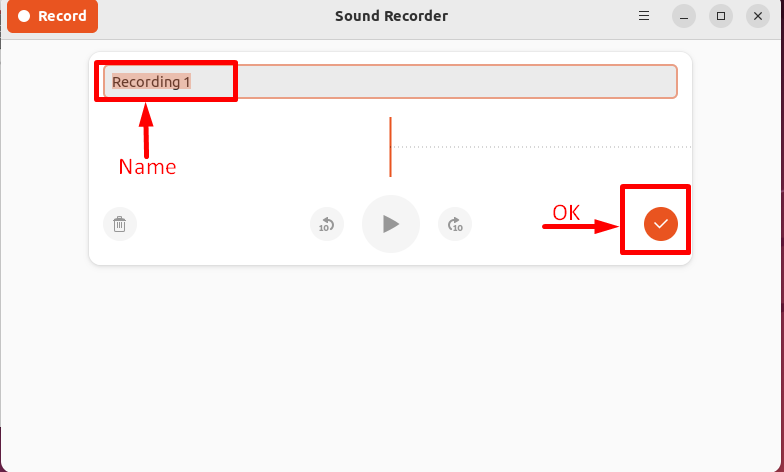
The consumer can change the identify of the audio as per necessities. After that hit the “OK/Save” button to reserve it into its personal interface:
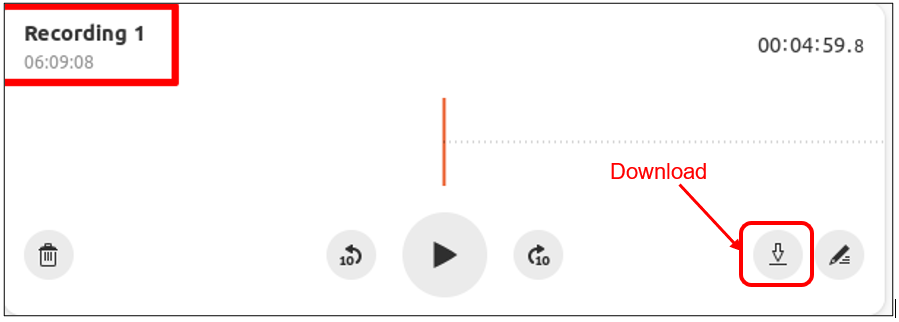
The “Recording 1” has proven within the high left nook. Click on on the “Obtain” button to “Export” it into the specified i.e., “Music” folder:
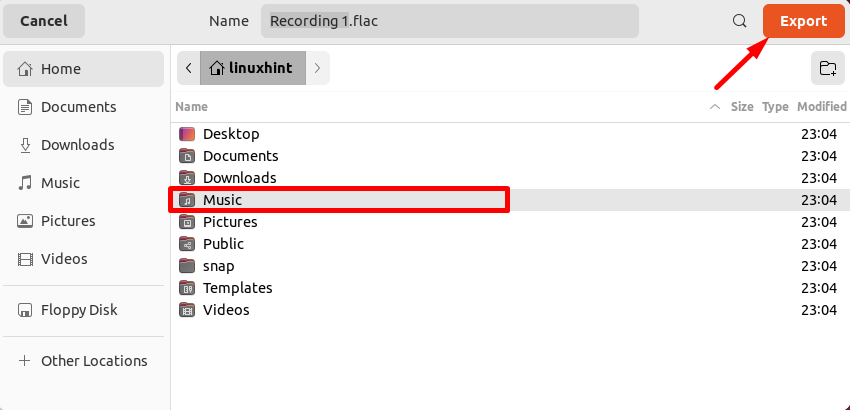
The “Recording 1” has been downloaded into the “Music” folder:

Learn how to Take away Gnome Sound Recorder?
Execute the below-mentioned command to fully (together with dependencies) take away the sound recorder software from Ubuntu:
$ sudo apt autoremove –purge gnome-sound-recorder
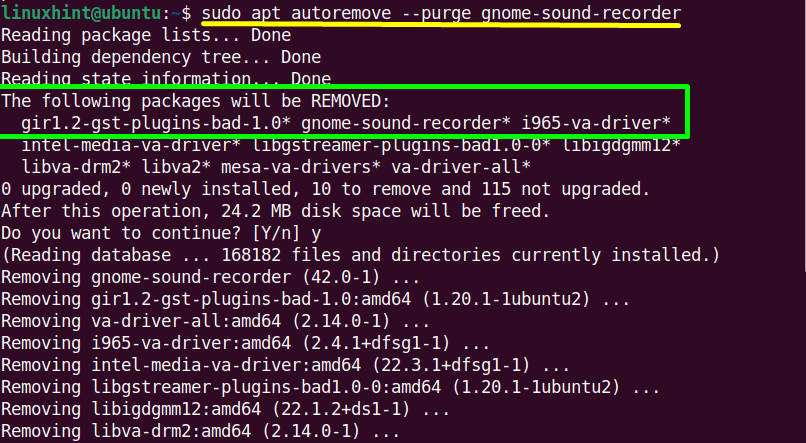
The “gnome-sound-recorder” instrument has been faraway from Ubuntu.
Be aware: The “sound recorder” solely information the audio/voice from the microphone that’s why it’s not appropriate for numerous conditions.
Methodology 2: Utilizing the “Audio Recorder” Utility
The “Audio Recorder” is a free and open-source audio recording instrument within the Ubuntu working system. It information audio in numerous conditions like in video calling on skype and plenty of others.
Learn how to Set up Audio Recorder?
Comply with the steps supplied beneath to put in this handy utility after which use:
Step 1: Add PPA Repository
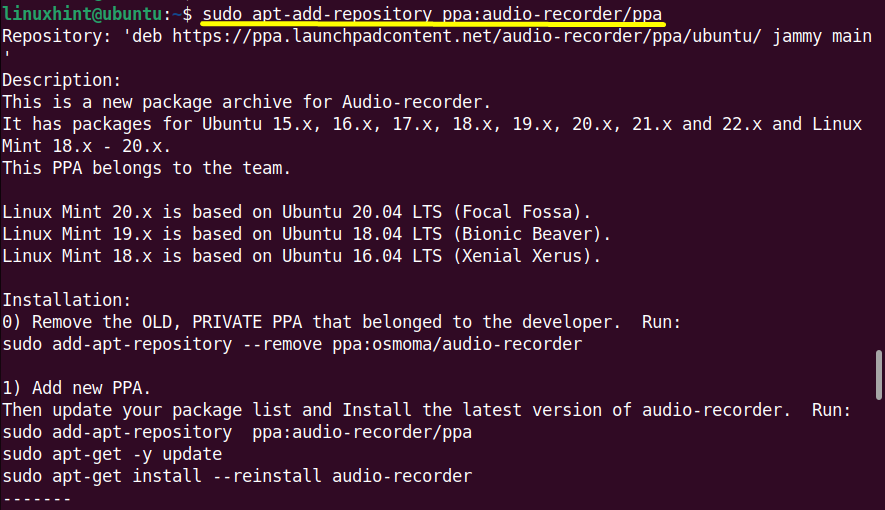
First, add its official PPA repository as a result of it’s not current within the “Ubuntu” default repository. To carry out this operation, execute this command:
$ sudo apt-add-repository ppa:audio-recorder/ppa
Step 2: Set up Audio Recorder
Subsequent, replace the Ubuntu system to get the up to date checklist of the out there packages current within the repositories:
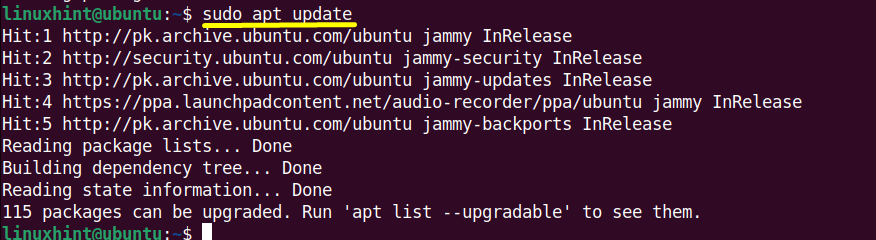
Now, set up it utilizing the command:
$ sudo apt set up audio-recorder
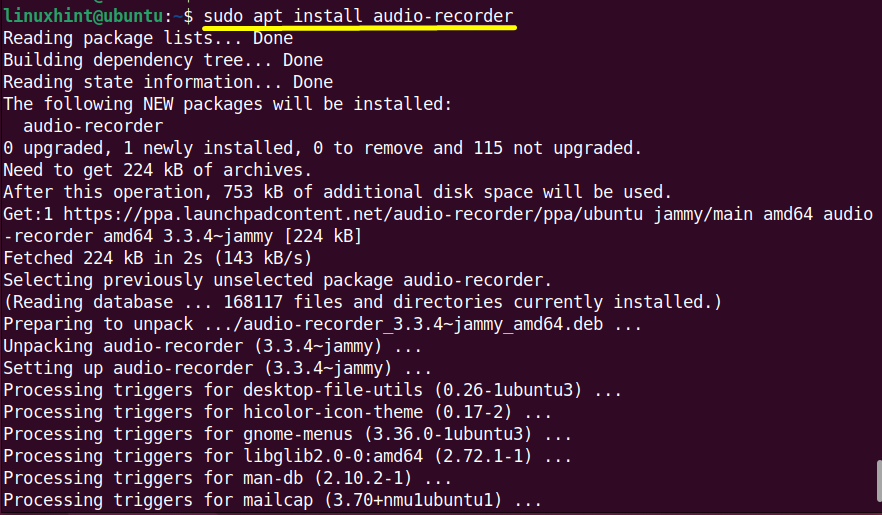
The “audio recorder” has been efficiently put in in Ubuntu.
Recording Audio Utilizing Audio-Recorder
The “audio recorder” software could be simply used and launched utilizing the required pointers.
Step 1: Launch Audio Recorder
Launch the app by merely writing the “audio-recorder” identify within the terminal and urgent the “Enter” key to launch it exhibiting the straightforward interface:
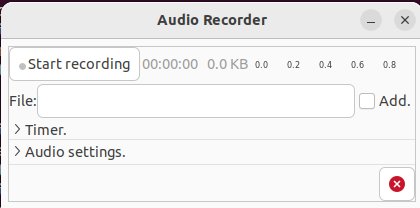
Step 2: Begin Recording
Hit on the “Begin Recording” button. It is going to begin the audio recording shortly:

Step 3: Save the Recorded Audio
Click on on the “Cease Recording” button to cease the audio:

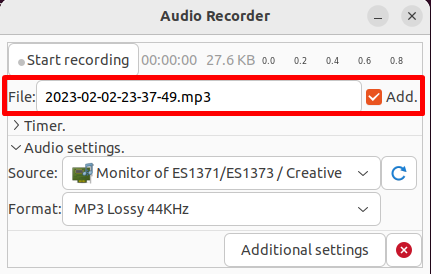
The consumer can save the recorded audio in numerous codecs like “FLAC”, “SPX”, “MP3” and so forth by using the “Audio settings” drop-down checklist:
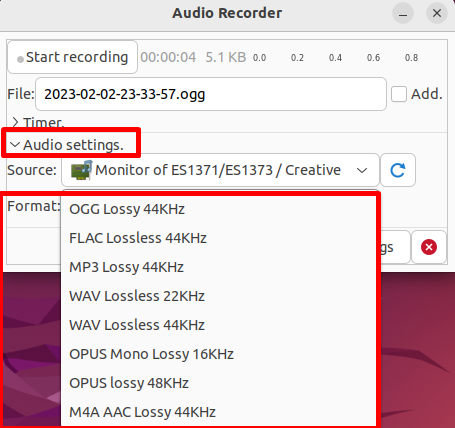
The recorded file follows the filename format “year-month-date-hours-minutes-seconds”. Mark the “Add” checkbox to avoid wasting:
The above-recorded file shall be saved within the “Audio” listing contained in the “house” listing as proven beneath:

Learn how to Take away Audio Recorder?
When the audio is recorded sort the “autoremove” command for the uninstallation/elimination of “audio recorder” from Ubuntu:
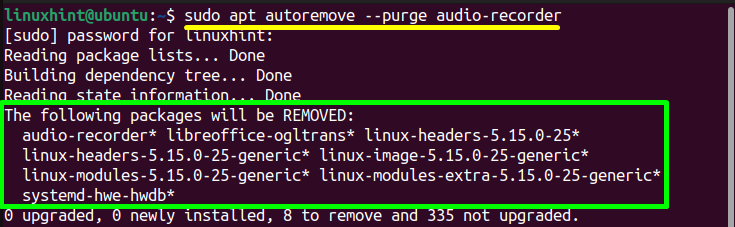
The “Audio Recorder” software has been faraway from Ubuntu.
Conclusion
In Ubuntu, the “Gnome-Sound-Recorder” and the “Audio Recorder” purposes are used to report the audio. The “Gnome Sound Recorder” is an easy instrument to report audio utilizing a microphone whereas the “Audio Recorder” information audio from numerous sources. This put up has listed potential features of how I report audio on Ubuntu.