
If you should use the Nix package deal supervisor on any Linux distro, why do you have to set up the NixOS?
I usually puzzled about the identical earlier than utilizing NixOS for a couple of days.
As soon as I noticed the advantages, I wrote about it that can assist you know why you would possibly think about using NixOS. In case you have learn the primary article of the sequence, you already know what you need.
So, learn how to get began with it? Contemplating it may be a brand new expertise for a lot of, do you have to substitute your every day driver with it or set up it as a digital machine?
I like to recommend utilizing NixOS on a VM earlier than you need to substitute it as your main working system. This holds for something new that you just need to attempt, however particularly for superior Linux distributions like NixOS.
Set up NixOS within the VM Utilizing VirtualBox
On this tutorial, I shall be utilizing VirtualBox.
And in case you are utilizing Ubuntu and do not care about having the newest model, VirtualBox will be put in utilizing a single command:
sudo apt set up virtualboxWish to set up the newest model? You may consult with the given information:
How you can Set up VirtualBox on Ubuntu [Beginner’s Tutorial]
This newbie’s tutorial explains numerous methods to put in VirtualBox on Ubuntu and different Debian-based Linux distributions. Oracle’s free and open-source providing VirtualBox is a superb virtualization software, particularly for desktop working methods. I favor utilizing it over VMWare Workstation i…
And in case you are utilizing something in addition to Ubuntu, you possibly can observe the obtain directions from its official downloads web page.
After you have efficiently put in VirtualBox, allow us to begin with step one.
Step 1: Get the ISO picture of NixOS
It’s essential to head to NixOS official obtain web page.
And underneath the NixOS: the Linux distribution part, one can find ISO with GNOME and KDE desktops.
Positive, there’s a minimal ISO, too, however I might advocate going with both of the 2 (GNOME and KDE):

For the sake of this tutorial, I shall be utilizing GNOME.
Keep in mind, you’re given GNOME and KDE choices for the reside desktop!
And through set up, you get the choice to decide on your favourite desktop setting, together with Xfce, Pantheon, Cinnamon, MATE, and extra!
Step 2: Create a digital in VirtualBox
Open VirtualBox and click on on the New button so as to add a brand new digital machine:
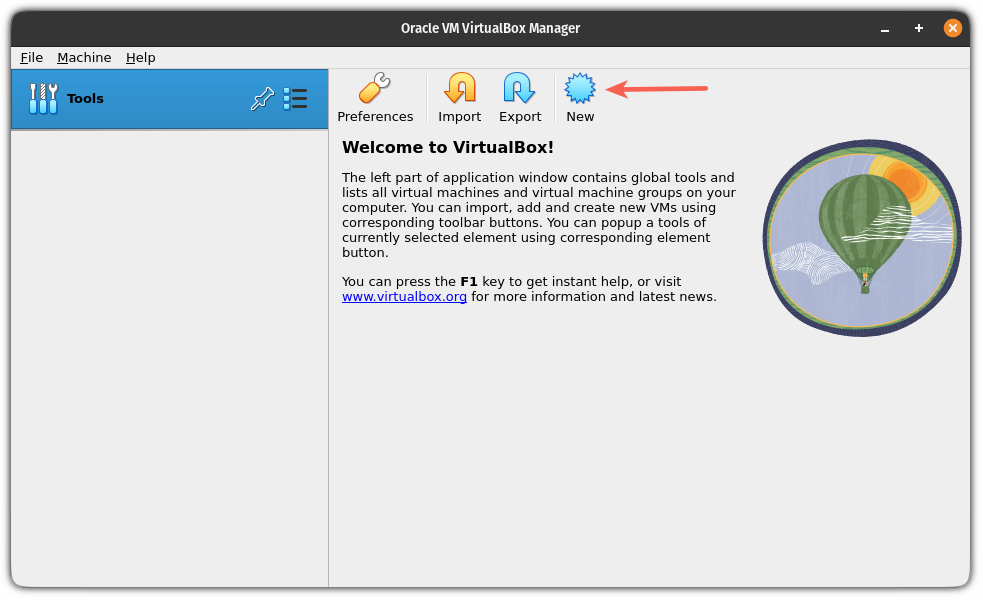
And it’ll open a immediate asking you so as to add details about the VM you need to add.
You can begin by naming your VM:
- Title your VM as a way to determine it’s a NixOS set up. So I named it
NixOS. - Select the ISO picture that you’ve got downloaded not too long ago.
- Choose
Linuxas a kind of ISO. - And select
Different Linux (64-bit)for model.
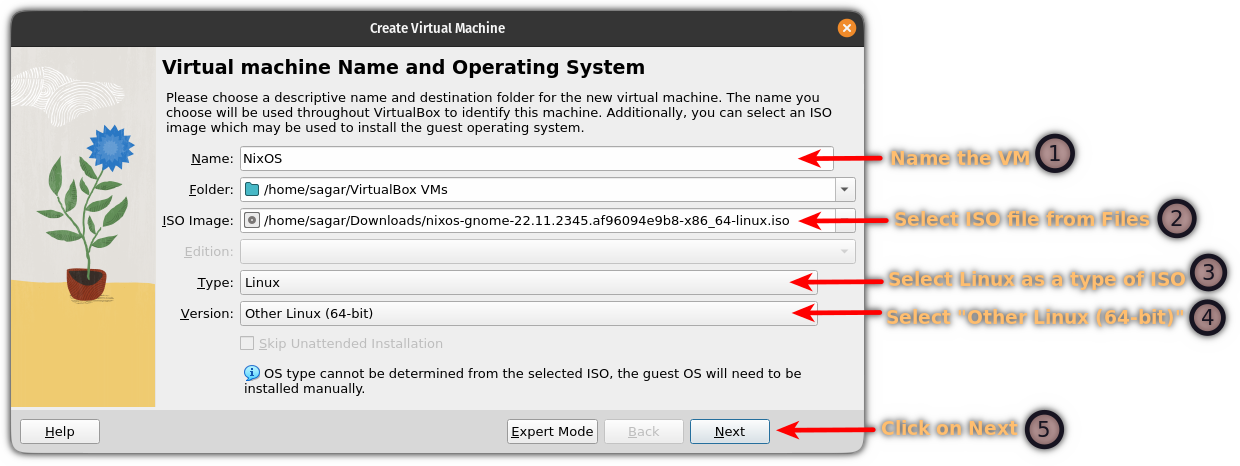
As soon as you choose all the things, click on on the Subsequent button.
Subsequent, you can be requested to decide on the Base reminiscence (RAM), processors you need to allocate to this VM, and cupboard space for this set up.
Whereas NixOS mentions no official necessities, I like to recommend you to have at the least 4 gigs of RAM, 2-4 processor cores, and 30 GB of house for this set up:
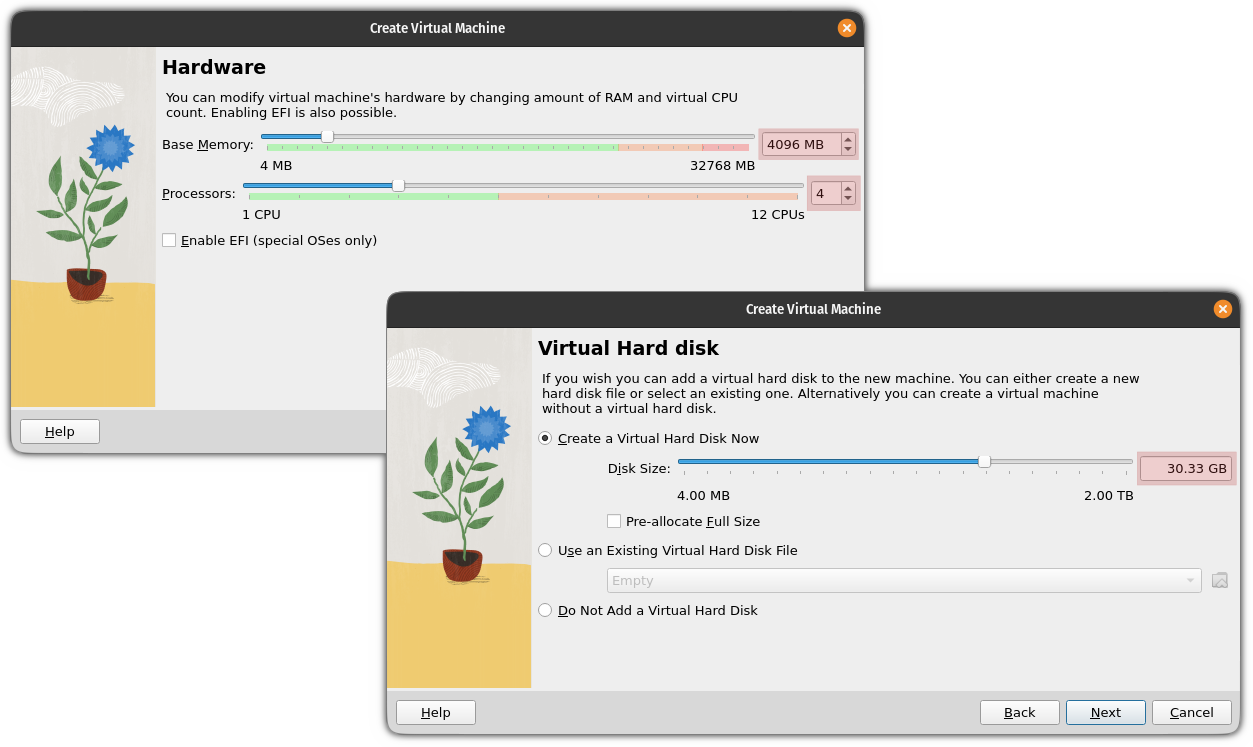
And ultimately, it can present you the abstract of the alternatives you made for this VM:
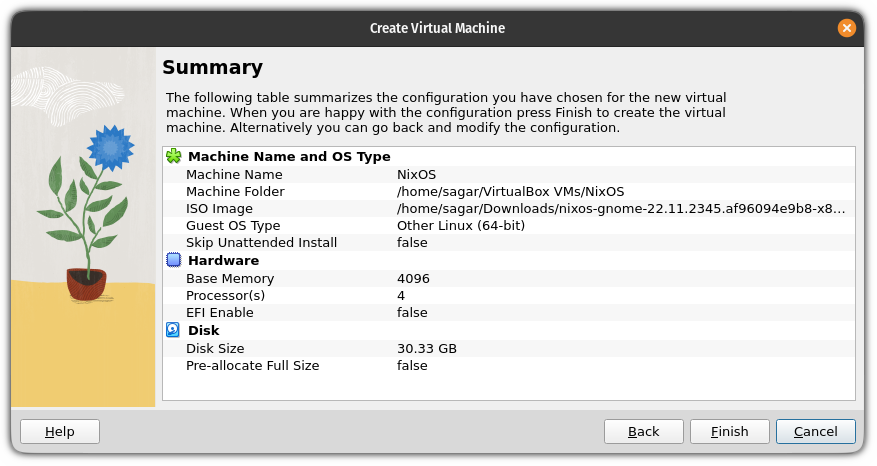
If all the things appears wonderful, click on on the End button and it’ll create a NixOS digital machine for you.
Advised Learn 📖
How you can Set up Linux Inside Home windows Utilizing VirtualBox
Utilizing Linux in a digital machine permits you to attempt Linux inside Home windows. This step-by-step information exhibits you learn how to set up Linux inside Home windows utilizing VirtualBox.
Step 3: Putting in NixOS
As soon as you’re completed creating the VM, the title you gave to your NixOS VM ought to begin reflecting within the VirtualBox record of VMs.
Choose the NixOS VM and click on on the beginning button:
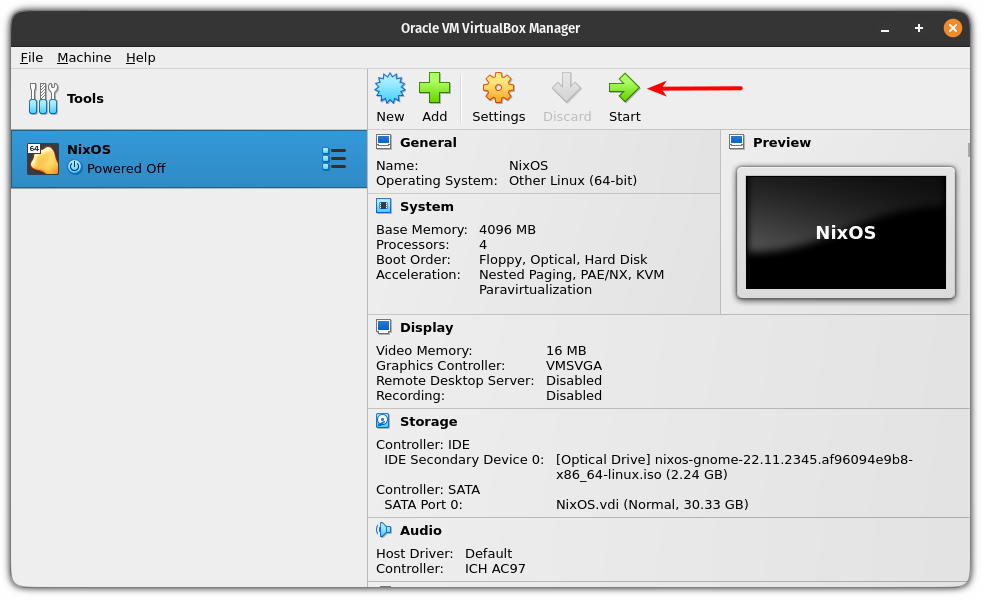
And it’ll begin the NixOS reside so you possibly can attempt the Linux distro.
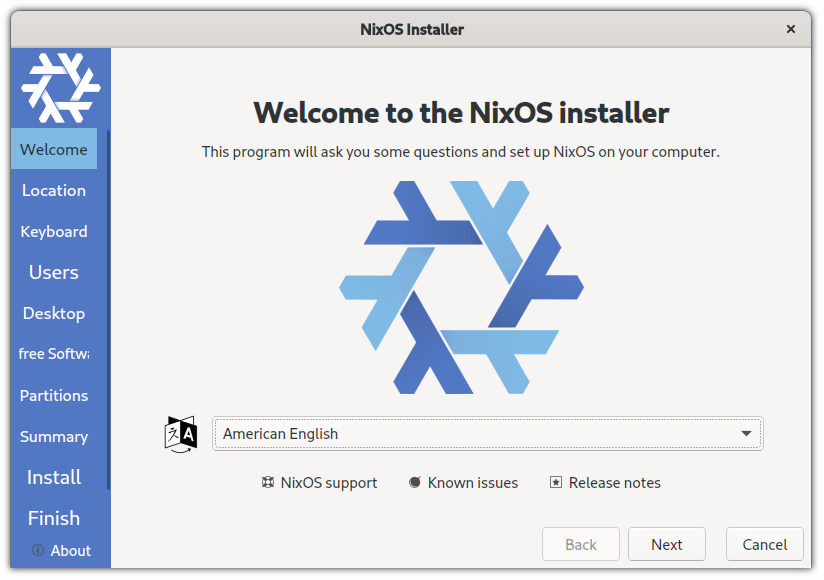
Choose installer language
When you boot into the NixOS, the installer will begin and ask you to set the popular language for the installer:
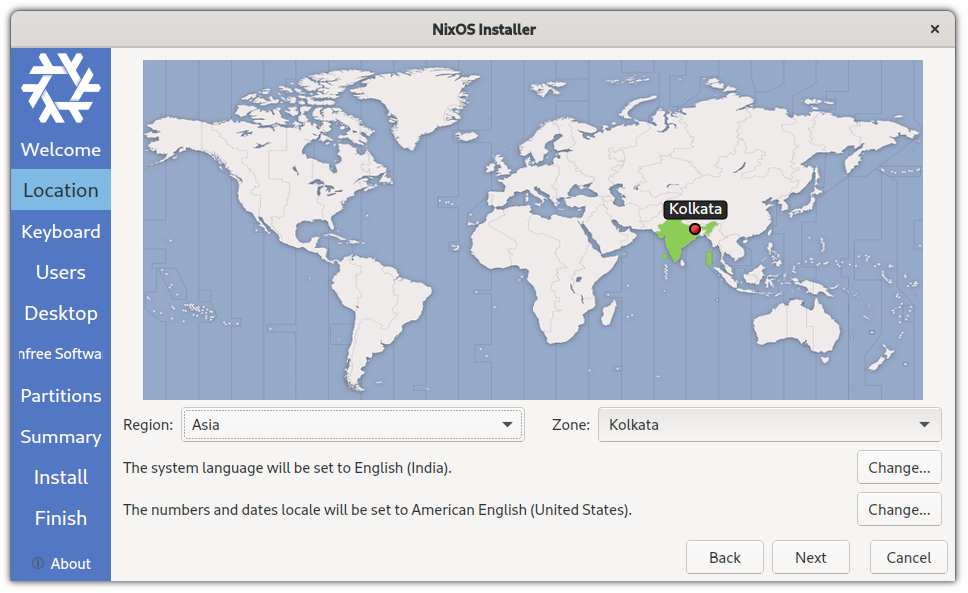
Select area and timezone
Subsequent, select your area and zone. If you do not know this, you possibly can choose your nation from the map, which is able to set issues for you.
As soon as you choose the area and zone, it can additionally choose the popular language, numbers, and date locale.
Positive, you possibly can change if you wish to, however for many customers, the chosen choices will work simply wonderful:
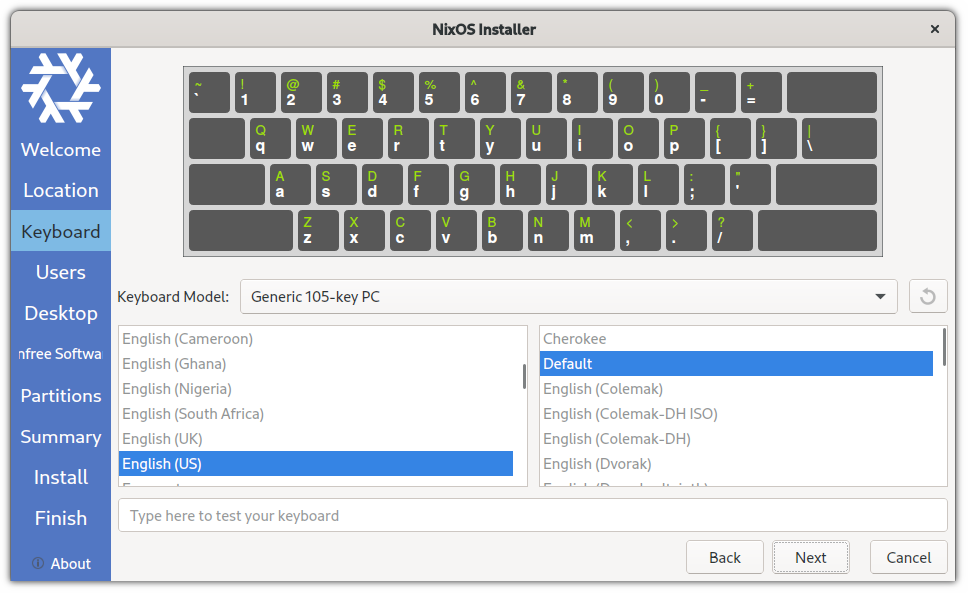
Choose Keyboard format
Subsequent, you’ll have to set the keyboard format. For many customers, English (US) with default setting ought to work wonderful.
If you’re going with one thing else, you possibly can check your keyboard configuration earlier than continuing.
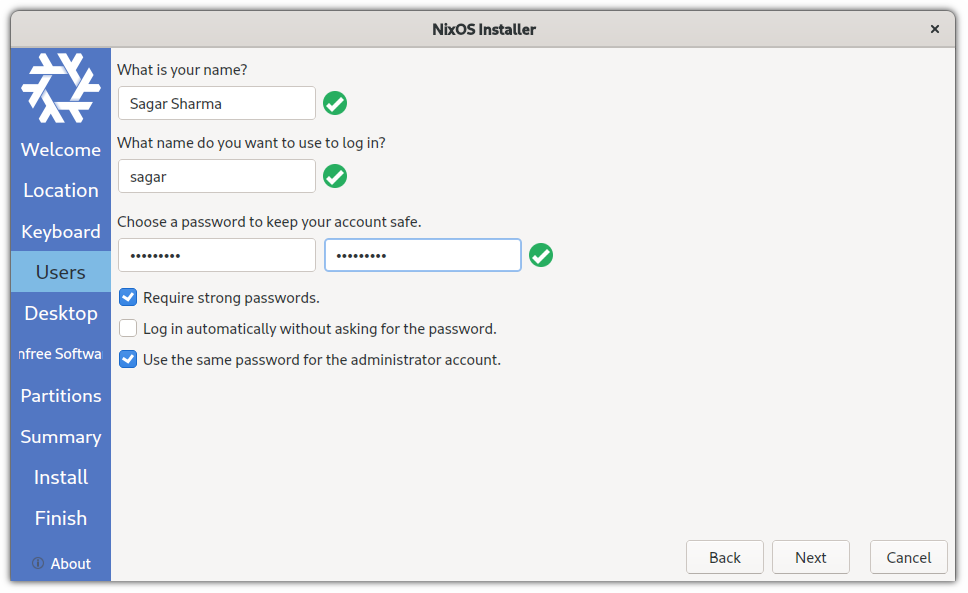
After that, you’re requested to create a person and set a password for that person.
You may select to maintain a robust password or simply something random for the VM.
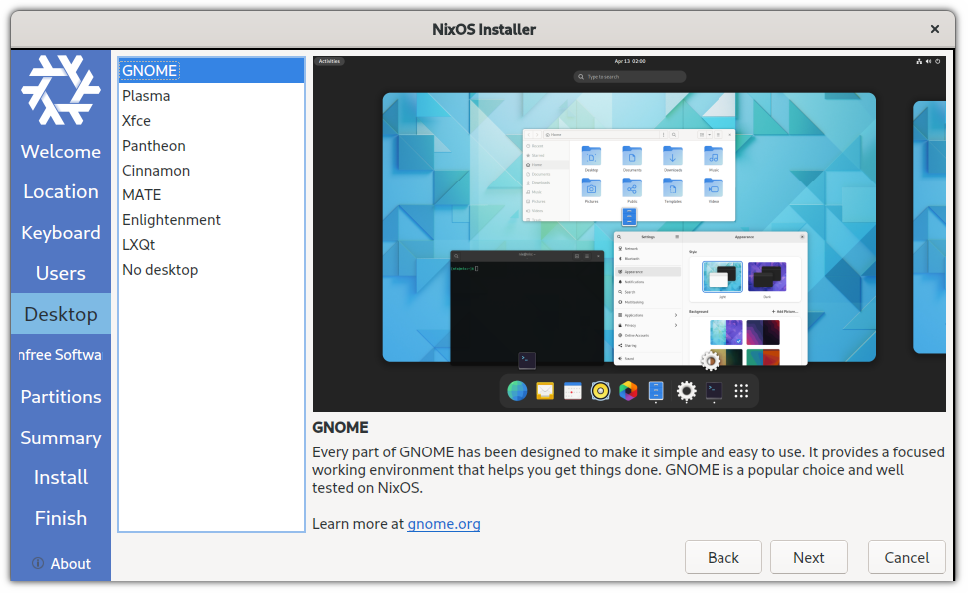
Choose your favourite Desktop Atmosphere
With NixOS, you’re given the next selections for the desktop setting:
- GNOME
- KDE (most suitable option for personalization)
- Xfce
- Pantheon (a desktop setting that ships with ElementaryOS)
- Cinnamon
- Enlightenment
- LXQt
Advised Learn 📖
KDE vs GNOME: What’s the Final Linux Desktop Selection?
Curious in regards to the desktop setting to decide on? We assist you with KDE vs GNOME right here.
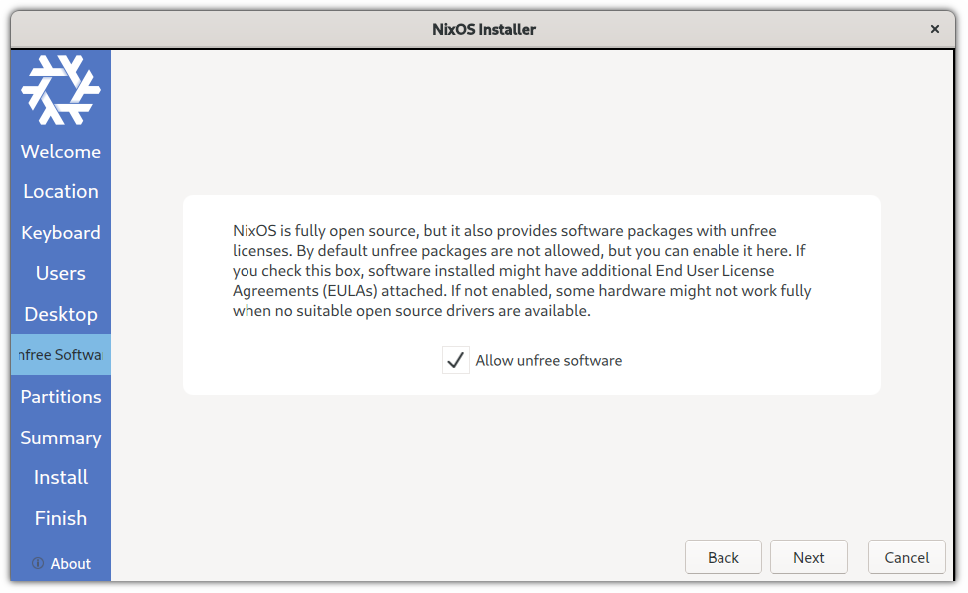
Use non-free software program on NixOS
NixOS follows an analogous method to Fedora, the place you must select whether or not you need the non-free software program.
I might advocate you allow non-free packages:
The partitions half
As this can be a VM information, I’ll advocate you go along with the Erase disk choice that ought to partition the disk mechanically!
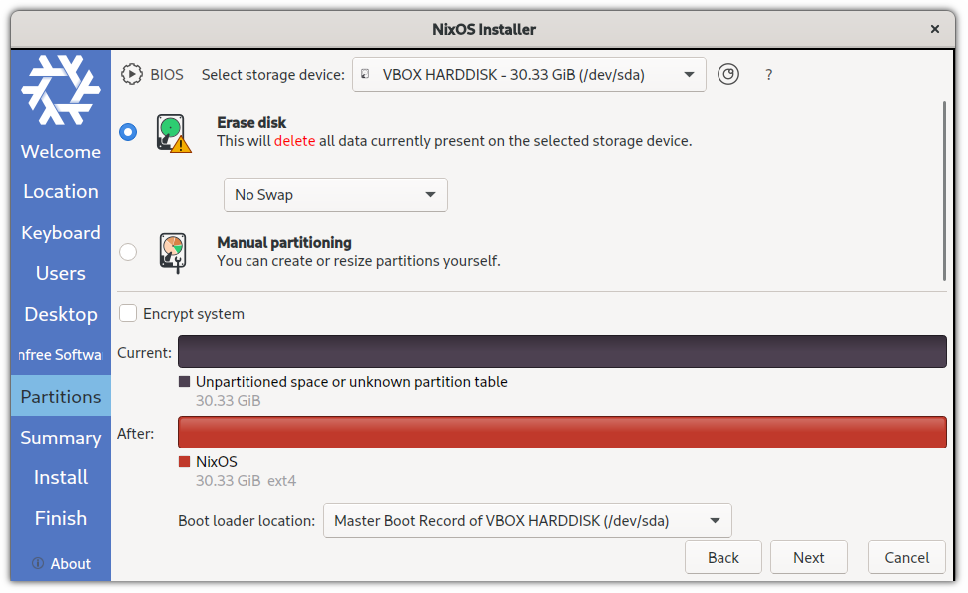
As soon as completed, it can get you the abstract of the alternatives you went with:
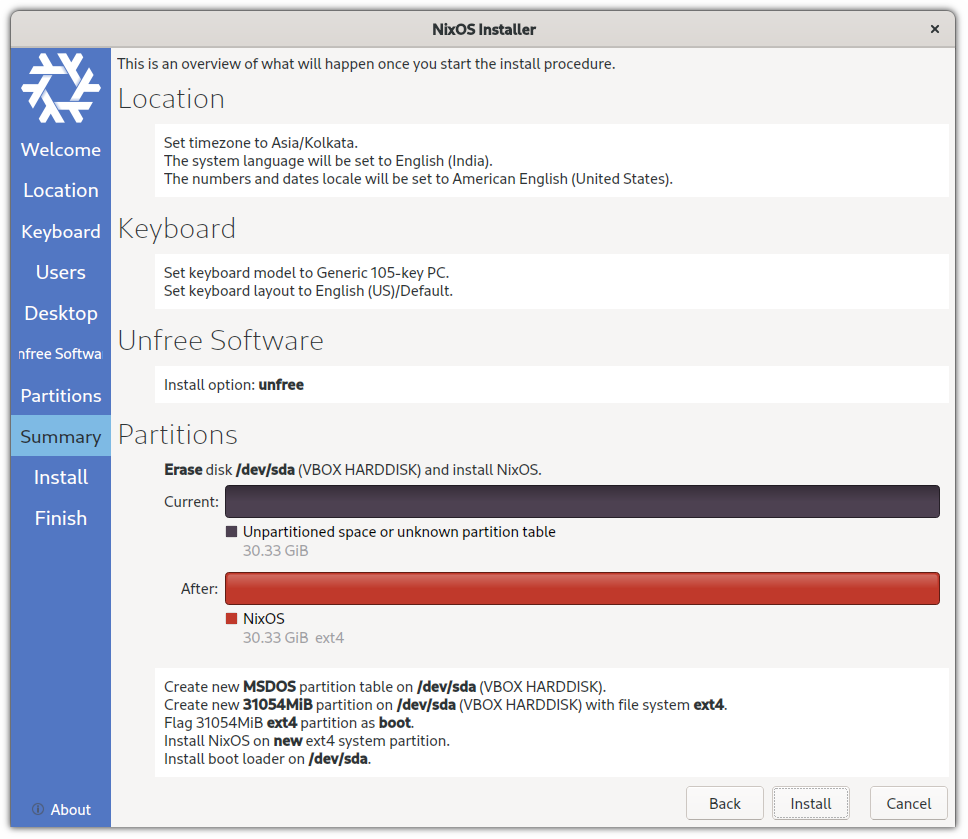
And if all the things appears right, click on on the Set up button, and it’ll begin the set up button.
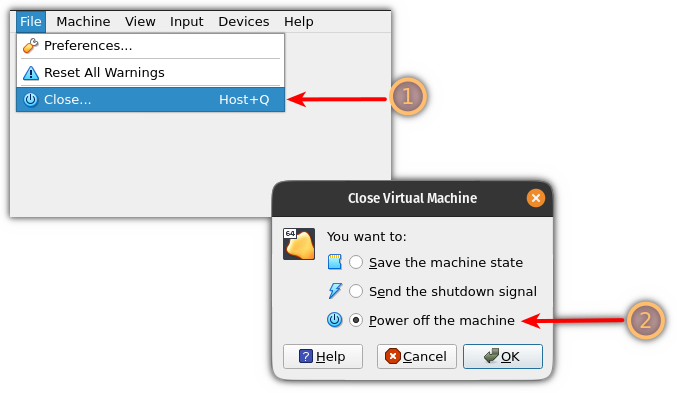
Do not Reboot however flip off the VM
As soon as the set up is completed, you can be given the choice to restart the VM.
And in case you achieve this, it can load the installer once more!
To resolve this challenge, you should make modifications within the boot sequence.
And to do this, energy off your VM as soon as the set up is full.
To energy off the VM, choose the Shut choice from the File menu and choose the Energy off the machine choice:
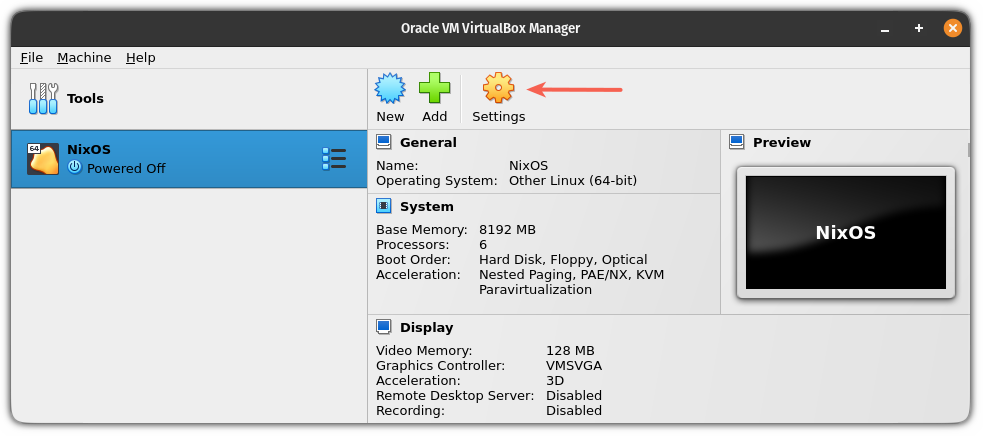
Change the boot order in VirtualBox
To alter the boot order within the NixOS VM, open the settings for that VM:
In settings, choose System and one can find the boot order.
Right here, choose the Onerous Disk and use the up arrow icon subsequent to the choices and make it the primary choice to boot:
Press OK and it’ll save the modifications you made.
Alternatively, you possibly can take away the optical disk (ISO picture) that we added to start out the set up.
Step 4: Boot from NixOS set up
Now, begin your NixOS VM, and you will notice a GRUB display:
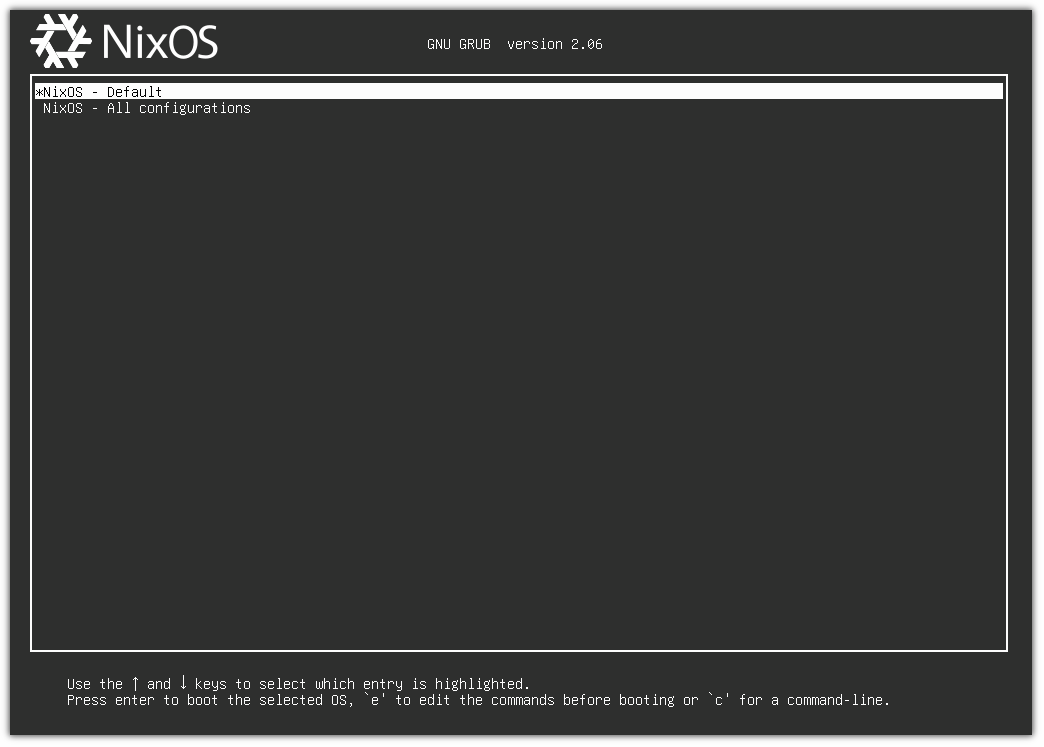
Choose the default choice, and it’ll get you into the recent set up of NixOS with the GNOME desktop.
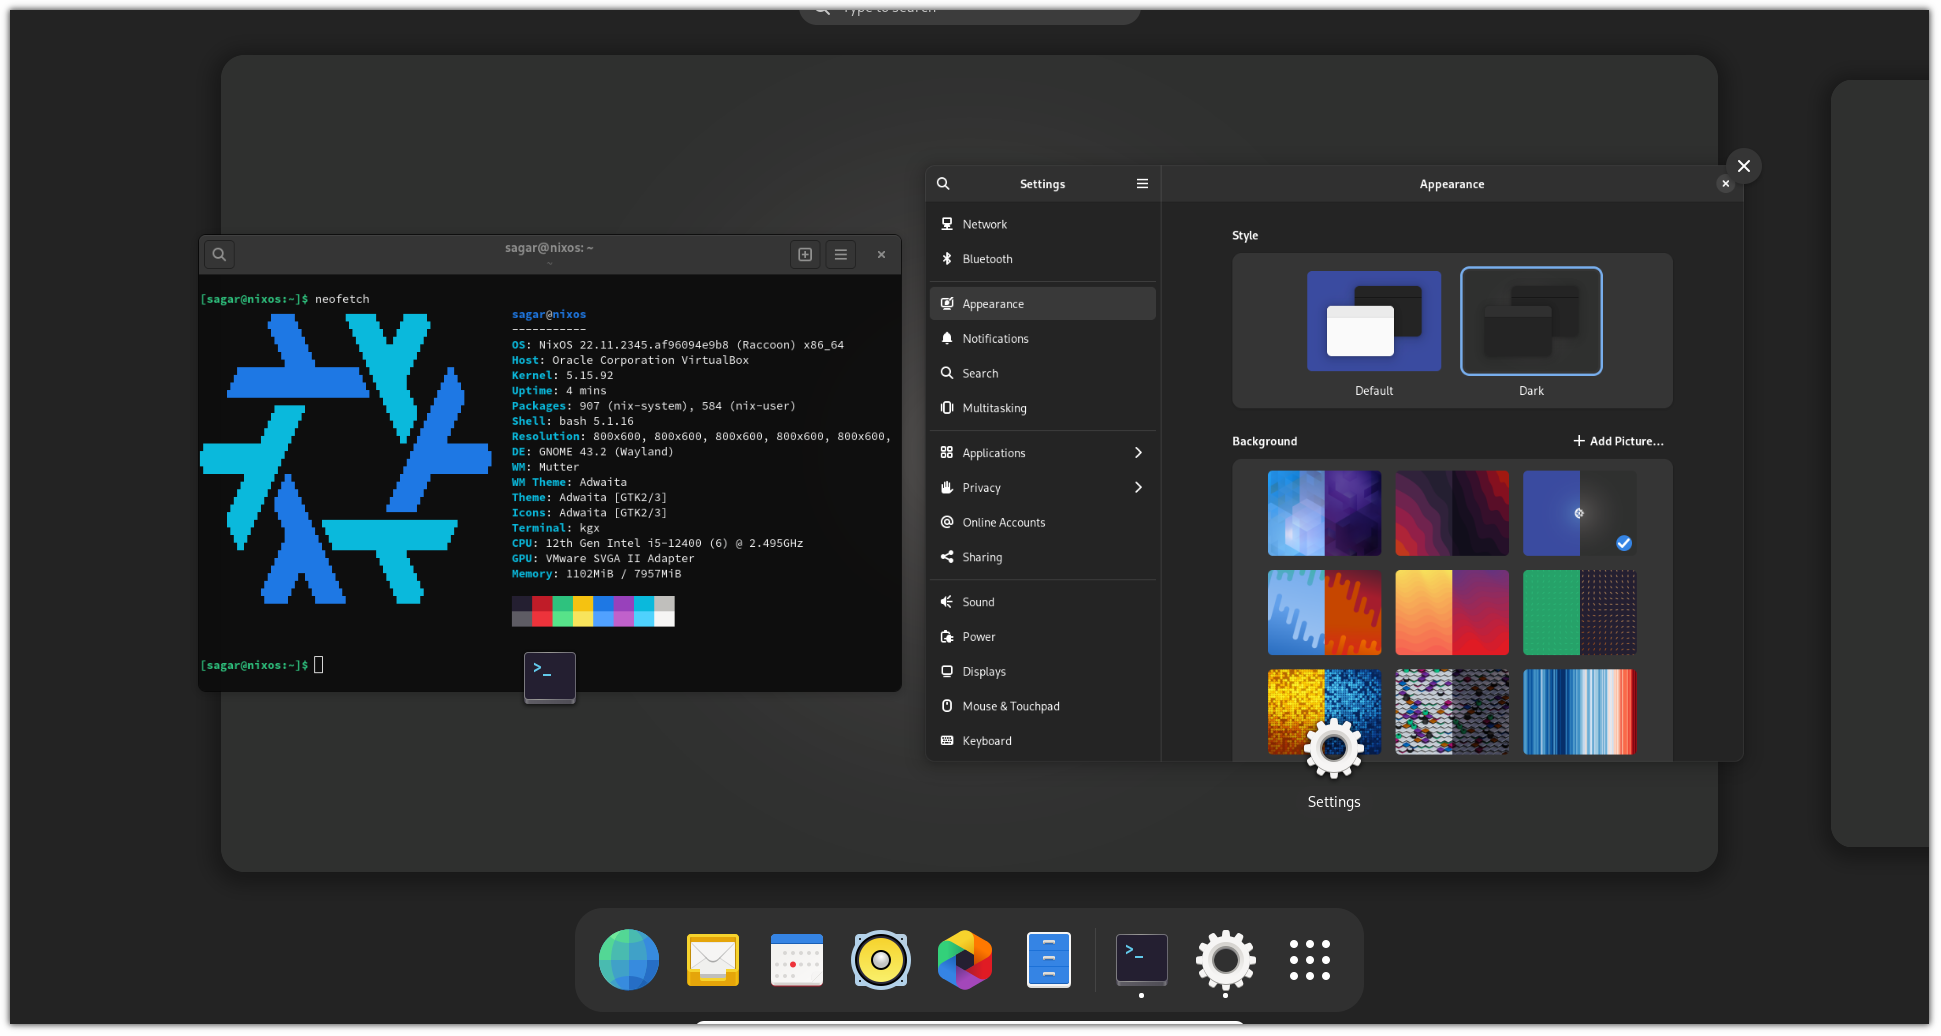
That is it! Go on exploring NixOS!
Wrapping Up
This was a fast information on how one can set up NixOS on VirtualBox.
For the subsequent a part of the NixOS tutorial sequence, I shall share tips about putting in and eradicating packages.
💬 Keep tuned for the subsequent a part of the sequence. Till then, be at liberty to share your ideas on NixOS and in case you face any points following the information!