
The virtualenv is likely one of the core parts and instruments of Python that encapsulates the executable packages and dependencies of Python tasks. This encapsulation function of virtualenv offers isolation for the Python program. The virtualenv may be simply put in by way of Python’s pip bundle supervisor.
This text will reveal:
-
- Conditions: Set up of Python on Home windows
- The way to Set up pip on Home windows?
- The way to Activate virtualenv on Home windows?
- The way to Deactivate virtualenv on Home windows?
- Bonus Tip: Resolve “virtualenv is just not acknowledged as an inner or exterior command” Error
Conditions: Set up of Python on Home windows
To put in and activate the virtualenv on Home windows, you might be required to put in Python first.
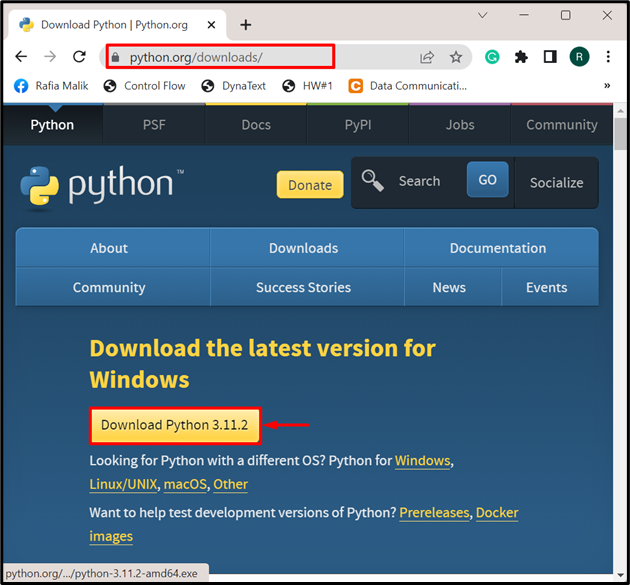
Step 1: Obtain Python Installer
Go to the Python official web site and set up the most recent model of the Python installer for Home windows:
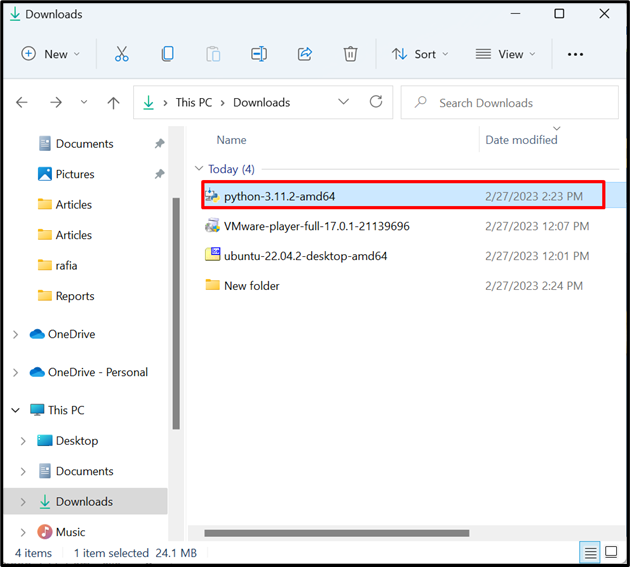
Step 2: Set up Python
Navigate to the “Obtain” listing out of your machine. Double-click on the Python installer to start out set up:
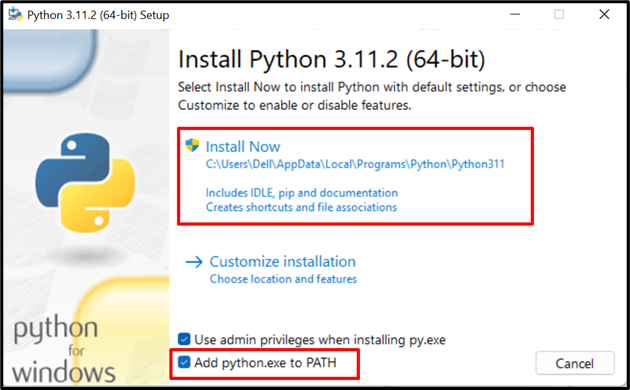
Mark the “Add python.exe to PATH” checkbox and hit the beneath highlighted “Set up Now” choice to put in Python:
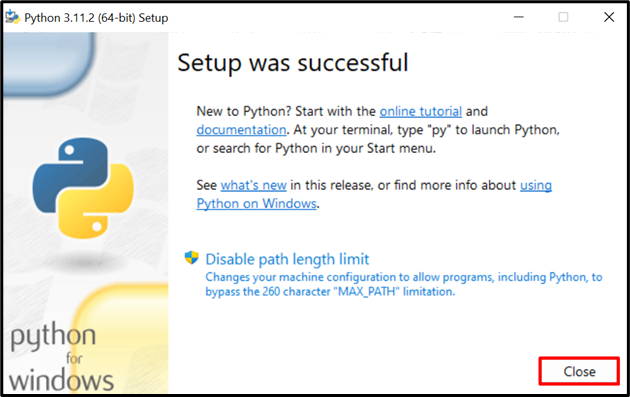
Right here, you’ll be able to see we now have put in Python efficiently on Home windows:
Step 3: Verification
Begin the Command Immediate by way of “Startup” menu and test the Python model utilizing the supplied command:
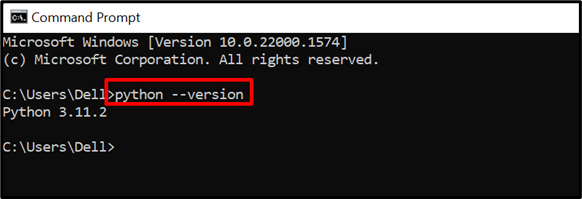
The newest model “3.11.2” of Python is put in.
The way to Set up “pip” on Home windows?
The virtualenv may be put in by way of the Python pip bundle supervisor. Nonetheless, pip is already put in as a part of the Python set up. If pip is just not put in, you need to use a unique technique to put in it on Home windows by visiting our associated article.
To put in pip utilizing the “curl” command on Home windows, try the given process.
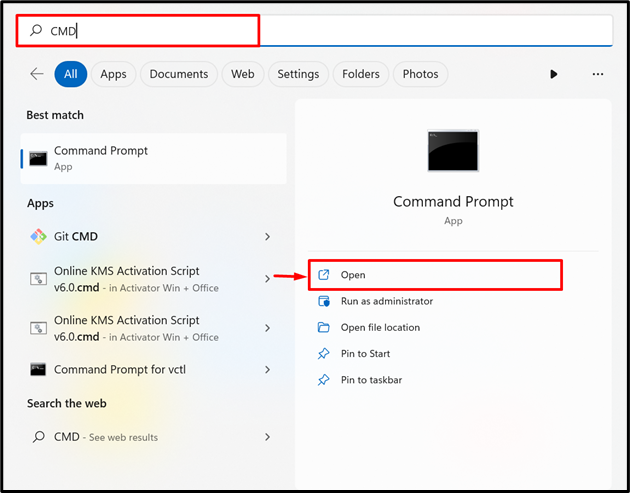
Step 1: Open Command Immediate
Launch the Home windows Command Immediate by way of the Begin menu:
Step 2: Obtain the “get-pip.py” File
Utilizing the “curl” command, learn the script file from “https://bootstrap.pypa.io/get-pip.py” and write it down into the brand new file named “get-pip.py” utilizing -o choice because it can’t be instantly downloaded to the system:
curl https://bootstrap.pypa.io/get-pip.py -o get-pip.py

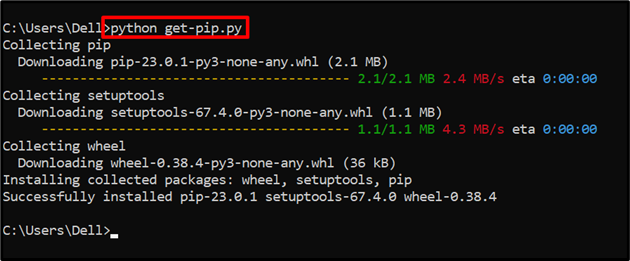
Step 3: Set up pip
Execute the “get-pip.py” file utilizing Python command to put in pip on Home windows:
For verification, test the pip model:
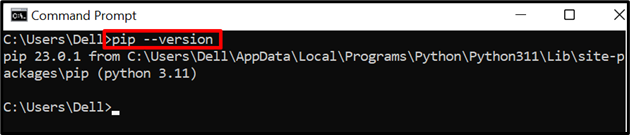
It may be observed that the pip model “23.0.1” is put in on Home windows.
The way to Activate virtualenv on Home windows?
virtualenv is Python’s surroundings that’s used for the isolation of Python tasks and dependencies. To activate the virtualenv on Home windows, set up it first by way of the “pip” bundle supervisor. Activate the virtualenv for the Python challenge. For the demonstration, observe the listed steps.
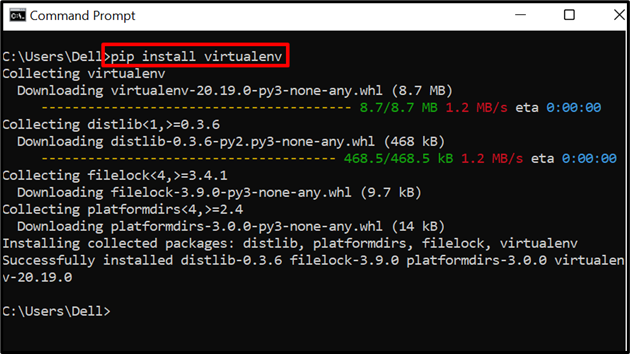
Step 1: Set up virtualenv
To put in the Python virtualenv, use the “pip set up virtualenv” command:
Step 2: Create Mission Listing
After set up, create the Python challenge listing the place that you must begin Python growth. For this goal, first, use the “mkdir” command to create the listing. Then, use “cd” to navigate to the newly created listing:
mkdir project-dir
cd project-dir
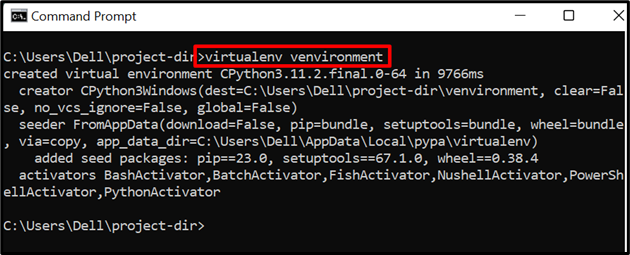
Step 3: Create virtualenv for Mission Listing
Create the brand new digital surroundings by using the “virtualenv <environment-name>” command:
Step 4: Activate “venvironment” virtualenv
Subsequent, activate the newly created digital surroundings by way of “<environment-name>Scriptsactivate” command:
venvironmentScriptsactivate
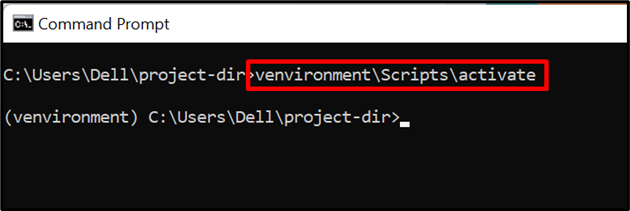
The output reveals that the digital surroundings is activated on Home windows.
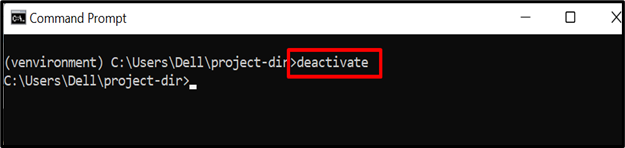
The way to Deactivate virtualenv on Home windows?
To deactivate the virtualenv on Home windows, merely use the “deactivate” command:
Bonus Tip: The way to Resolve “virtualenv is just not acknowledged as an inner or exterior command” Error
In some eventualities, the Home windows customers could get virtualenv recognition error resulting from varied causes akin to:
-
- virtualenv is just not correctly put in on Home windows
- Path variable of virtualenv is just not set.
For diagnosing the correct motive, first, navigate to the Python Scripts listing by going to the “C:Customers<username>AppDataLocalProgramsPythonPython311Scripts” path and see if the “virtualenv.exe” file exists. If not, this means that the virtualenv is just not put in on Home windows because the surroundings variable path of virtualenv is about routinely throughout its set up. To put in virtualenv, observe the above part.

If virtualenv is put in however the error continues to be there; it implies that the PATH variable is just not set correctly and we have to set it manually.
The way to Set the PATH Setting Variable of virtualenv Manually?
To resolve the error, observe the directions beneath to set the PATH surroundings variable.
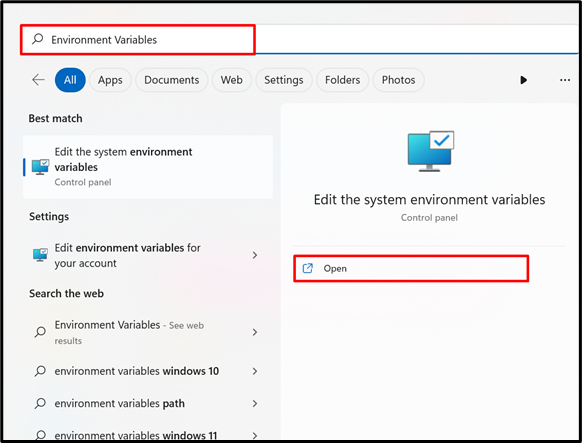
Step 1: Launch Setting Variable Settings
First, seek for “Setting Variables” within the search bar of the Begin menu and launch the below-highlighted settings:
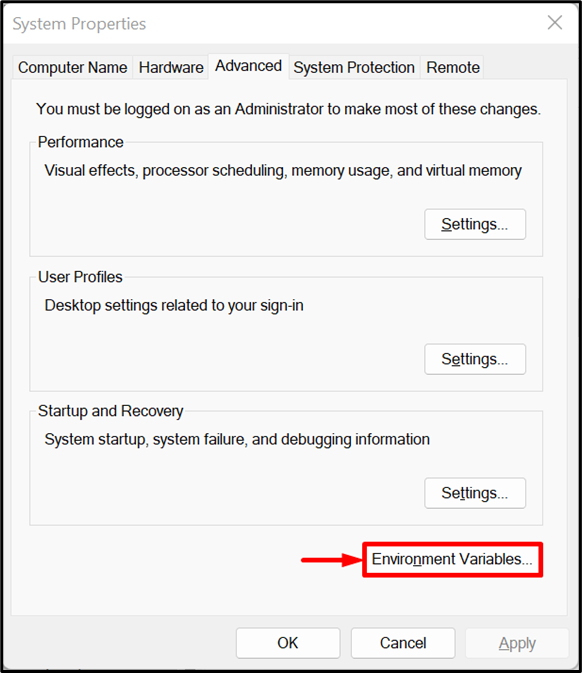
Subsequent, hit the “Setting Variables” button to open programs surroundings variables:
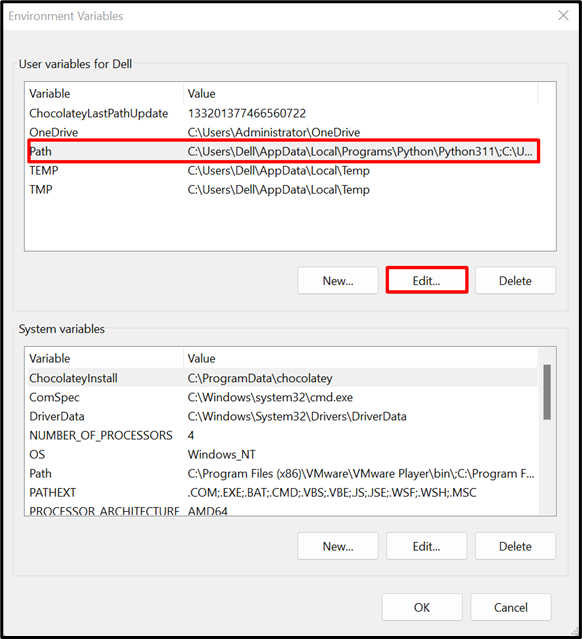
Step 2: Edit “Path” Variable
Underneath the “Customers variables”, choose the “Path” variable and press the “Edit” button:
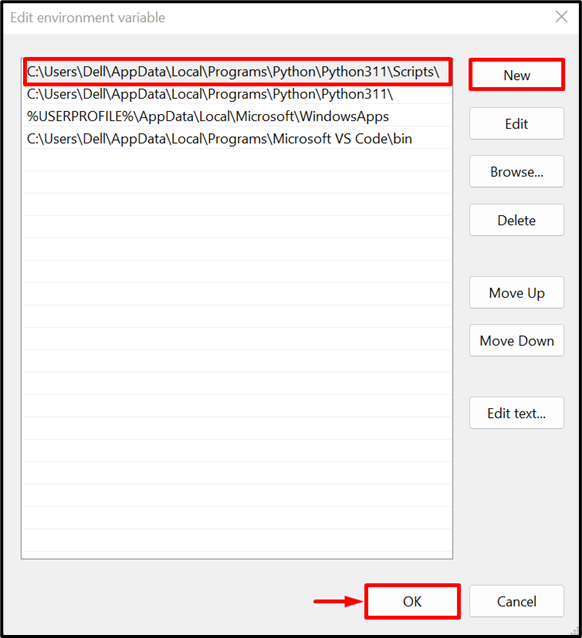
Step 3: Set the PATH Variable of virtualenv
After that, hit the “New” button, add the trail of the listing the place the “virtualenv.exe” file exists, and press the “Okay” button. By default, the “virtualenv.exe” file is saved on the “C:Customers<username>AppDataLocalProgramsPythonPython311Scripts” path:
Notice: Make certain to switch the “<username>” with your individual system’s username.
This may resolve the virtualenv recognition error if it happens when activating virtualenv on Home windows.
Conclusion
To activate the virtualenv on Home windows, first, set up Python and pip. Then, set up the virtualenv by way of Python’s pip bundle supervisor. After that, transfer to the challenge listing, create the virtualenv utilizing the “virtualenv <environment-name>” command, and activate the surroundings by way of the “environment-nameScriptsactivate” command. This text has demonstrated the right way to activate the virtualenv on Home windows.