
The “Not linked – No connections can be found” error prevents from connecting to the web and doesn’t show any accessible web connections. On Home windows, this error will be brought on by outdated drivers, the community gadget being disabled, a corrupt DNS cache, or energy saving settings within the energy choices. Furthermore, in case you are working from residence this could utterly put a cease to your work.
On this write-up, we’ll talk about the a number of options to repair the talked about connection error in Home windows.
Easy methods to Repair/Resolve the Home windows “Not linked – No connections can be found” Error?
To repair the required connections error in Home windows, strive the next fixes:
Methodology 1: Reset the Community Adapters
Resetting the Community adapter would possibly repair any network-related issues. Observe the directions supplied beneath for the corresponding objective.
Step 1: Navigate to “Community reset”
Open up “Community reset” with the assistance of the Startup menu:

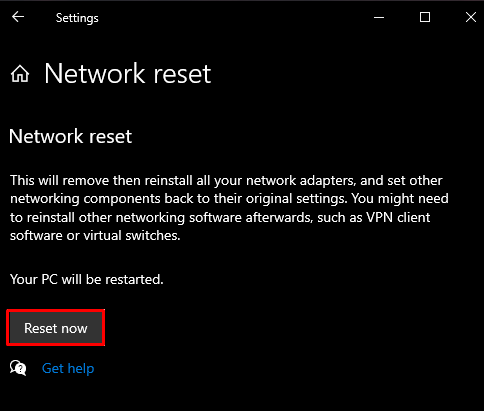
Step 2: Reset Now
Press the “Reset now” button to utterly reset the community:
Methodology 2: Allow Community Machine
Somebody might need unwillingly or unknowingly disabled the community gadget. Due to this fact, allow it with the assistance of the supplied steps.
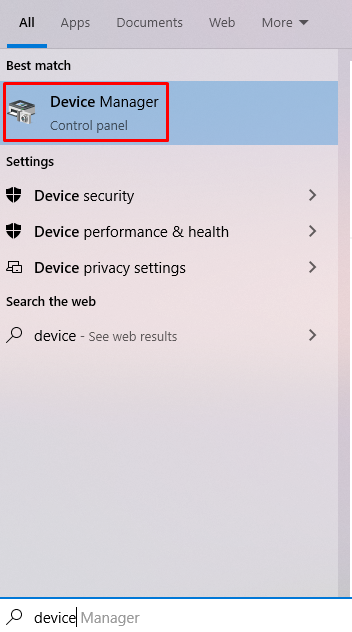
Step 1: Open Machine Supervisor
Begin “Machine Supervisor” from the Startup menu as proven beneath:
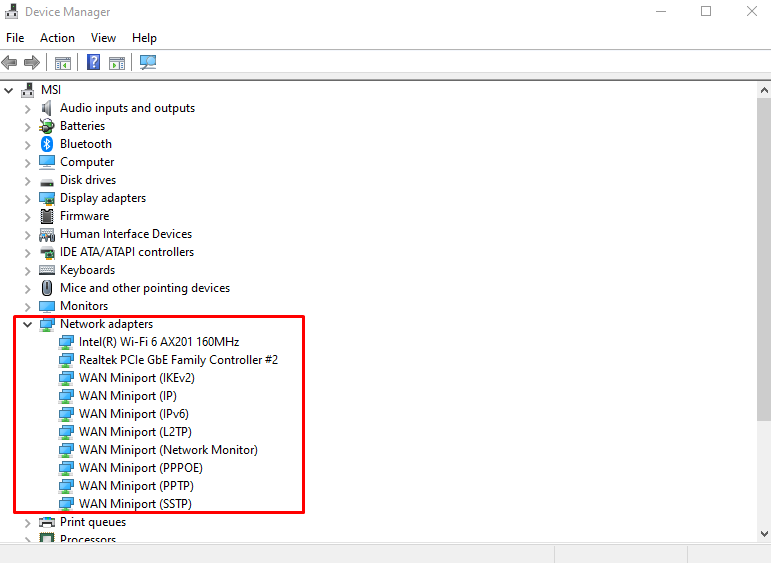
Step 2: Open “Community adapters” Sub-menu
Click on on the “Community adapters” to see all of the linked and put in community gadgets in your system:
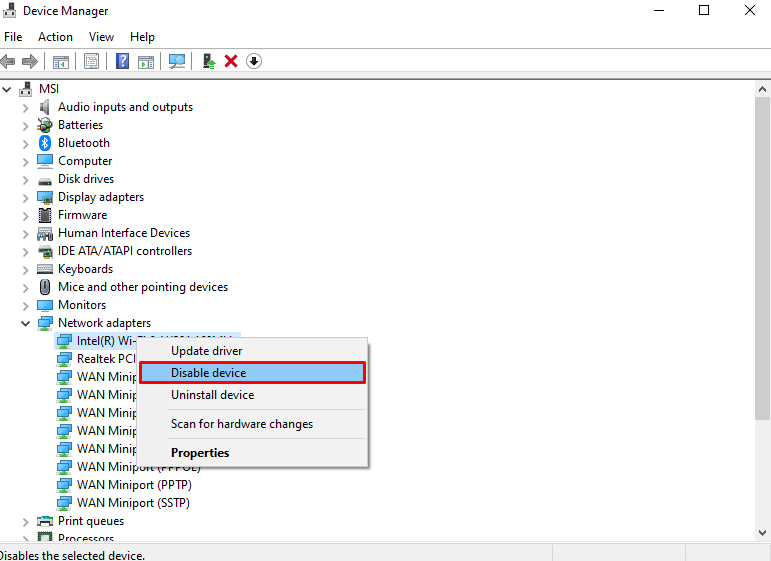
Step 3: Allow the Machine
Proper-click on the “Community adapter” and press the “Allow Machine” button which can be instead of the “Disable gadget” button as follows:
Methodology 3: Clear DNS Cache
A corrupted cache may cause many issues which embrace the talked about connection drawback. Furthermore, most of the issues associated to the community will be mounted by flushing the DNS. For this, try the given directions.
Step 1: Run Command Immediate as Administrator
Kind “cmd” within the search field of the startup menu and press the “CTRL+SHIFT+ENTER” keys concurrently to run “Command Immediate” with administrator rights:

Step 2: Flush DNS
Then, flush the DNS with the assistance of the next command:

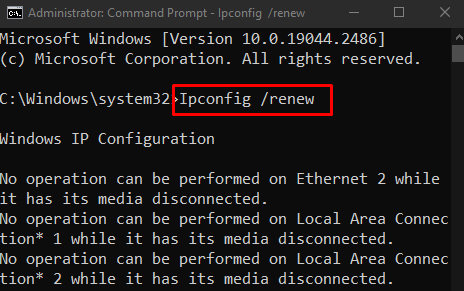
Step 3: Renew the Community IP Configurations
Then, renew the community IP configurations:
Step 4: Reset Winsock
Write out the “netsh” command to reset the “winsock”:

Methodology 4: Replace/Improve the Driver of the Community Adapter
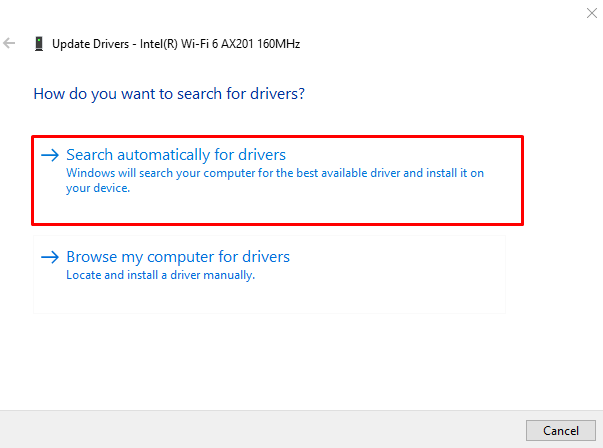
The drivers of your community adapter could be outdated. In such a scenario, the related producers would possibly concentrate on this drawback and will have launched a repair for it within the new replace. The driving force of the community adapter will be up to date by navigating to “Machine Supervisor” > “Community Adapters”. Proper-click on the community adapter and choose the “Replace driver” possibility:

Permit Home windows to seek for the most effective and newest accessible drivers in your gadget by choosing “Search robotically for drivers” possibility:
Methodology 5: Reinstall the Community Driver
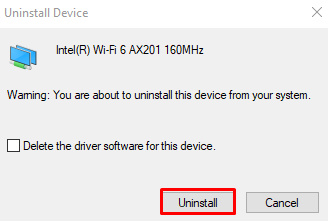
The Community adapter driver could be corrupted so uninstall and reinstall it by re-directing to the “Machine Supervisor” and increasing the “Community Adapters” as beforehand mentioned. Now, right-click on the community adapter and choose the “Uninstall gadget” possibility:

Hit the “Uninstall” button as proven within the screenshot beneath:
Restart your system and it’ll set up the community adapter drivers once more.
Methodology 6: Change the Wi-fi Adapter Settings
Some settings could be limiting the performance of the community adapter. It could be placing the Wi-fi adapter in energy saver mode whereas the charger isn’t plugged in. So, change the wi-fi adapter settings within the Energy choices by following the given steps.
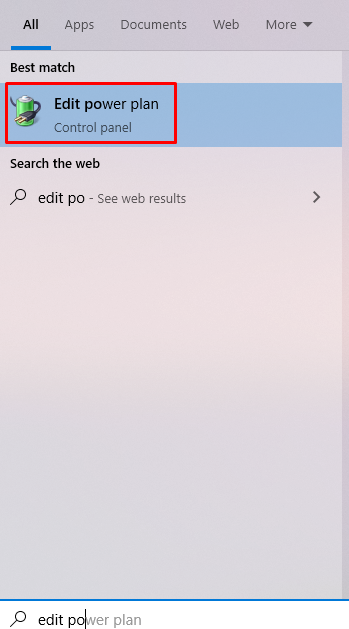
Step 1: Edit energy plan
Open “Edit energy plan” by typing it within the search field of the Startup menu.
Step 2: Change superior energy settings
Press “Change superior energy settings” to open the “Energy Choices”:

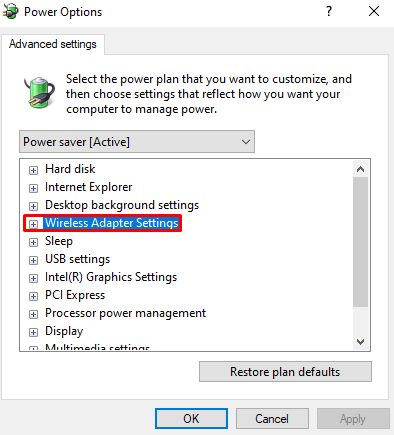
Step 3: Open Wi-fi Adapter Settings
Within the beneath window, click on on “Wi-fi Adapter Settings” to develop it:
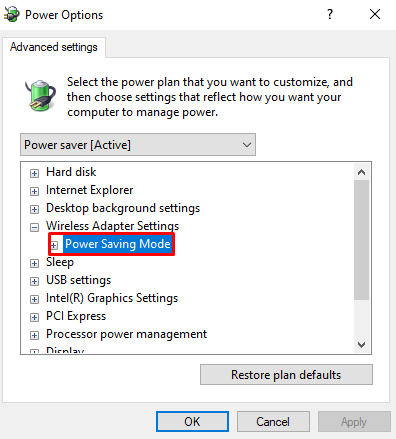
Step 4: Navigate to Energy Saving Mode
Click on on the “Energy Saving Mode” underneath the “Wi-fi Adapter Settings” to develop it additional:
Step 5: Set to Most Efficiency
Set “On Battery” and “Plugged in” to “Most Efficiency”:

Click on “OK” and restart your system. Consequently, the talked about connections challenge will get resolved.
Conclusion
The required connection error in Home windows will be mounted by following a number of strategies. These strategies embrace resetting the community adapters, enabling the community gadget, clearing the DNS cache, updating the driving force of the community adapter, reinstalling the community driver, or altering the wi-fi adapter settings in energy choices. This put up provided a number of options for fixing the required connection challenge in Home windows.