
More often than not, while you join an exterior laborious drive to your Mac’s USB port, you quickly see it mount on the desktop. Apple likes to make sure these are straightforward to seek out, so in addition they seem within the Finder within the left-hand column below Places.
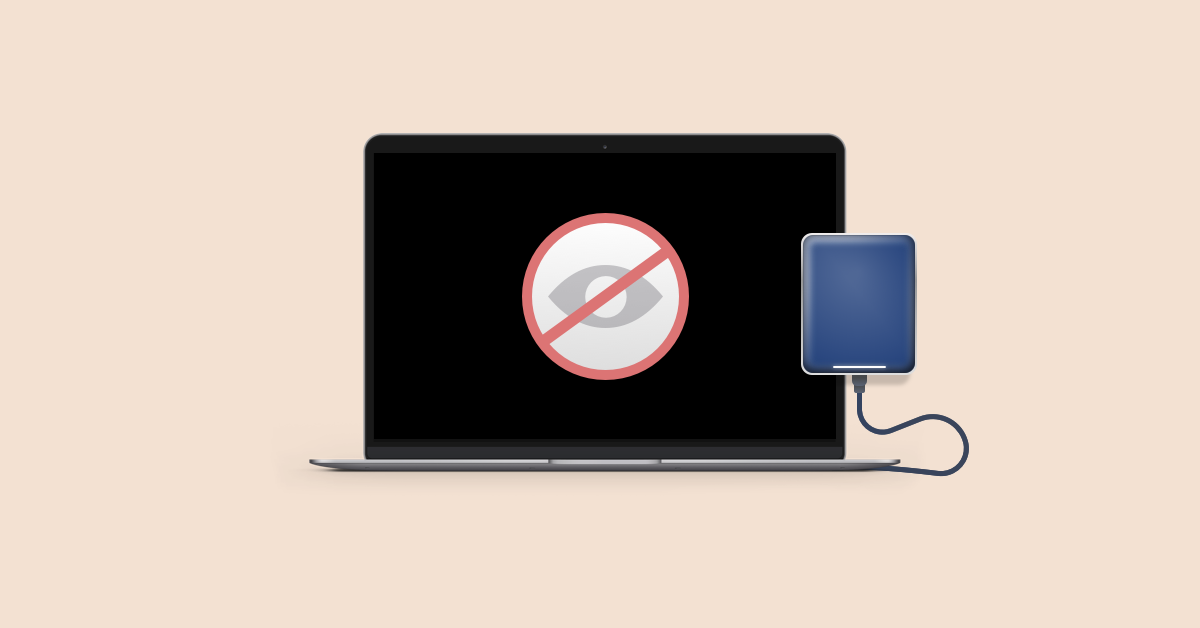
Nonetheless, generally, an exterior laborious drive would not present up. It’s annoying, particularly when it’s essential switch one thing proper then. And moreover, there is usually a threat that information on the exterior USB pen, laborious, or flash drive is corrupt, which suggests you may’t switch what you want between units in any respect.
Corrupt information may be one motive your Mac will not acknowledge an exterior drive, however there are different causes too. Let’s check out why that is taking place and how one can repair the exterior laborious drive not displaying up drawback.
Doable the reason why your Mac doesn’t acknowledge exterior laborious drive
Let’s say you’ve encountered the issue of SSD not displaying up. There could possibly be a couple of the reason why SSD isn’t making an look (simply as another exterior drive), the commonest being:
With M1 chips, the menace may be very actual attributable to the truth that it’s unimaginable in addition your Mac in case your inner SSD fails.
Methods to repair an exterior disk drive that will not present up on a Mac
Whereas it’s unimaginable to immediately determine why an exterior disk drive just isn’t displaying up, there are some working strategies that can show you how to get issues proper. Let’s undergo the guidelines.
Verify whether or not the drive is correctly plugged in
It sounds apparent, however for the reason that connection depends on a wire — both a USB cable or HDMI cable — if it’s not linked correctly, the drive gained’t seem in your desktop.
Assuming it’s plugged in appropriately, not wobbly or free, the cable could possibly be at fault. Attempt connecting the identical system with a unique cable.
Change USB ports
A broken USB or flash drive port in your Mac could possibly be the rationale why exterior drives gained’t present up. If you happen to’ve obtained one other port, strive connecting the system to that one.
Edit Finder Preferences
Whenever you join a drive to Mac, it ought to seem in Finder below Places. What to do if exterior laborious drive just isn’t detected? Most often, when Finder doesn’t see your drive, you simply have to alter a couple of issues in Preferences. Let’s see how one can repair this.
- Go to the Finder menu > Preferences
- In Basic, click on on Exterior disks to make sure that to any extent further it exhibits on the desktop.
Within the Sidebar tab, you may select which folders and units will probably be proven within the left-hand column of the Finder window.

Reset NVRAM
NVRAM has to do with storing completely different settings, together with the startup disk choice settings. That is why resetting NVRAM can assist repair the issue with these settings.
To reset NVRAM on an Intel-based Mac:
- Shut down or restart your Mac
- Change it again on and instantly press these 4 keys collectively for no less than 20 seconds: Choice, Command, P, and R. It ought to look as if your Mac has began once more
- If it has, launch the keys while you hear the second startup chime. Hopefully, the laborious drive has proven up now.
Verify Apple’s Disk Utility
You’ll discover Disk Utility inside System Preferences or by way of Highlight. If the exterior drive is seen in Disk Utility, choose it and click on Mount, which ought to make it seen on the desktop and within the Finder menu.
Change the format of your laborious drive
Not each exterior drive is optimized for Macs. It could possibly be that you’re attempting to attach one thing solely match to work together with Home windows units, corresponding to NTFS. If you happen to’ve obtained a PC or laptop computer, it’s price connecting and seeing when you can entry the recordsdata via one other system.
One of the simplest ways to search for an incorrectly formatted drive on Mac is to go to Apple (within the prime toolbar menu) > About This Mac > Storage. See if the exterior drive exhibits up right here. For extra data, go to the identical menu possibility, then choose System Report.
Mac not studying exterior laborious drive (or slightly not writing to it) is regular in case you’re connecting an NTFS drive. The straightforward repair is to put in iBoysoft NTFS for Mac, an app that unlocks learn and write assist for NTFS drives on Mac. If you happen to’re coping with another unsupported drive format, you may try to change its format. Observe that you just’ll must erase all the info on that drive first.
- Join your exterior drive
- Open Disk Utility, choose the drive, and click on Erase
- Select the best format below Format (APFS is customary for macOS) > Erase.

Run First Assist
Probably the most direct motive your exterior laborious drive is detected however cannot be opened is the file system drawback. In case your drive is having such issues, you may attempt to repair them your self with First Assist and subsequently get entry to your recordsdata.
First Assist software will examine the disk for errors after which try a restore as wanted. It helps to confirm and restore a variety of points associated to startup HD and exterior drive issues. If you’ll be able to repair the laborious drive or SSD in your Mac (or any exterior drive) utilizing Disk Utility you’ll hopefully have the ability to recuperate your recordsdata.
To run Fist Assist on an exterior laborious drive:
- Open Disk Utility. You’ll be able to seek for it utilizing Highlight or by way of Finder > Go > Utilities
- Choose your exterior laborious drive, entry the First Assist tab, and click on Run to start out operating diagnostics.
Reboot your Mac
Laborious disk not detected in Mac is usually a macOS difficulty. Hopefully, some information injury may be mounted by restarting your Mac. Go to the Apple menu > Restart. Or press and maintain the ability button and, when a dialog field seems, click on Restart or press R. Rebooting your Mac primarily clears your macOS’s reminiscence and begins it up recent.
Methods to recuperate information from a crashed drive
If you happen to went via all of the steps and weren’t in a position to repair Mac not detecting exterior laborious drive, your drive actually is damaged or formatted utilizing a file system that the Mac can not learn — on this approach it’s a must to recuperate information from a broken disk drive.
Fortunately, there may be an app for that. Disk Drill is the world’s premier information restoration software program for Mac. Highly effective sufficient to retrieve long-lost, mistakenly deleted recordsdata from Macs, exterior laborious drives, USB drives, and digital camera playing cards.
Right here’s methods to recuperate recordsdata with Disk Drill:
- Join your drive to Mac
- Give up all different functions on Mac, particularly these that could be attempting to entry the exterior drive (e.g. iPhoto, Phrases)
- Open Disk Drill
- Click on on the exterior drive that you’re attempting to recuperate recordsdata from. If it has partitions, you will note all of them. If, nonetheless, you continue to don’t see any quantity to the exterior drive then you might have to strive a few of the steps above once more or learn the Disk Drill Scanning FAQs.
- Scan the drive for misplaced recordsdata
- Preview the scan outcomes and when you’ve discovered the recordsdata you wish to recuperate, click on Get better.
Disk Drill does produce other methods to recuperate misplaced recordsdata however assuming there aren’t any issues, this methodology is the simplest.

Methods to repair exterior drive NTFS read-only drawback
Exterior laborious disk detected however not opening? As we’ve talked about earlier than, one frequent motive your Mac isn’t recognizing the laborious drive is the file format. Home windows makes use of NTFS file codecs, whereas Macs, up till the introduction of Sierra, have used HFS+. Now, Apple has launched the Apple File System (APFS) for newer working techniques.
If you happen to join an NTFS drive, your Mac will have the ability to learn it however not edit it. This implies you may’t actually full your activity (transfer, copy, or delete any recordsdata) so long as you expertise the read-only drawback. There’s a straightforward strategy to repair this with iBoysoft NTFS, an app that permits full learn/write assist for NTFS drives on Mac.
Just a few extra recommendations on getting your recordsdata again
- Macs and third-party apps that take care of Macs, corresponding to Disk Drill and iStat Menus include a S.M.A.R.T. (often known as Self-Monitoring, Evaluation, and Reporting Know-how) standing monitor. If a SMART examine stories errors, then it might imply the laborious drive is prone to failing utterly. Inside Disk Utility and Disk Drill, there are a number of options for this: Restore Disk Permissions and Restore Disk. If neither of them works, it’s beneficial to again up the entire information from the disk, erase it, then run a SMART examine once more. The exterior laborious drive ought to present up as Verified.
- Partitions can get misplaced inside laborious drives, quickly hiding the entire data contained inside. Disk Drill can assist to determine and restore this data.
- Inside Disk Drill, you may restore information when a tough drive is broken or add formatting, which can be one thing Disk Utility can assist with.
- CleanMyMac, one other helpful app out there from Setapp, can assist you determine exterior laborious drive errors and restore them. It’s an important software price attempting while you’re having exterior laborious drive difficulties.
- A trick that may show you how to repair laborious drive not displaying up on Mac is to switch it with cloud storage. You’ll be able to mount cloud storage as an area drive in your Mac. By connecting Google Drive, Dropbox, or Amazon to your pc, you get extra space for securely accessing and sharing recordsdata. To your ease, add cloud drives to Finder with CloudMounter so that you just maintain them shut at hand. You’ll be able to learn detailed directions on managing cloud storage as native drives right here.
Hopefully, we’ve coated the subject so that you don’t must google “exterior laborious drive disappear from the pc” ever once more. There are many potential options for a Mac not studying/writing an exterior laborious drive. If you happen to’re attempting to attach an NTFS drive, do it with iBoysoft NTFS for Mac. If it’s essential add cloud storage, CloudMounter will show you how to. Most significantly, you’ll by no means have to fret a couple of crashed or corrupted exterior drive as a result of Disk Drill will show you how to recuperate all the info saved on it.
iBoysoft NTFS, CloudMounter, Disk Drill, and different highly effective apps corresponding to CleanMyMac X are all out there by way of Setapp, a app subscription service that brings you 240+ apps on your duties in a single subscription.
FAQ
Methods to discover exterior laborious drive on Mac?
After you’ve plugged in your exterior laborious drive, open Finder and search for the drive below Places. Is your Mac not recognizing exterior laborious drive? Be sure it’s set to point out up below Places: Finder > Preferences > Basic > choose “Exterior disks.”
Why is my exterior laborious drive not readable on Mac?
The most typical difficulty is your drive being formatted incorrectly. On this case, you’ll want to alter the format of your drive utilizing Disk Utility. Different causes would possibly embody points with energy provide, defective cable, and your drive being corrupted or damaged.
What does “Corrupt Disk” imply in Disk Utility?
Laborious disk not detected on Mac or not mounting correctly can imply it’s been corrupted. Corrupt disk error normally exhibits up when your system can’t end writing to the drive and the info saved on that drive turns into inaccessible. One of the simplest ways to try to rescue your information is to make use of information restoration software program corresponding to Disk Drill.
What to do if my Mac shuts down once I join a tough drive?
Typically, your Mac would shut down if it will probably’t provide the exterior drive with the required quantity of energy. It’s principally the alternative of the inadequate energy provide difficulty. On this case, you would possibly want to attach an additional USB hub or another supply of energy. When you’ve got an Intel-based Mac, you may also attempt to reset the SMC.