
For a lot of new Apple customers, notably those that are migrating from Home windows and are used to that Prt Scrn (Print Display screen) button, the reply to the query of the way to screenshot on Mac isn’t instantly apparent.
Though it solely takes urgent a few keys to take a screenshot on Mac, the actual fact stays that Mac display screen seize is one thing that hasn’t traditionally felt all that intuitive. For instance, along with totally different key instructions for screenshotting home windows vs. smaller alternatives, recording video of your display screen, for a very long time, was solely attainable via QuickTime Participant.
On this information, you’ll discover extra data on taking a screenshot on Mac (and capturing video), in addition to some helpful instruments to make your Apple screenshot life simpler.
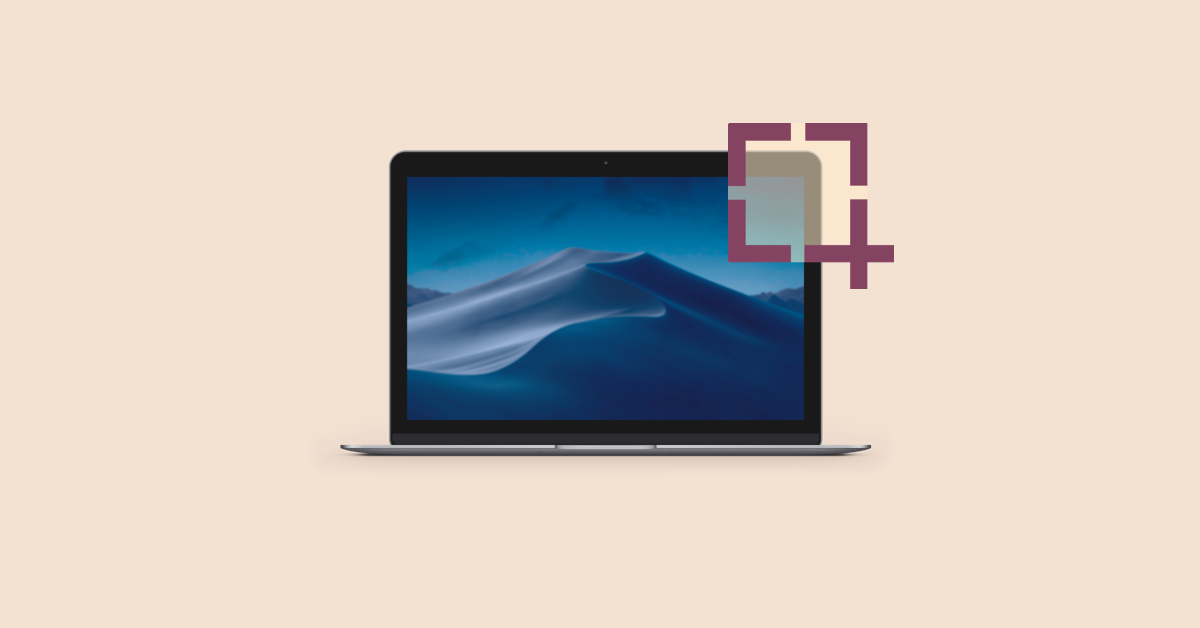
Mac screenshot shortcuts
On each Mac laptop, you possibly can seize high-quality screenshots and modify or share them as you see match. You’ve got the choice of capturing your entire display screen, a window, or only a part of it. The Shift, Command, and quantity keys are utilized in each Mac screenshotting method.
- Press and maintain Shift + Command + 3 to take a screenshot of your complete Mac display screen.
- If you happen to solely have to seize a portion of your display screen, use Shift + Command + 4. It is going to change a cursor right into a crosshair. To screenshot an space, click on and drag it, then launch the mouse to take a screenshot.
- To snap a screenshot of particular Mac home windows, press and maintain Shift + Command + 4, after which press Area. The crosshair in your cursor ought to change to a digicam icon. To take a screenshot, click on after highlighting numerous home windows along with your cursor.
Nonetheless, Apple’s native screenshot software solely provides you 5 choices on the way to seize Mac’s display screen. And as you learn on, you’ll uncover there are various extra obtainable with third-party apps. So let’s see what works greatest for you.
Finest screenshot app in your Mac
If you happen to’re on the lookout for a snipping software for Mac that may perform a little extra, for instance, you wish to take a scrolling seize, you realize that the native software can’t try this. So it’s good to flip to a third-party developer. CleanShot X is unbeatable right here. The app is tailor-made for 50+ totally different modifications, which makes it the last word display screen capturing software for Mac. You should utilize CleanShot X to seize display screen — whether or not it’s a window, full display screen, space, and even scrolling content material, in addition to document video and GIFs. Whereas capturing something in your desktop, you possibly can select to cover all desktop muddle and disable desktop notifications. After you have your clear screenshot, open it from the overlay window that pops up, and begin modifying. You may add annotations, blur particular components, or draw — CleanShot X will enable you customise nearly something.

Just a few not-so-obvious but cool options to say are self-timer, screenshot pinning, and inner cloud. Need to seize one thing with a delay? CleanShot X has a self-timer that can enable you choose the precise second. If you would like your screenshot to be seen on the display screen, pin it to the desktop. Lastly, save your display screen captures to the inner CleanShot Cloud and get shareable hyperlinks in a flash.

Screenshot on Mac with the screenshot menu
On macOS Mojave and later, you possibly can both open the screenshot menu after which select your means of capturing the display screen or use devoted keyboard shortcuts for each motion, equivalent to capturing a window or a particular space. MacOS variations launched earlier than Mojave don’t have the display screen capturing menu, however have the instructions to seize a part of the display screen or entire display screen.
If you happen to’re a Mojave, Catalina, Massive Sur, or Monterey consumer, you should utilize Command + Shift + 5 to carry up a display screen seize menu that can can help you:
- Seize Complete Display screen
- Seize Chosen Window(s)
- Seize Chosen Portion
- File Complete Display screen
- File Chosen Portion.

On the right-hand aspect of this menu, there’s the Choices button that permits you to (amongst different issues) choose the place your MacBook screenshot and video output is saved. In different phrases, anybody on the lookout for a simple reply to the query “how do I take a screenshot on my Mac?” might do so much worse than upgrading to Mojave to be able to streamline the method.
Print display screen of a particular space
Bear in mind us speaking about shortcuts? Let’s get again to the small print. Right here’s the way to take a screenshot of a selected space:
- Shift, Command, and 4 are the three keys to press and maintain collectively
- To pick the portion of the display screen to seize, drag the crosshair. Press and maintain the Area bar whereas dragging to maneuver the choice. Urgent the Esc (Escape) key will cease the screenshot from being taken
- Launch the mouse or trackpad button to take a screenshot
- Click on the thumbnail to change the screenshot if it seems within the nook of your display screen. Alternately, wait till the screenshot is saved to your desktop.

Seize a screenshot of your entire display screen
In your Mac, comply with these steps to snap a screenshot:
- Press and maintain Shift, Command, and three concurrently
- To edit a screenshot, click on the thumbnail if it seems within the nook of your display screen. You may additionally look forward to the screenshot to avoid wasting to your desktop.
How one can screenshot a selected part or window on Mac
Now, let’s seize a window or menu:
- Open the window that you simply wish to seize
- Then press and maintain Shift, Command, 4, and Area bar. The pointer will change to a digicam icon. If you wish to cancel taking the screenshot, hit the Esc (Escape) key.
How one can take screenshots utilizing the Contact Bar
If you happen to nonetheless assume you possibly can’t reside with out that Home windows-style print display screen button…does your Mac have the Contact Bar? If sure, you possibly can create a devoted button for taking screenshots! Right here’s the way it works:
- Go to Apple menu > System Preferences > Keyboard
- Click on Customise Management Strip
- Select the placement of your screenshot button on the Contact Bar, drag and drop it there, and save the modifications.
Now you possibly can display screen seize Mac utilizing nothing however your Contact Bar. Click on the screenshot button — this may carry up a display screen seize menu. Click on “Save To” if you wish to change the place your screenshots are saved to. Select what you wish to seize: your entire display screen, chosen space, or window. Then simply transfer your cursor to take a screenshot.
Third-party macOS screenshot apps
Along with CleanShot X we talked about above, we advocate Capto in the event you’re on the lookout for one thing with somewhat extra emphasis on display screen recording. Other than recording video, or simply taking a snapshot on Mac, you can too annotate and edit captures in an intuitive iMovie-esque interface.

Capto does wonders if you wish to document a video tutorial and share it anyplace. And given its robust visible part, it’s additionally excellent for these with auditory shyness who would reasonably add captions than a voiceover. Capto’s built-in organizer is fairly useful for conserving monitor of your screenshots too.
Yac is the app it is best to contemplate in the event you want a fast option to share data along with your colleagues, with out distracting them with calls. We’ve had means too many digital conferences in our calendars currently, haven’t we? As an alternative, do this asynchronous voice and video messaging software, liked by hundreds of thousands of distant staff around the globe.
Simply document a fast voice message — you possibly can add a display screen recording with annotations and present webcam in the event you like — and let your teammates test it out when it’s handy for them. It’s attainable to combine Yac with Slack, so that you get notified when somebody sends you a yac.

Lastly, a lot of superior media gamers have a screenshot software. That is very useful if you wish to seize particular moments in a film or video — you normally can’t do it once you watch a film on-line as a result of most streaming companies block screenshot instruments. As an alternative, think about using Elmedia Participant to play any media content material and seize screenshots on the fly.

All these third-party apps can be found with Setapp, so you possibly can strive all of them at no cost.
How one can print display screen on Mac with Preview
Preview is Apple’s native picture and PDF viewer — most likely a vital a part of your workflow. Its screenshot software permits you to seize part of the display screen, window, or complete display screen. The good thing about taking screenshots in Preview is that it routinely opens the screenshot you’ve taken in a brand new Preview window, so you possibly can edit it — resize, add annotations, and so on.

How do you’re taking a screenshot in your Mac utilizing Preview? It’s easy. Within the app menu, choose File > Take Screenshot > select which a part of the display screen you wish to seize > take a screenshot. From there, you’re free to edit and save your screenshot to any location on Mac.
MacOS screenshot group
If you happen to take quite a lot of screenshots, you’re most likely used to your Downloads folder or Desktop being clogged with photos like “Display screen Shot 2019-XX-XX at 21.36.15.” Not notably useful for conserving your whole photos in examine, particularly when macOS is susceptible to closely abbreviating filenames.
Whereas it’s attainable to make use of Finder along side Preview to view your whole caps, that also isn’t a satisfying visible expertise. The most effective options is PhotoBulk, a bulk picture editor designed to rename, resize, and compress pictures in bulk. Merely drag and drop the screenshots you wish to rename, sort within the identify for the group, and click on Begin. All of your renamed photos might be tucked neatly into their very own folder.

Professional tip: You may set the precise format of your picture names and choose the precise quantity the depend begins from.
How one can share Apple screenshots
However even when you’ve solved the query of the way to snapshot on Mac, sharing these screenshots with, say, colleagues or associates isn’t essentially the simplest factor to do. Relatively than emailing recordsdata forwards and backwards, or having to add all the pieces to a public Google Drive, you may contemplate an answer like Dropshare. Because the identify suggests, it makes sharing screenshots (and different recordsdata) so simple as dropping them into the related space.
Dropshare connects with a spread of main third-party cloud apps, however you can too lean on proprietary Dropshare Cloud in the event you desire, which is useful if you wish to preserve your Mac display screen seize sharing separate out of your different sharing exercise.

Conclusion
As you possibly can see from above, studying the way to screenshot on Mac isn’t notably tough — actually, now simpler than ever because of the addition of a devoted MacBook screenshot and video seize menu in macOS.
It’s clear that Apple understands the print display screen Mac hassle for Home windows switchers, so you possibly can possible count on to see additional enhancements to the method sooner or later. Within the meantime, there are some glorious choices within the snipping software for Mac market that facilitate the method and provide a spread of various options you gained’t discover amongst these built-in choices for taking a screenshot on Mac.
Better of all, you possibly can strive all of the apps talked about right here — CleanShot X, Capto, Elmedia Participant, Yac, PhotoBulk and Dropshare — completely free with a 7-day trial of Setapp, an app subscription service that includes 240+ important apps in your each day duties on Mac and iOS. Now you’re all set to take your display screen shot recreation to the following degree!
How one can screenshot on Mac FAQ:
If you happen to nonetheless have questions in regards to the choices to take a screenshot on Mac, right here you go. We’ve acquired solutions for some widespread questions:
How one can view screenshot on Mac?
A screenshot that you simply seize on a Mac is immediately saved to your Desktop. Chances are you’ll entry them by going to the Desktop display screen in your laptop or through the use of Finder to entry the Desktop folder and examine your saved footage inside. In case you have quite a lot of screenshots that it’s good to filter via in your Desktop display screen, utilizing Finder might be the easier possibility because it sometimes exhibits the date and time the screenshot was taken.
How one can paste a screenshot on a Mac?
You’ve got the choice to repeat screenshots on to the Mac clipboard reasonably than saving all of them to the Desktop or one other location, enabling you to stick them right into a doc or on-line kind you’re engaged on.
That is particularly useful in the event you merely have to make the most of the screenshot immediately and don’t wish to preserve it.
Press Management whereas taking a screenshot on a Mac to repeat it to the clipboard. Then press Command + V in some other app to stick the screenshot.
How one can disable screenshots on Mac?
Go to System Preferences > Safety & Privateness > Privateness > Display screen Recording on a Mac to disable screenshots. Unlock the padlock along with your password. Chances are you’ll view an inventory of the purposes which might be at present recording your display screen right here. You may choose and unselect the apps from right here.
How one can selectively screenshot on Mac?
Press and maintain Command + Shift + 4. Your cursor will change right into a tiny reticule to the decrease left that comprises pixel coordinates. To pick a rectangle space for a screenshot, click on and maintain the mouse button or trackpad button whereas dragging the pointer. If you wish to begin over with out capturing the image, press the Esc key. Launch the press to take the image.