
Again in 2017 a gaggle of researchers didn’t recruit members for an experiment which entailed turning off all cellphone notifications for per week. Individuals merely didn’t like the thought of lacking one thing vital.
Extra present stories present that a median consumer will get 46 push notifications per day and whereas we are able to all agree these dings on our telephones and laptops are distracting, we don’t often notice how a lot. Based on the College of California Irvine examine, it takes about 23 minutes to get again on observe after being distracted!
Whether or not it’s a popup, a pink quantity signifying unread messages, a vibration, or a sound — notifications can compromise your focus for fairly a while. So why anticipate that to occur when the newest expertise presents options to reduce distractions whilst you work or loosen up?
Let’s take a look at learn how to put MacBook on Do Not Disturb and discover out methods to customise the DND macOS mode to your wants.
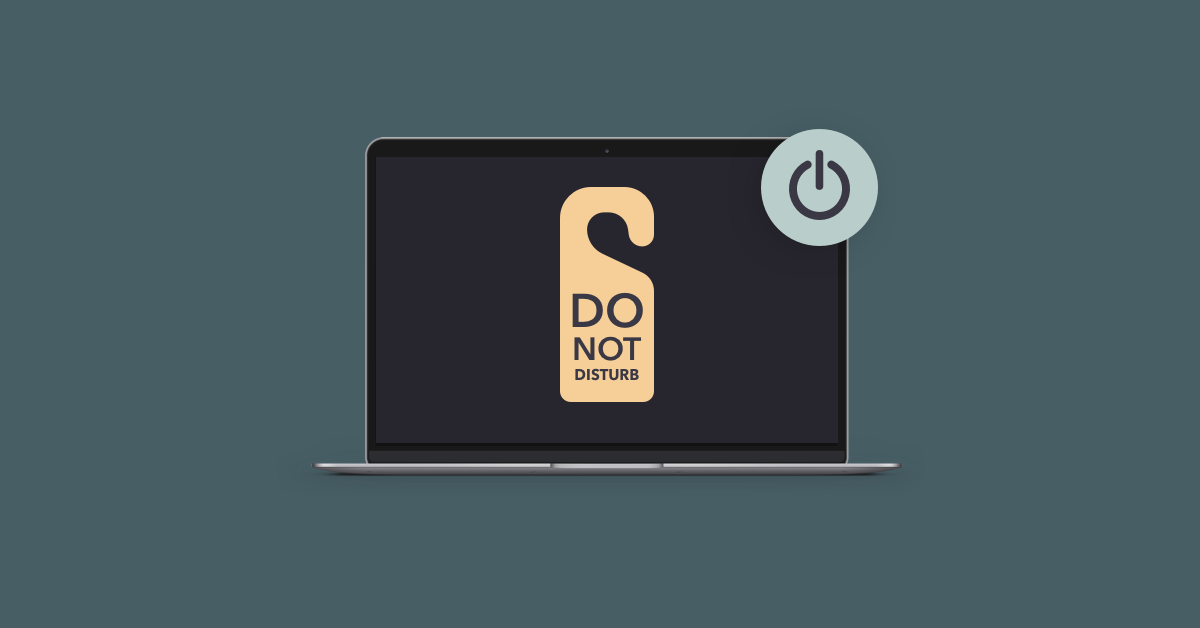
Methods to activate Do Not Disturb on Mac
The Do Not Disturb MacBook characteristic minimizes the urge to test each message or alert as they seem in your gadget, permitting you to work uninterrupted. And but, enabling DND on Mac received’t make you miss any vital notifications, as they’ll all be robotically routed to the Notification Middle so that you can view later.
If the fixed alerts have grow to be an excessive amount of to deal with, activate the Focus mode quickly utilizing a keyboard shortcut or by means of the Management Middle in your Mac. The Focus mode is an growth of Do Not Disturb on macOS Ventura.
One Swap permits you to exchange quite a few apps and settings with one program which immediately makes your desktop cleaner, controls your Mac exercise and weeds out distractions, leaving you to do what you’re keen on. One Swap additionally has the potential to beautify your UI expertise, and that’s all the time a pleasant bonus!
Macs are nice for a way simply you may customise them to your wants, however it may possibly grow to be a problem to show numerous modes on and off elsewhere. One Swap permits you to management all of the widespread options on Mac with a easy toggle out of your menu bar.
It’s one factor to see alerts pop up on display, however once they accomplish that with a sound, that’s a complete different stage of a disturbance. A loud surroundings can typically trigger stress and fatigue, so it’s a good suggestion to convey some calm and quiet with the Serenity app.
Serenity permits you to selectively mute notification sounds with a click on, fairly than going the lengthy route and making an attempt to configure settings in System Preferences. Strive Serenity and luxuriate in a noise pollution-free work surroundings!
To make your workflow much more environment friendly, attempt utilizing Be Targeted, an app designed that will help you keep on observe together with your present and future duties.
Be Targeted is a robust planner which helps you to simply decide the scope of labor, create duties, and observe your progress. All whereas holding you accountable with a centered timer, which additionally lets you seamlessly combine the Pomodoro method in your work. This app works completely throughout all macOS and iOS gadgets setting you up for achievement in all of your objectives.
Methods to allow Do Not Disturb utilizing a keyboard shortcut
A brand new Mac comes with over 100 default shortcut keys for every kind of actions, from widespread doc shortcuts to Finder, system, and accessibility keys set to hurry up your workflow.
One of many quickest methods to allow Do Not Disturb characteristic, like doing the rest on a Mac, is by utilizing a keyboard shortcut.
Press and maintain the Choice key whilst you click on the date and time within the menu bar to show Do Not Disturb Concentrate on or off. Alternatively, you may press a F6 button with the moon (if obtainable within the row of perform keys on the keyboard).
Methods to activate Do Not Disturb on Mac from the Management Middle
Notifications typically play a essential function in our day by day life holding us updated with calendar occasions, emails, messages, and plenty of different issues that always escape our reminiscence. However as a lot as notifications might be useful, they will also be distracting, whenever you’re making an attempt to work on one particular process and that’s when DND on Mac will turn out to be useful.
Right here’s learn how to put MacBook on Do Not Disturb:
- Open Management Middle by clicking its icon within the upper-right nook of the menu bar
- Then click on the Focus part (search for the moon icon)
- From there, you may activate the Do Not Disturb choice, select the length of the Do Not Disturb time, and even customise your focus by clicking Focus Settings.

Methods to flip off Do Not Disturb:
- Open Management Middle by clicking its icon within the upper-right nook of the menu bar
- Then click on the Do Not Disturb part (search for the moon icon)
- From there, you may flip off Do Not Disturb by merely clicking on it. The moon is highlighted when the Do Not Disturb choice is on. And it’s grey if Do Not Disturb is off.

Methods to create keyboard shortcuts for Do Not Disturb on Mac
Keyboard shortcuts are maybe the simplest and environment friendly solution to do something on a Mac. And personalised ones are even higher!
To create a keyboard shortcut for enabling and disabling Do Not Disturb, observe these steps:
- Click on on the Apple brand from the highest left
- Select System Settings
- Then Click on Keyboard within the left sidebar, click on the Keyboard Shortcuts… button
- From the left sidebar, select Mission Management
- Then test the field for Flip Do Not Disturb On/Off if it’s not checked already
- Double click on on None or the important thing subsequent to that field
- Press the keys you wish to use as your Do Not Disturb shortcut
- Click on Completed.

Maybe you’re a Mac energy consumer and that is by far not the one keyboard shortcut you want to create or customise. On this case, utilizing Keysmith will show you how to save quite a lot of time within the course of. What makes this app stand out is its capacity to file your workflow and counsel efficient macros to assist improve your productiveness. Keysmith additionally has a Highlight-like search characteristic, so that you don’t need to memorize dozens of recent hotkeys.
To rapidly create any keyboard shortcut utilizing Keysmith, merely:
- Launch the app
- Click on on New Shortcut
- Click on on the pink Report button to begin recording
- Carry out the motion you’re making this shortcut for, then click on Cease Recording
- Look by means of the recorded steps and alter them if you’ll want to
- Hit the Run button to view the working sequence
- Click on Untitled to call your shortcut
- Click on Set HotKey to bind a shortcut key

Methods to schedule Do Not Disturb on Mac
Having the ability to merely allow Do Not Disturb mode simply received’t do the trick for some customers, who need extra exact management over what will get to trouble them and when. If that is so for you, you’ll must take a barely deeper dive into the settings of the DND macOS characteristic.
To activate Do Not Disturb quickly or create a particular timeframe, observe these steps:
- Click on on the Apple brand from the highest left
- Select System Settings
- Then Click on Focus within the left sidebar and set your most popular schedule within the Set a Schedule part.

Along with setting a Do Not Disturb MacBook schedule, you may select the apps and folks you wish to obtain notifications from.
Methods to customise Do Not Disturb MacBook characteristic
Starting with macOS Monterey, Apple launched Focus, an up to date model of the Do Not Disturb characteristic. Whereas DND on Mac stays obtainable, many customers have turned to Focus for the power to fine-tune it to their wants.
Focus characteristic presents a number of modes and lets you get particular, organising notifications for whenever you’re working, driving, exercising, sleeping, or having fun with private time.
To allow Do Not Disturb and customise it with Focus, merely:
- Go to the Apple menu > System Settings
- Click on Focus within the left sidebar
- Click on Add Focus… for personalisation choices.

A pleasant bonus is that Focus settings sync throughout your Apple gadgets by default, so when you allow Do Not Disturb in your Mac, it’ll additionally kick in in your iPhone and the opposite method round.
Methods to activate Do Not Disturb quickly
Looks like you’re all set for productive work or uninterrupted quiet time! Now you may simply streamline your workflow with One Swap, automate routine duties utilizing Keysmith, enhance focus with Be Targeted, and let Serenity mute all distracting notification sounds!
Better of all — One Swap, Keysmith, Be Targeted, Serenity, and 240 extra high-performance apps can be found to you without cost by means of a seven-day trial of Setapp. Strive each Setapp app at this time without charge and launch each your and your gadget’s full potential!